While the reason behind this could be anything from temporary app glitches to corrupt system files, fixing the Snipping Tool isn’t too difficult. So, before you consider switching to an alternative like ShareX or Snagit, try these troubleshooting tips to get the Snipping Tool app working again on your Windows 11 PC. So, let’s start.
1. Restart the App
Snipping Tool may fail to load its interface on your PC if it encounters any issues while opening. Hence, the first thing you should do is restart the app. Press Ctrl + Shift + Esc on your keyboard to open the Task Manager. In the Processes tab, select Snipping Tool and click the End Task button at the top.
Try to open the Snipping Tool app using the search menu and see if it works now. Alternatively, you can also press the Windows key + Shift + S on your keyboard to access Snipping Tool on Windows.
2. Allow Snipping Tool to Run in the Background
Snipping Tool may fail to respond to its keyboard shortcut if the app does not have the necessary permission to run in the background. Here’s what you can do to change that. Step 1: Open the Start menu and click on the gear-shaped icon to launch the Settings app.
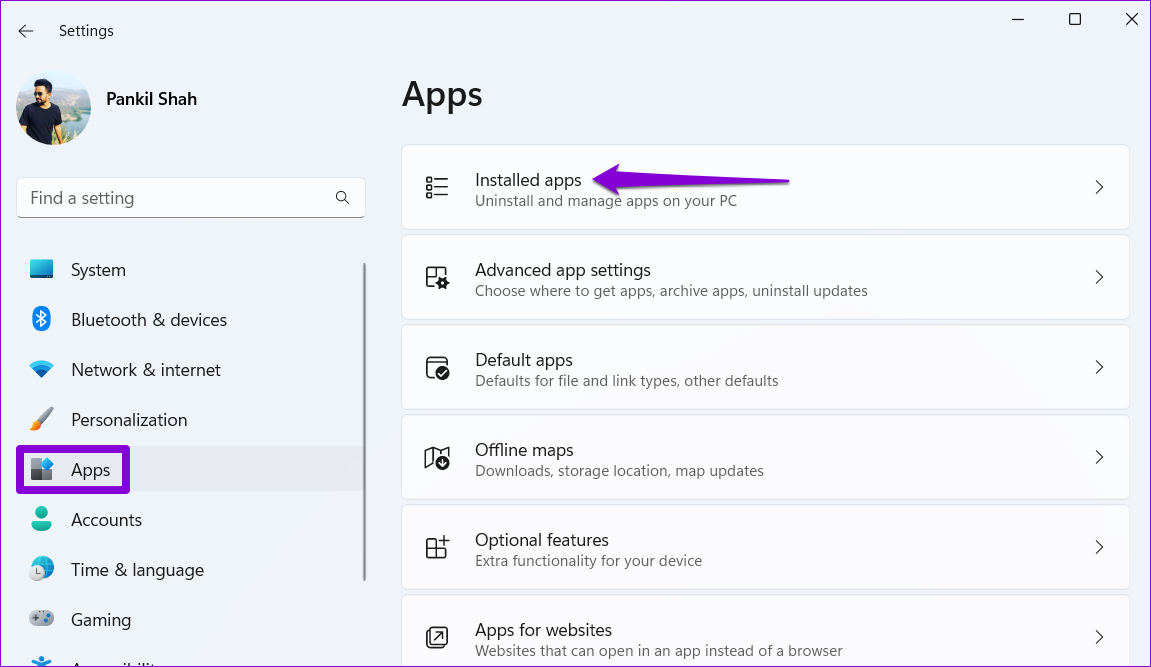
Step 2: In the Apps tab, click on Installed apps.
Step 3: Scroll through the list to locate the Snipping Tool app. Click the three-dot menu icon next to it and select Advanced options.
Step 4: Under Background apps permissions, use the drop-down menu to select Always.
Exit the Settings app and try to use the Windows key + Shift + S keyboard shortcut to access the Snipping Tool.
3. Repair or Reset the App
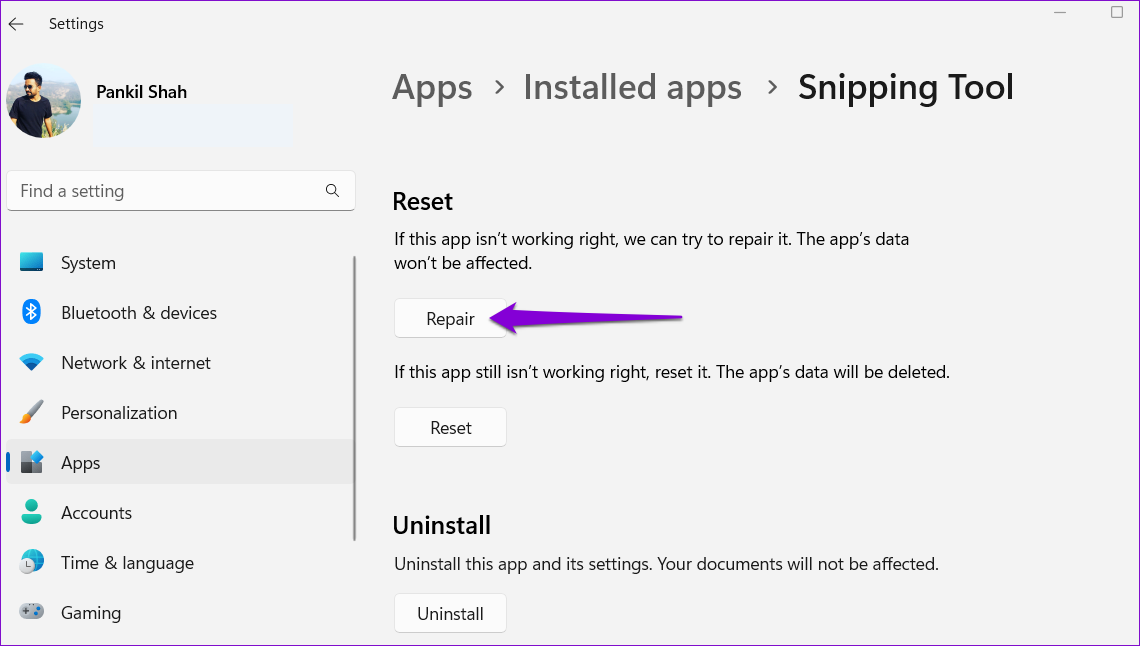
Apps on Windows 11 are bound to run into problems occasionally. Thankfully, your Windows PC is also capable of repairing most app-related issues on its own. Here’s how you can repair the Snipping Tool app on Windows 11. Step 1: Press the Windows key + S to open the Search menu. Type snipping tool in the text box, right-click on the first result, and select App settings from the list.
Step 2: Scroll down to the Reset section and click the Repair button.
If the problem persists, try resetting it from the same menu. Doing so will delete all the app data and reset app configurations.
4. Reinstall the Snipping Tool App
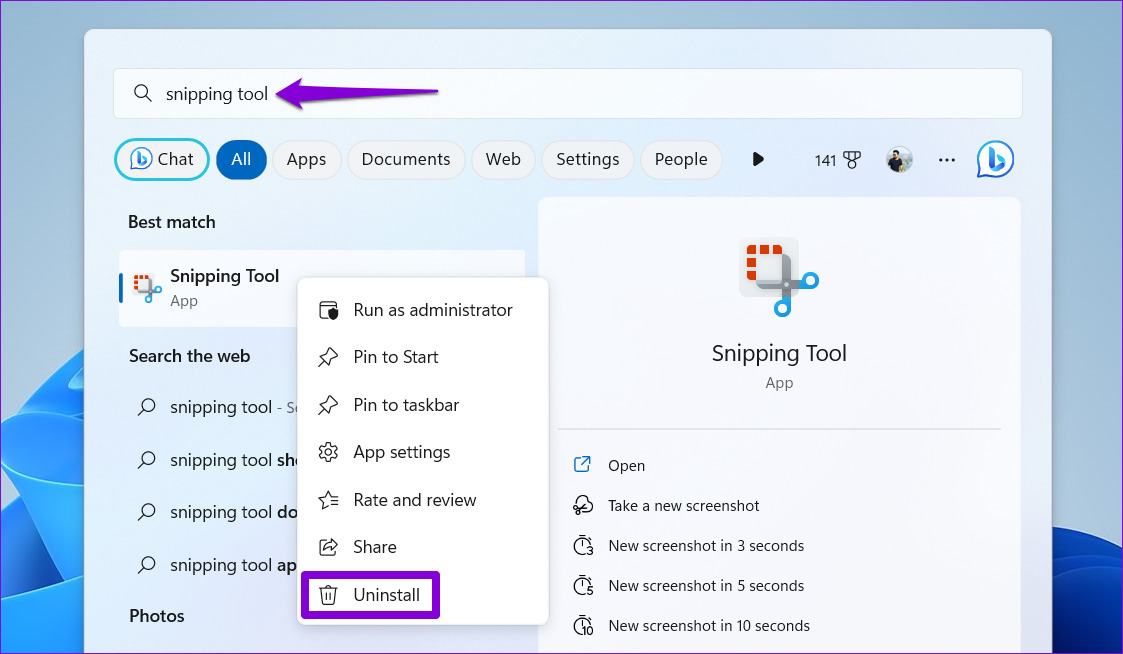
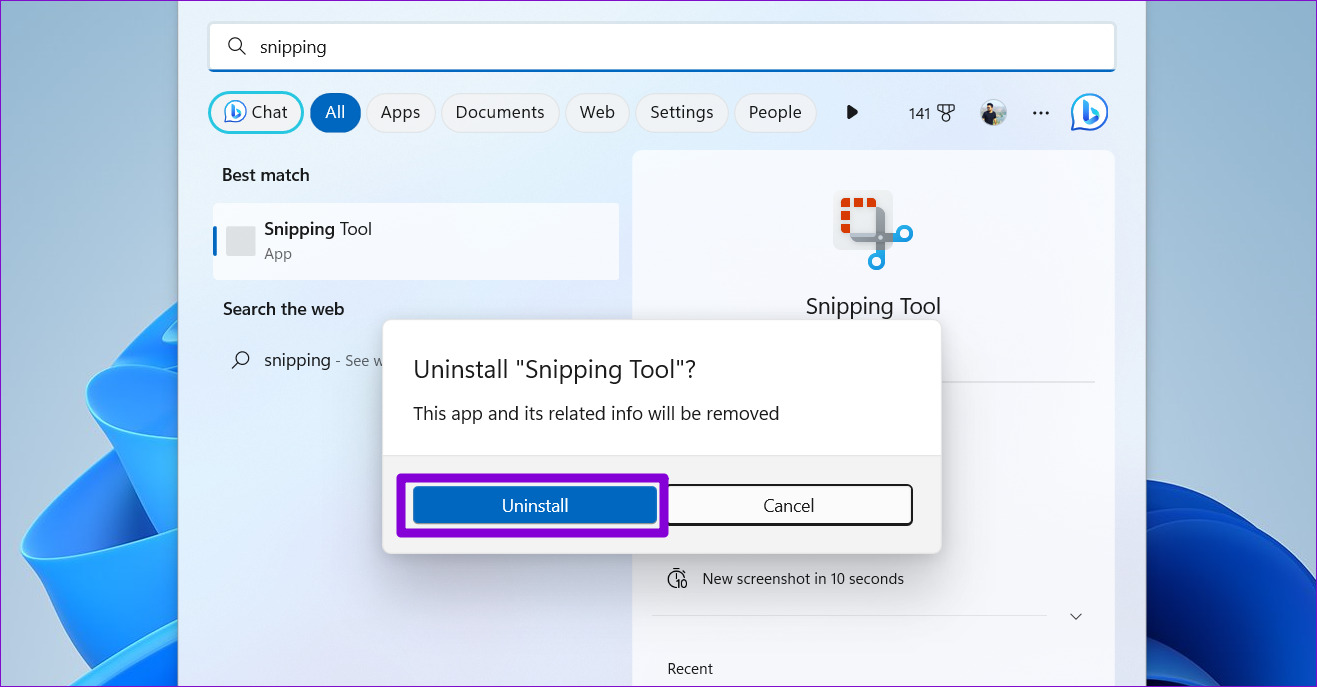
If repairing or resetting Snipping Tool does not work, you can try uninstalling and installing the app again. Here are the steps for the same. Step 1: Press the Windows key + S to open the search menu. Step 2: Type snipping tool in the text box. Right-click on the first result and select Uninstall.
Step 3: Hit Uninstall to confirm.
Step 4: Open Microsoft Store on your PC to download and install the Snipping Tool app. Then, check if it works as expected. Download Snipping Tool
5. Enable Automatic Date and Time
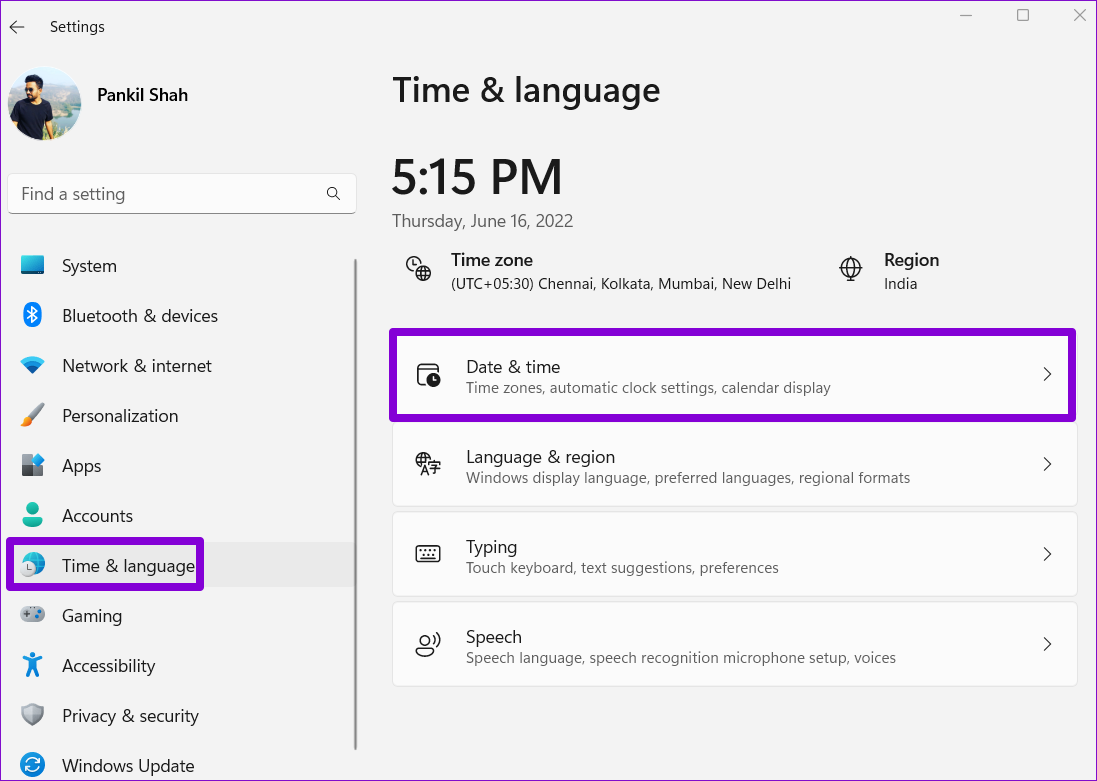
This may seem strange but if your PC is set to an incorrect date or time, apps like Snipping Tool may fail to function. To avoid such issues, you can enable the automatic date and time feature on Windows by following the steps below. Step 1: Press the Windows key + I to open the Settings app. In the Time & language tab, click on Date & time.
Step 2: Enable the toggle next to ‘Set time automatically.’
6. Disable Do Not Disturb
Have you enabled Do not disturb mode on your Windows PC? If so, you may not see a Snipping Tool notification after capturing a screenshot. To disable the Do not disturb mode on Windows, use these steps: Step 1: Press the Windows key + I to open the Settings app. Step 2: In the System tab, click on Notifications.
Step 3: Toggle off the switch next to Do not disturb.
7. Run the Windows Store Apps Troubleshooter
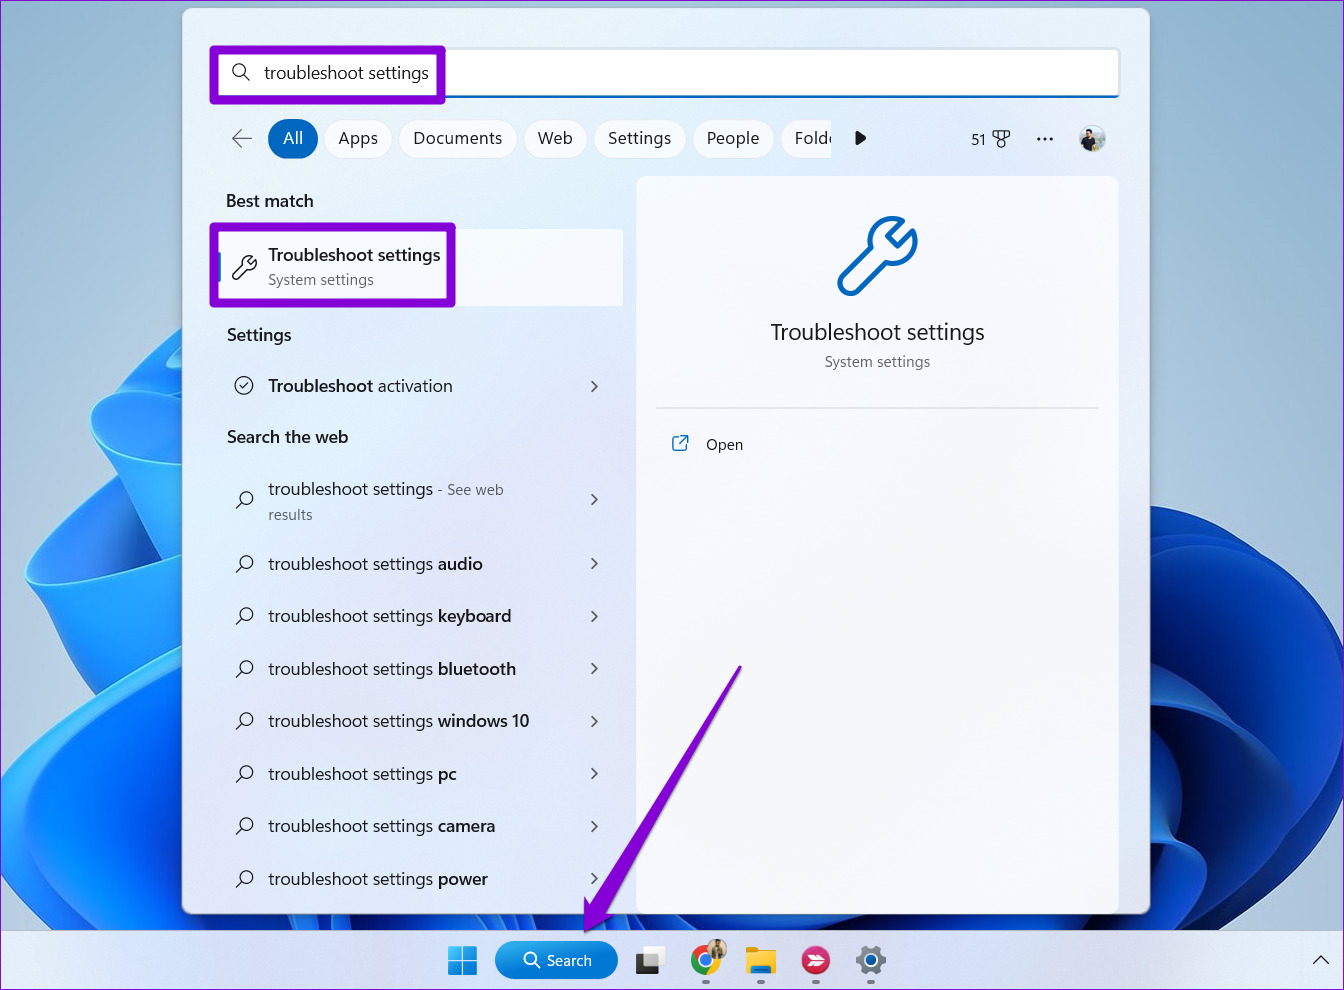
Your Windows 11 PC features a dedicated troubleshooter for fixing app issues on Windows 11. You can run this tool if you’re still having trouble using the Snipping Tool app. Step 1: Click the search icon on the taskbar, type troubleshoot settings, and select the first result that appears.
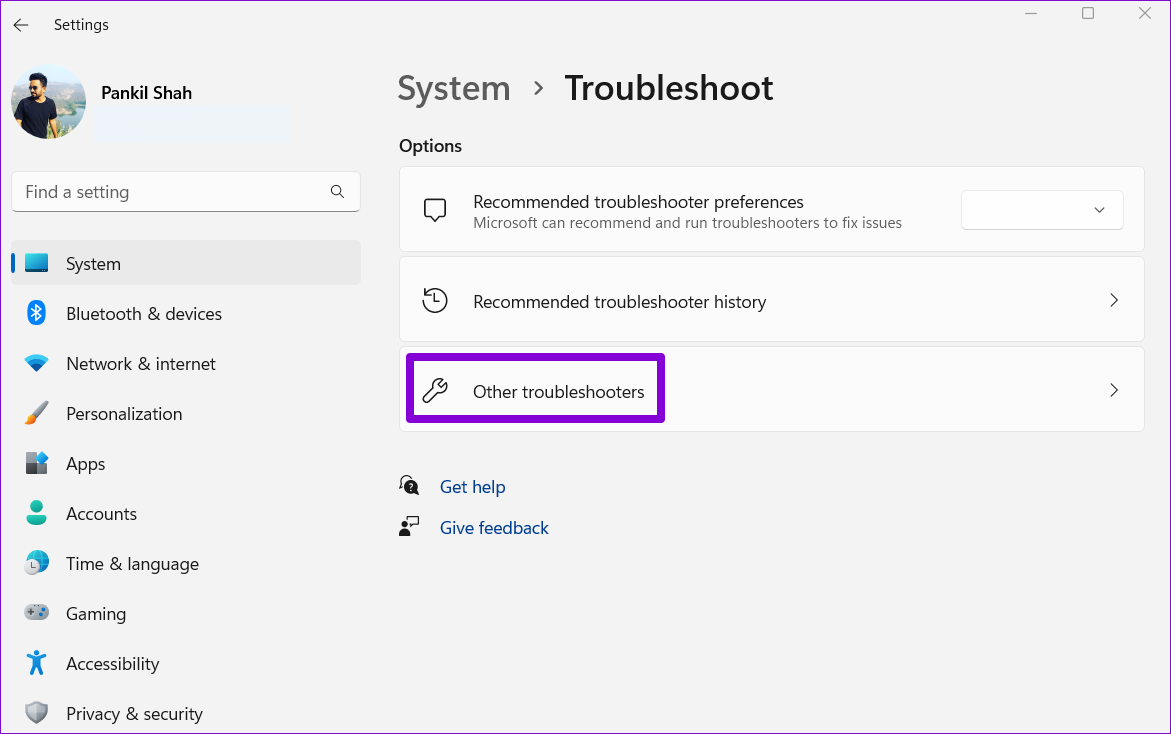
Step 2: Click on Other troubleshooters.
Step 3: Click the Run button next to Windows Store Apps.
8. Run the SFC Scan
Among other reasons, the Snipping Tool not working issue may also arise due to corrupted or damaged system files on your PC. If that’s the case, running an SFC (System File Checker) scan might help.
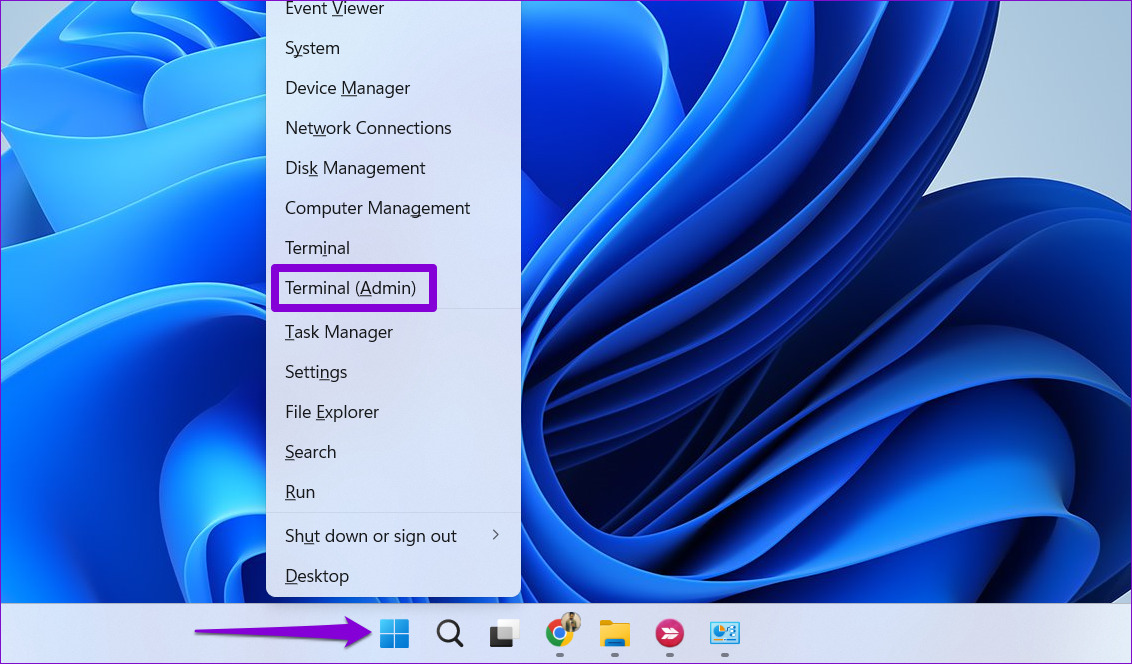
Step 1: Right-click on the Start icon and select Terminal (Admin) from the list.
Step 2: Select Yes when the User Account Control (UAC) prompt appears.
Step 3: Type the command mentioned below and press Enter.
Wait for the process to complete and then restart your PC. After that, check if Snipping Tool works fine.
9. Modify Registry Files
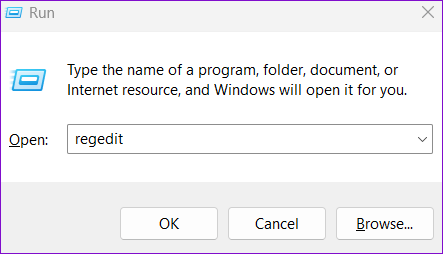
If Snipping Tool is still not working right at this point, there may be an issue with the policy settings on your PC. To fix this, you’ll need to tweak a few registry files using the Registry Editor. Since editing registry files is slightly risky, proceed with caution and follow the steps carefully. Also, it’s a good idea to back up all the registry files or create a restore point before proceeding. Step 1: Press the Windows key + R to open the Run dialog box. Type regedit in the box and press Enter.
Step 2: Select Yes when the User Account Control (UAC) prompt appears.
Step 3: In the Registry Editor window, paste the following path in the address bar at the top and press Enter.
Step 4: Right-click on the Microsoft key, go to New, and select Key from the submenu. Name it TabletPC.
Step 5: Right-click on the TabletPC key, go to New, and select DWORD (32-bit) Value. Name it DisableSnippingTool.
Step 6: Double-click on the newly created DWORD and set the Value data to 0. Then, click OK.
10. Perform a Clean Boot
When you boot your PC in a clean boot state, Windows only runs essential apps and services. This can help you determine if one of your background apps or services is interfering with the Snipping Tool and preventing it from working on Windows 11. To boot Windows in a clean boot state, follow the steps below. Step 1: Press the Windows key + R to open the Run dialog, type msconfig.msc, and press Enter.
Step 2: Under the Services tab, tick the checkbox that reads ‘Hide all Microsoft services’ box and then click the Disable all button.
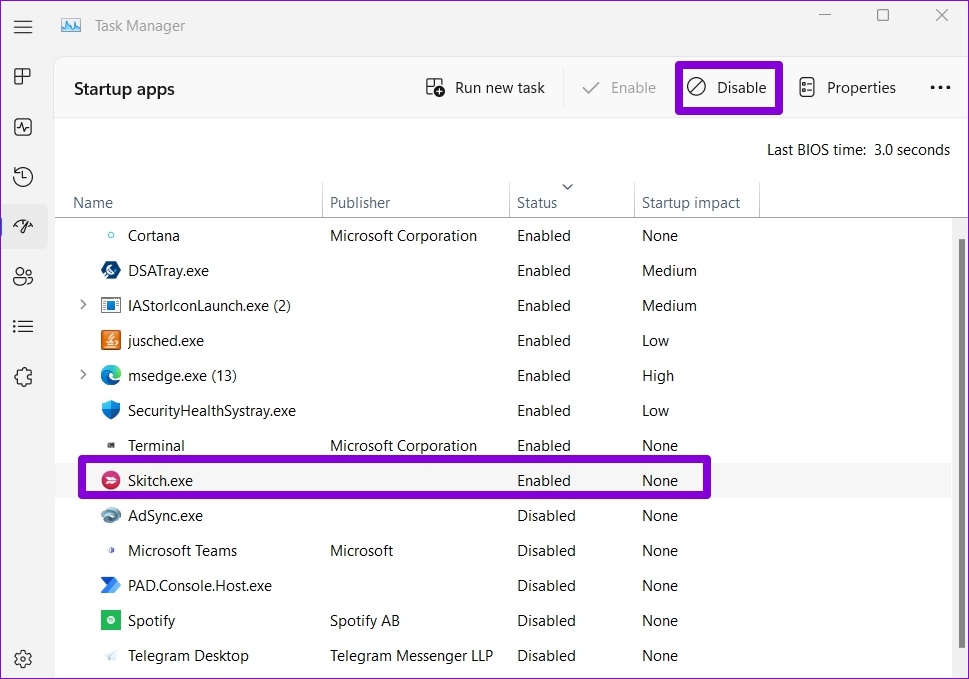
Step 3: Next, switch to the Startup tab and click on Open Task Manager.
Step 4: In the Startup tab, select a third-party app or program and click the Disable button at the top. Repeat this step to disable all third-party apps and programs.
Restart your PC after this to enter clean boot mode and then try to use Snipping Tool again. If it works as expected, one of your third-party apps or programs might be to blame. In that case, you’ll have to remove any recently installed apps or programs to resolve the issue.
Back to Snipping
Snipping Tool remains an important utility for most Windows users, so it can be frustrating when it fails to function properly. Hopefully, one of the above fixes has got the Snipping Tool working again on your Windows 11 computer and you’re at peace. You might also want to know where to find screenshots on Windows PC. The above article may contain affiliate links which help support Guiding Tech. However, it does not affect our editorial integrity. The content remains unbiased and authentic.