You may be wondering what causes high GPU usage by DWM? Well, there are several reasons why it occurs such as outdated drivers, conflicting software, hardware acceleration, and more. We have structured the article to take you from basic troubleshooting to advanced with a step-by-step guide. You can follow the steps even if you are not a core Windows user. Let’s begin.
1. Use Task Manager
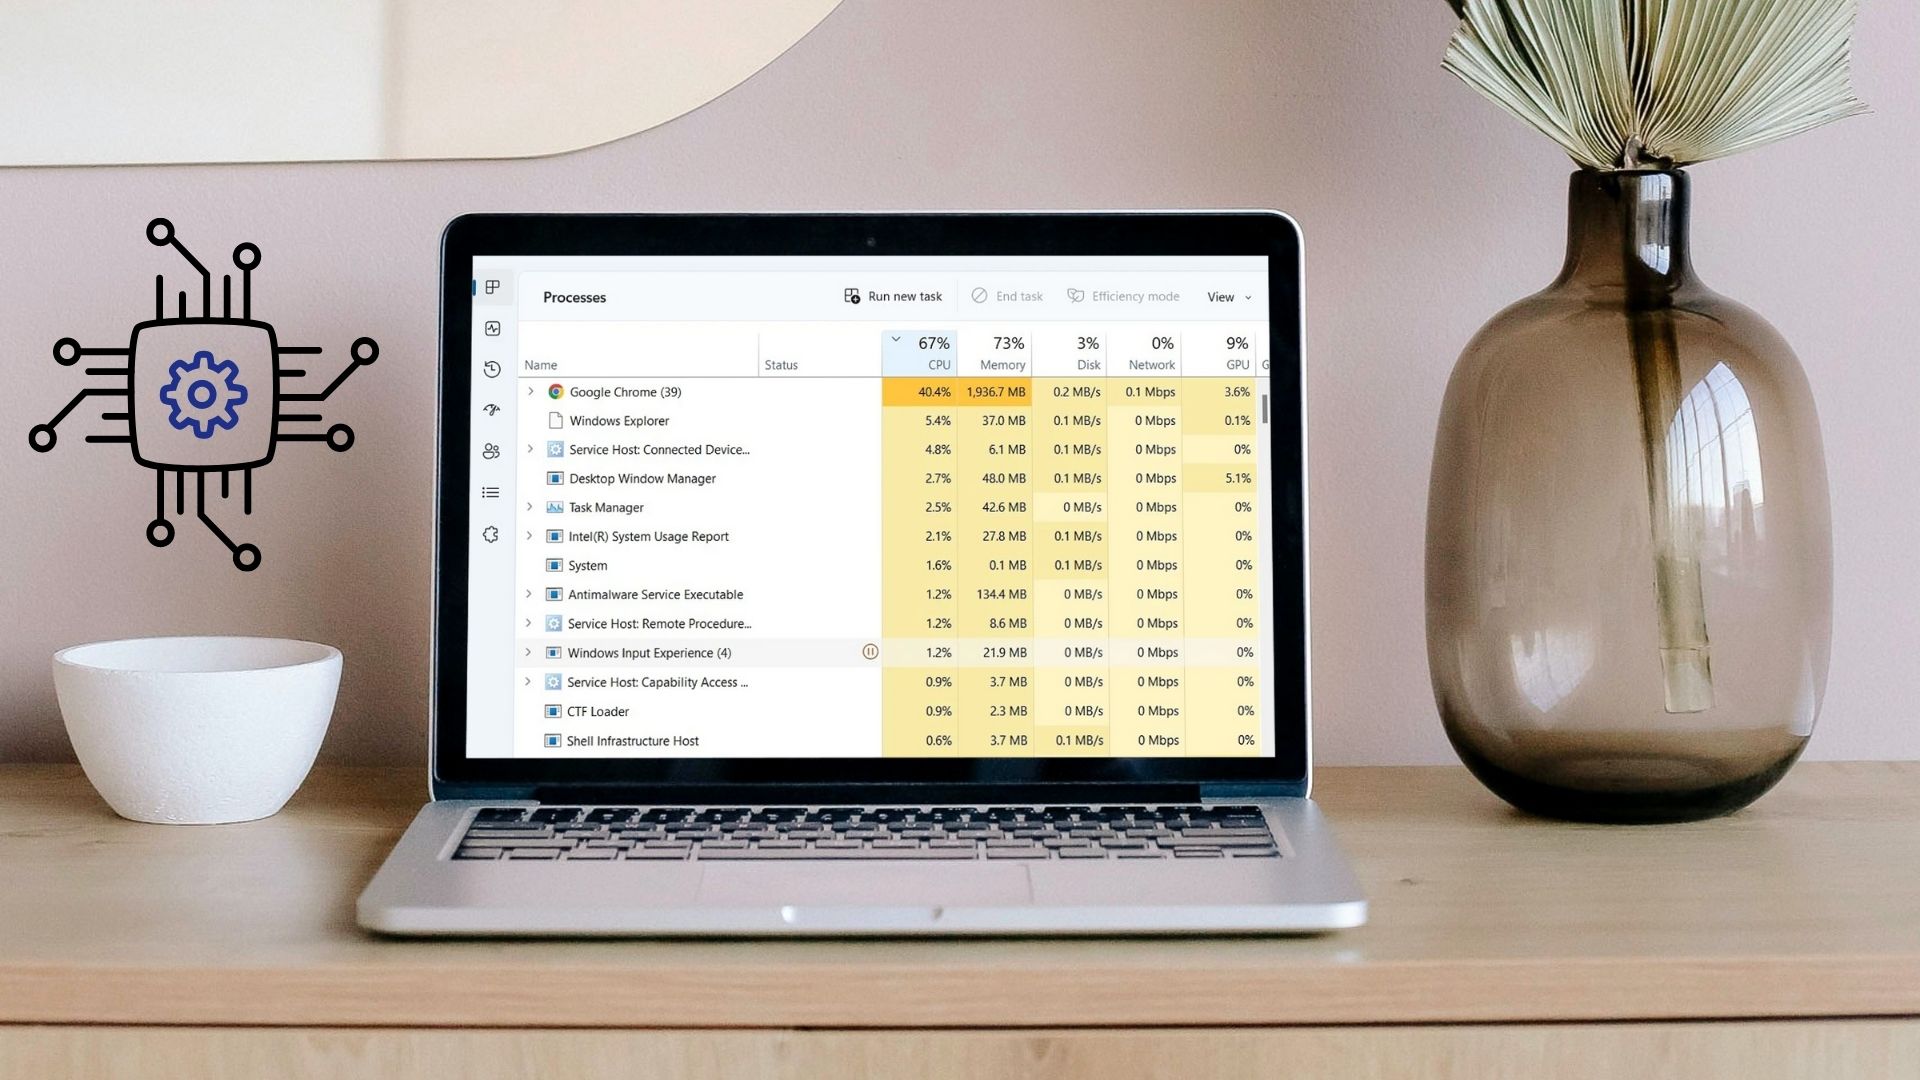
Windows Task Manager is the central part of handling hardware usage. It makes this method the easiest one to fix Desktop Windows Manager high GPU usage. Follow the below steps. Step 1: Press the Windows key on your keyboard, type Task Manager, and click Open.
Step 2: Under the Processes tab, find heavy GPU usage under the GPU column. Note: If it is not visible, right-click on the Name tab and select GPU from the drop-down.
Step 3: If you find the task using 70%-100% of GPU, select it and click End task. Note: Alternatively, you can right-click on the process and select End task.
It should fix the issue. You may re-open the Task Manager to check if any other process is spiking the GPU usage. If you didn’t find any process on the desktop windows manager utilizing GPU at its tops, move to the next method.
2. Restarting the PC
Sometimes a simple restart fixes a lot of issues on a computer. There could be a buggy app or glitch with DWM causing high GPU usage. So, save your work, close all the running apps, and follow the steps below. Step 1: Click on the Windows key on the screen. Note: You can use the Windows key on your keyboard too.
Step 2: Select the Power icon in the lower right corner.
Step 3: From the menu, click on the Restart button.
Your system will restart, terminating all the running apps and processes. When you return, the Desktop Windows Manager high GPU usage issue should be resolved. If it didn’t, jump to the next method.
3. Check for Malware
Desktop Windows Manager’s high GPU usage can arise due to trojan or malicious attacks or, most commonly, crypto mining your PC. To get rid of this, you can use built-in security features on Windows. Follow the below-mentioned steps. Step 1: Press the Windows key on your keyboard, type Virus & threat protection, and click Open.
Step 2: Click on the Scan options.
Step 3: Under Scan options, choose Full scan and click on Scan now button.
Wait for the scanning process to complete. Ultimately, it should exterminate and delete the malware from your PC. If this didn’t resolve the issue, check out the next method.
4. Check for Windows Updates
Windows OS sometimes needs an update to fix a bug that causes Desktop Windows Manager high GPU usage. To fix bugs and crashes, update Windows 11 for the latest fixes and security features. Step 1: Press the Windows key on your keyboard, type Windows Update settings, and click Open.
Step 2: Click the ‘Check for updates’ button.
It will search for updates. If available, download and install them. With this, your Desktop Windows Manager high GPU usage error should be gone. If it persists, it may be because of some driver updates. So, update them too. Step 3: In the ‘Windows Update settings,’ click on Advanced options.
Step 4: Under Additional options, click on Optional updates.
If any updates are available, select it and click ‘Download & install.’ You may need to restart your PC for a successful update. With this, your Desktop Windows Manager high GPU usage error should be gone. If it didn’t, move to the next method.
5. Update Graphics Driver
Although the above method checks for driver updates, there’s no harm in knowing how to find and update the graphics driver on a Windows 11 PC. Follow the steps below. Step 1: Press the Windows key on your keyboard, type Device Manager, and click Open.
Step 2: Go to Display adapters and double-click on it to expand the section.
Step 3: Right-click on the graphics card and select the Update driver option.
Step 4: Select ‘Search automatically for drivers’ in a new window. Note: If you have downloaded the updated driver, you can choose ‘Browse my computer for drivers.’
Your PC will automatically search for the driver update. If it finds one, it will automatically download and install it for you. However, you may need to restart your computer to make it effective. If this doesn’t resolve the issue, move to the next fix.
6. Run DISM, SFC, and CHKDSK Commands
This method may seem complicated at first, but it is not. Running DISM renews the cached copy of the operating system files from the Microsoft server. While SFC uses the cached copy to repair the existing system if it is damaged or corrupted. Finally, the CHKDSK command scans the bad physical sectors to sort them out. Step 1: Press the Windows key on your keyboard, type Command Prompt, and click on ‘Run as administrator.’
In the prompt, click Yes. Step 2: Type or copy the below command and press Enter to run DISM.
Step 3: Once DISM is completed, type or copy to the below command and press Enter.
Step 4: Type the below command and press Enter to run the check disk.
It will ask, ‘would you like to schedule this volume to be checked the next time the system restarts? (Y/N)’ Click the Y key to schedule the scan to be initiated when you boot up your computer next time. It should fix the Desktop Window Manager’s high GPU usage. If the issue persists, move to the next method.
7. Change Personalization Settings
Changing personalization settings lowers the GPU usage and is another way to fix the Desktop Windows Manager’s high GPU usage. Follow the below steps. Step 1: Right-click anywhere on the desktop and select Personalize.
Step 2: Select Background.
Step 3: In the Personalize your background drop-down, select Solid color.
Step 4: Select the color to serve as your background. Note: You can create your custom color, too, using the Custom colors option.
Step 5: Go back to the Personalization menu and select Colors.
Step 6: Toggle off Transparency effects.
With the change in personalization settings, the Desktop Windows Manager high GPU issue should get fixed. If the usage is still high, jump to the next method.
8. Turn Off Visual Effects on Windows 11
Desktop Windows Manager is responsible for handling and rendering the graphical user interface of Windows and other visual elements on your computer. So, turning off all visual effects is another way to fix Desktop Windows Manager’s high GPU issue. Follow the steps below. Step 1: Press the Windows key on your keyboard, type ‘Adjust the appearance and performance of Windows,’ and click Open.
Step 2: In the Performance Options window, select ‘Adjust for best performance,’ and click Apply and OK.
Now, check the GPU usage. These steps should resolve the issue. If it didn’t, maybe the next method will fix it.
9. Change Windows 11 Process Status
If none of the above methods worked, and you are still facing DWM using all the available GPUs, it could be because the task priority is set as High Priority. So, you will need to change the priority, and you will be good to go. Follow the steps below. Step 1: Press the Windows key, type Task Manager, and click ‘Run as administrator.’ Note: Alternatively, press the ‘Ctrl + Shift + Esc’ key on your keyboard.
Step 2: Under the Process tab, look for Desktop Window Manager.
Step 3: Right-click on the Desktop Window Manager and select Efficiency mode.
That’s it. All you have to do is restart your PC to resolve the Desktop Windows Manager high GPU issue. If this didn’t resolve the issue, jump to the next one.
10. Disable Hardware-Accelerated GPU Scheduling
Hardware-Accelerated GPU Scheduling is a feature that lets the GPU manage its memory and schedule tasks, improving your PC’s overall performance. However, it may also lead to DWM consuming too many GPU resources, slow performance, freezing, and even crashing. Follow the below-mentioned steps to stop this. Step 1: Press the Windows key on your keyboard, type Graphics Settings, and click Open.
Step 2: Click on ‘Change default graphics settings.’
Step 3: Toggle off the ‘Hardware-accelerated GPU scheduling’ option.
Finally, restart your PC for the changes to take effect. If this method doesn’t help you, move to the next one.
11. Disable Fast Startup Feature on Windows 11
Fast Startup feature lets your Windows PC start up more quickly by preloading some system data and settings before shutting down. Although this feature can make your computer start faster, it can also cause issues with the GPU. Specifically, when the system is shut down and the GPU is not fully powered off, some of the GPU resources can still be active. This may lead to Desktop Window Manager’s high GPU usage issue. Follow the steps below to fix it. Step 1: Press the Windows key on your keyboard, type Control Panel, and click Open.
Step 2: Select Power Options. Note: Make sure you are viewing it by Large icons.
Step 3: Click ‘Choose what the power buttons do’ in the left pane.
Step 4: Click ‘Change settings that are currently unavailable.’
Step 5: Under the Shutdown settings, check the box next to ‘Turn on fast startup (recommended)’ and select Save changes.
Step 6: Now, press the Windows key on your keyboard, type System Configuration, and click ‘Run as administrator.’
Step 7: Go to the Services tab.
Step 8: Click ‘Hide all Microsoft services’ and select the Disable all button. Finally, click Apply and OK.
For the changes to take effect, restart your computer once, and your PC’s Desktop Windows Manager high GPU usage issue should get resolved. If the issue persists, check out the next method.
12. Roll Back to a System Restore Point
If the GPU usage of Desktop Windows Manager has increased after a recent software update or after an installation, a System Restore point can help undo any changes made to your system causing this. Follow the below steps to roll back to a System Restore Point. Step 1: Press the Windows key on your keyboard, type Recovery, and click Open.
Step 2: In the Recovery window, select ‘Open System Restore.’
It will open a separate window on your computer. Step 3: Now, click on the Next button.
The System Restore points you can roll back to will be displayed. Step 4: Select the one you prefer from the list and click Next. Note: You will only see the System Restore point if you have created one.
With that, you can go back to the old state of your system, resolving the Desktop Windows Manager high GPU usage. If this does not work, you’ll have to resort to the last resort which is also the last fix in this troubleshooting guide.
13. Reset Windows 11
The last option is to reset Windows. Resetting will remove all programs installed on your computer, but not your files and folders. Follow the instructions below. Step 1: Press the Windows key on your keyboard, type Settings, and click Open.
Step 2: Under System, scroll down to find Recovery.
Step 3: In Recovery settings, under Recovery options, locate the ‘Reset this PC’ option and click on the Reset PC button on the far right.
Step 4: In the Reset this PC window, click on ‘Keep my files.’ Note: If you wish to remove all personal files, click Remove everything.
Step 5: On the next screen, choose Cloud download. Note: Since there could be an issue with the local file, it is ideal for you to download a fresh copy of Windows. Cloud Download will require an active internet connection and consume slightly above 4GB of data.
Step 6: Click Next. Note: If you wish to change your data and download preference, click on Change settings.
Step 7: Finally, click Reset.
Smoothen Your Windows Experience
Sometimes keeping your system updated and being mindful of any potential warning signs ensures any potential damage to your GPU. The solutions above should fix Desktop Window Manager high GPU usage issue on Windows 11 PCs. If it didn’t, it might be best to seek professional assistance. You may want to read the top ways to fix high CPU usage on Windows 11. The above article may contain affiliate links which help support Guiding Tech. However, it does not affect our editorial integrity. The content remains unbiased and authentic.


