Personalizing your Google Docs can often mean changing margins, adding charts, customizing fonts, etc. This article will help you give more font choices. using two easy methods. Let’s begin without further ado.
Method 1: Add Fonts to Google Docs Using the Menu Bar
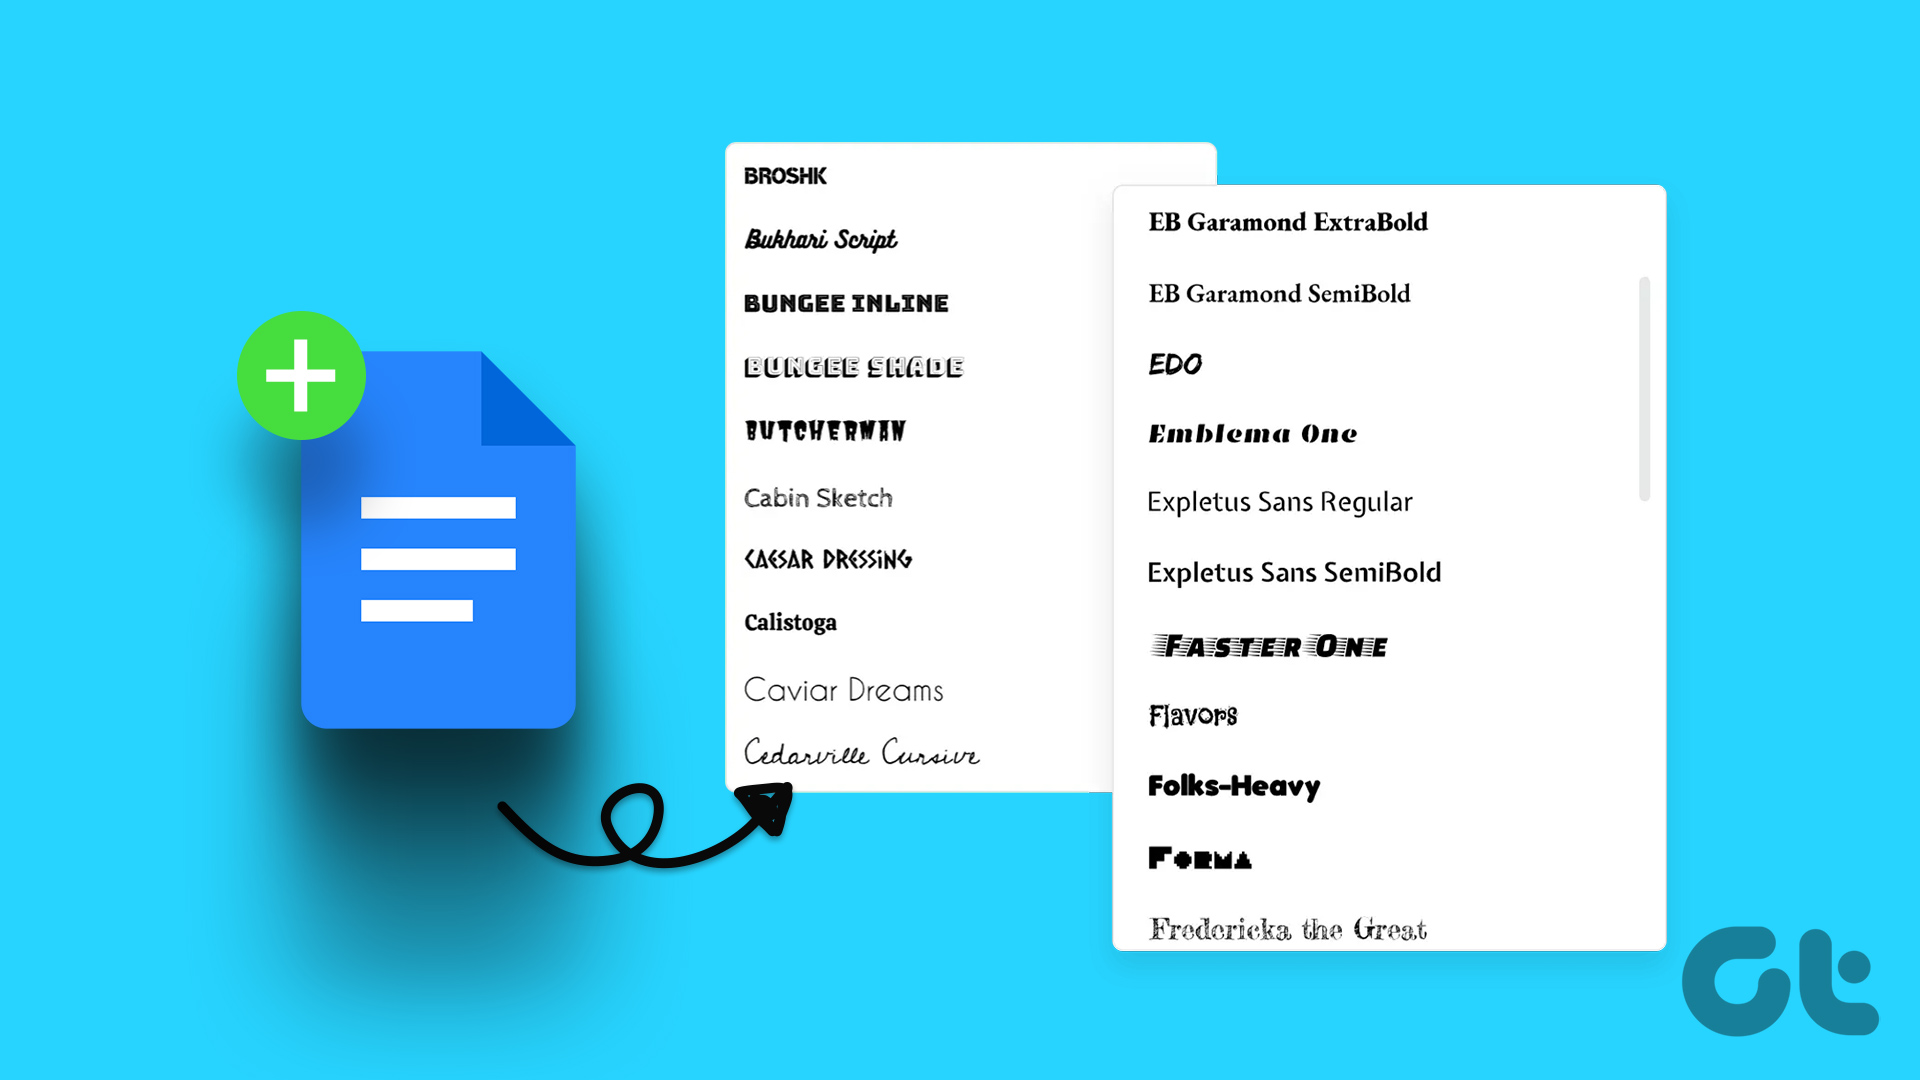
One of the easiest ways to add fonts to Google Docs is by using the menu bar. This way you will be able to add fonts that, while not present in the current list, have already been made available and can be added to your document. Follow the below steps to do it. Step 1: Open Google Docs and click on any document. Open Google Docs Step 2: Click on the Font drop-down menu. This will open the list of currently available fonts. Step 3: Here, click on More fonts. Step 4: Once the window opens, click on Show. From the options, click on All fonts to ensure all available fonts are displayed. Step 5: Now, click on the options you wish to add to the Fonts menu. Step 6: Once all the relevant fonts have been selected, click on OK. This will add the selected fonts to your document.
Method 2: Insert Google Docs Fonts Using Add-Ons
Google Docs allows integration with add-ons. This way, you can easily add extra features to Google Docs that can help bridge your documents with other third-party services. And so, even though Google Docs has a list of additional fonts available, you can use add-ons to integrate additional fonts. Here’s how to do it. Step 1: Go to Google Docs and open the relevant document. Step 2: Then, click on Extensions. Step 3: From the menu options, click on Add-ons and select ‘Get add-ons’. This will open the Google Workplace Marketplace window. Step 4: Here, either use the search bar to look for the Extensis Fonts add-on or scroll through the options available to find it. Step 5: Then, click on Extensis Fonts. Step 6: Click on Install. Step 7: Here, click on Continue. This will open a separate window asking you to select the relevant Google account to add the add-on. Follow the on-screen instructions to finish installing the add-on to Google Docs. Step 8: After the add-on is installed, go to the menu bar and click on Extensions. Step 9: Then, go to Extensis Fonts and click on Start. You can now use the Extensis Fonts add-on to add additional fonts, right from the Extensis Fonts panel. You can also check out these Chrome extensions that can help you in identifying fonts.
Be Spoilt for Choice
So, these were all the ways you can add fonts to your Google Docs. We hope this can help you in adding that personal touch to your documents. If you want to further customize how your text behaves, here’s how to turn off auto-capitalization in Google Docs. The above article may contain affiliate links which help support Guiding Tech. However, it does not affect our editorial integrity. The content remains unbiased and authentic.


![]()

