Whether your computer has the latest components or slightly dated ones, automatic driver updates can sometimes do more harm. At times, those drivers are tested by only a limited number of folks and end up disrupting your experience on Windows. We will share essential ways to turn off automatic driver updates in Windows 11. Of course, that means you’ll need to manually update drivers for your components like chipset, LAN / wireless, keyboard, graphics card, mouse, etc. So, let’s get started.
Reasons to Turn Off Automatic Driver Updates in Windows 11
Automatic device driver updates are like a double-edged sword. Usually, they improve system performance and fix known issues. But sometimes, they can do more harm than good. Below are a few of the prime reasons why you should turn off automatic driver updates in Windows 11:
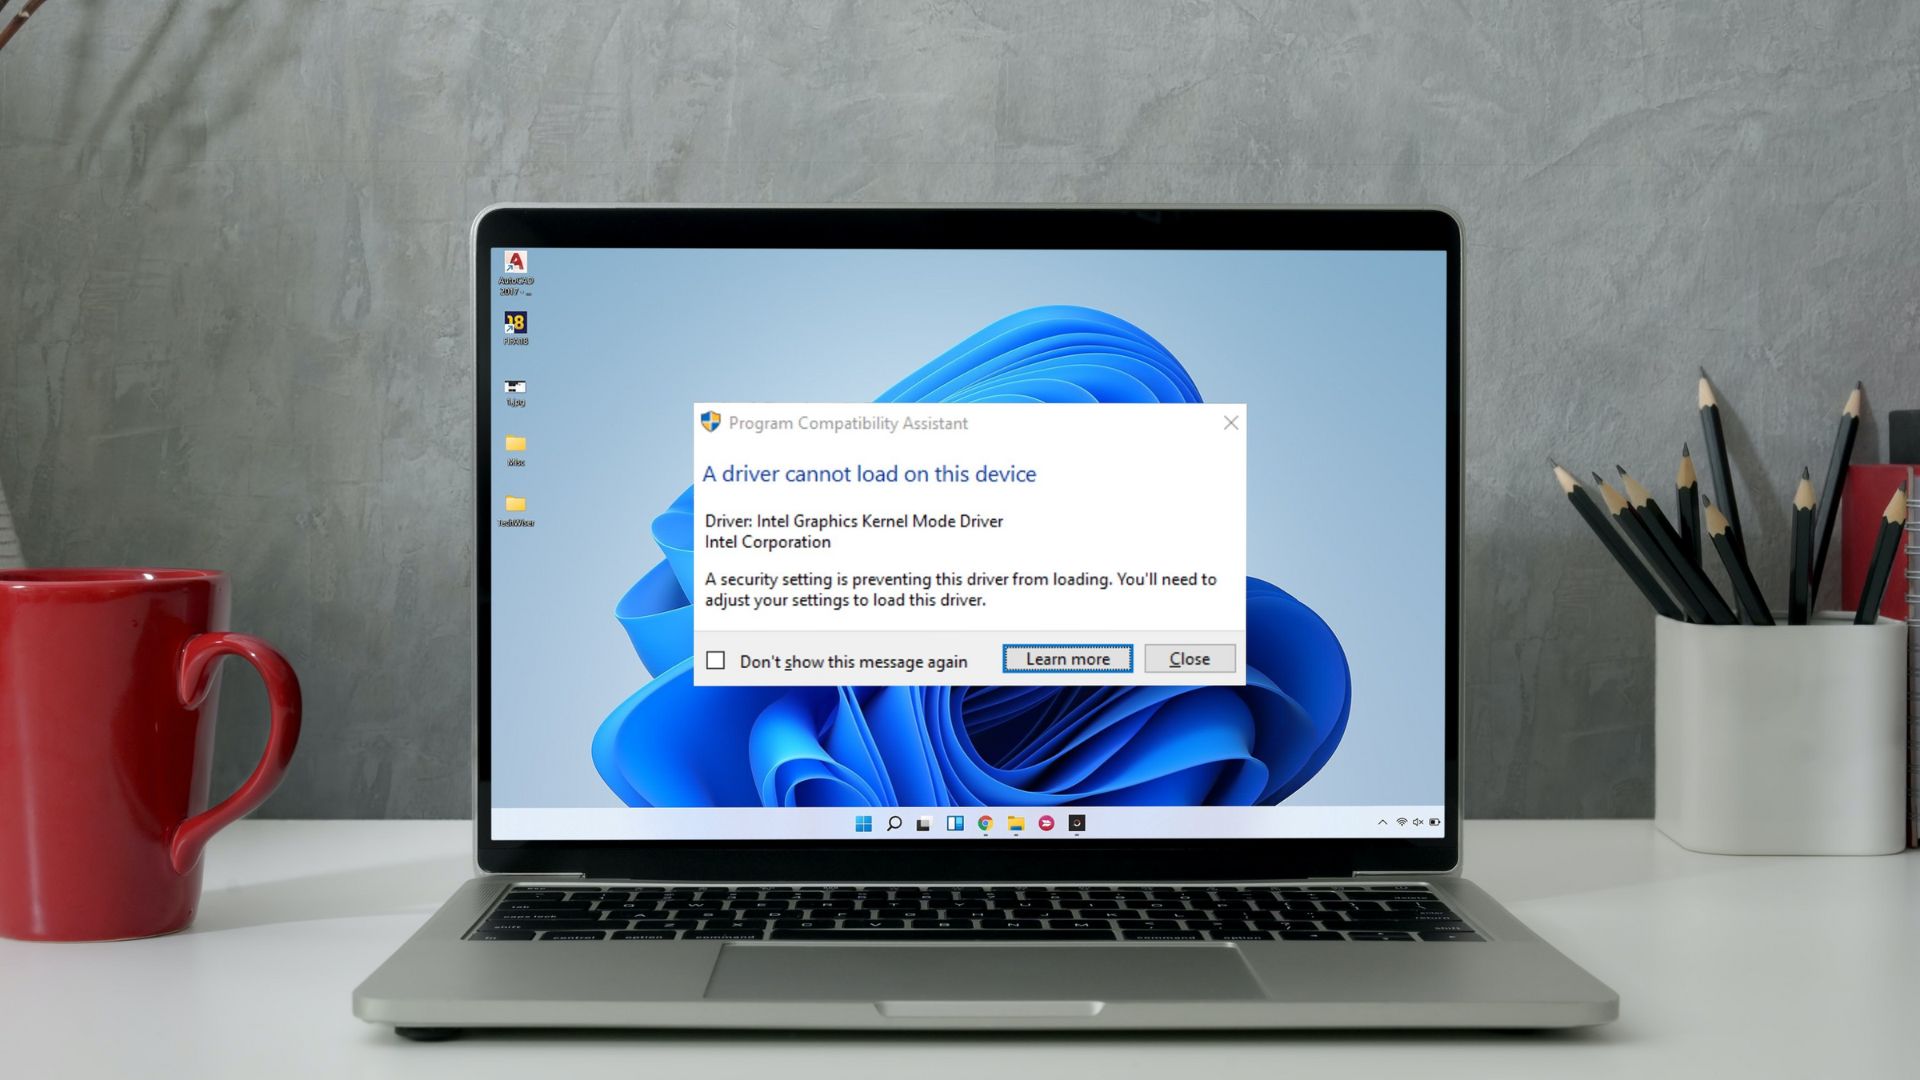
The automatic driver updates feature can sometimes install the latest drivers that might not be compatible with the existing components on your computers. This can lead to various issues, including error codes, blue screens, or even a complete system crash. Hardware companies release multiple versions of a driver. If the automatically installed driver is a public beta or test channel version, it can again make your system unstable. The automatic driver updates feature can constantly end up consuming data, which can affect your limited data plan internet connection.
Those are some of the reason why you’d want to consider turning off automatic driver updates. Let’s take a look at how to do it.
1. Turn Off Automatic Driver Updates Using the Settings App
The Settings app serves as the central hub of a Windows PC, providing access to a wide range of features and functionalities. From basic operations like personalizing your system to advanced tasks like managing user accounts, you can do it all using the Windows settings app. To use it to stop Windows from updating drivers automatically, your Windows account will need administrative privileges to follow these steps: Step 1: Press the Windows + I keyboard shortcut to launch the Settings app. Step 2: In the System tab, select the About option. Step 3: Click the Advanced system settings option. Step 4: When the System Properties window appears, click on the Hardware tab. Step 5: Click the Device Installation Settings button. Step 6: Choose the ‘No (your device might not work as expected)’ option. Then, click the Save changes button. Windows will no longer install device driver updates automatically.
2. Turn Off Automatic Driver Updates Using the Local Group Policy Editor
The Local Group Policy Editor is an important Windows utility that enables you to manage system policies effectively. With this tool, you can access the automatic driver update policy and configure it to stop downloading drivers automatically. Here’s how to do it: Local Group Policy Editor is available only in Windows Professional, Education, and Enterprise editions. If you’re using Windows Home edition, you may encounter an error message stating, ‘Windows cannot find gpedit.msc’ when trying to access the Local Group Policy Editor. Fortunately, you can resolve this error quickly. Check out our guide on how to fix the gpedit.msc missing error and use the Local Group Policy Editor on Windows Home edition. Step 1: Press the Windows + R keyboard shortcut to open the Run tool. Step 2: Type gpedit.msc in the box, and click OK. Step 3: In the Local Group Policy Editor, head towards the following location: Step 4: Double-click on the ‘Do not include drivers with Windows Updates’ policy from the right pane. Step 5: Choose the Enabled option. Then, click the Apply button and OK.
3. Turn Off Automatic Driver Updates Using the Registry Editor
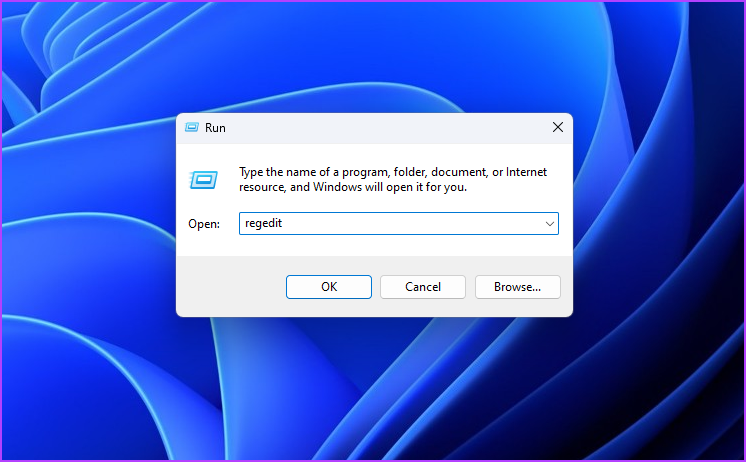
Another quick way to disable automatic driver downloads is by editing the Windows registry. However, before proceeding with this method, it’s crucial to back up the registry and create a restore point to avoid any potential data loss in case something goes wrong during the editing process. Once you’re done with the prerequisites, follow these steps to stop Windows from updating drivers automatically: Step 1: Press the Windows + R keyboard shortcut to open the Run tool, type regedit in the box, and click OK. Step 2: In the Registry Editor, copy and paste the following location in the address bar: Step 3: Double-click on the SearchOrderConfig value in the right pane. Step 4: Type 0 in the Value data and click OK. Configuring SearchOrderConfig’s Value data to 0 will prevent Windows from automatically downloading driver updates. In future, if you want to turn on automatic downloads, type 1 in the SearchOrderConfig’s Value data and save the changes.
Everything Under Control
Automatic device driver updates automatically download the latest driver updates on your system. While this feature can be helpful, it can sometimes download drivers that may cause issues on your Windows PC. So, it’s advisable to turn off automatic driver updates on Windows 11 using the methods outlined above. The above article may contain affiliate links which help support Guiding Tech. However, it does not affect our editorial integrity. The content remains unbiased and authentic.


