Corruption in your system files, a temporary glitch in the app, and an overclocked GPU are the usual culprits behind this error. If you struggle with the ‘Exception breakpoint has been reached’ error, try the solutions below to troubleshoot the error for good.
1. Run Disk Checker
Whenever you encounter the ‘Exception breakpoint has been reached’ error, you’ll need to check the health of your hard drive. To do that, you’ll have to run the CHKDSK scan. It’s a command-line tool that quickly detects and eliminates fragmented data and other bad sectors on the disk surface that might be causing the error. Here’s how to run the CHKDSK scan on Windows 11: Step 1: Press the Windows key to open the Start Menu. Step 2: Type Command Prompt in the search bar and choose Run as administrator from the right pane.
Step 3: Paste the following command in the Command Prompt window and press Enter:
After the scan completes, restart your computer and check for the issue.
2 . Run SFC and DISM Scan
The system files can often get corrupted due to sudden shutdowns or virus attacks. These corrupt files can cause various issues, including the ‘Exception breakpoint 0x80000003’ error. You can quickly detect and eliminate corruption from these files by running an SFC scan. To run an SFC scan, launch Command Prompt with administrative privileges, type sfc /scannow, and press Enter. The process may take some time, depending on how many files it needs to scan. After that, check for the issue. If it continues, you’ll have to run the DISM scan.
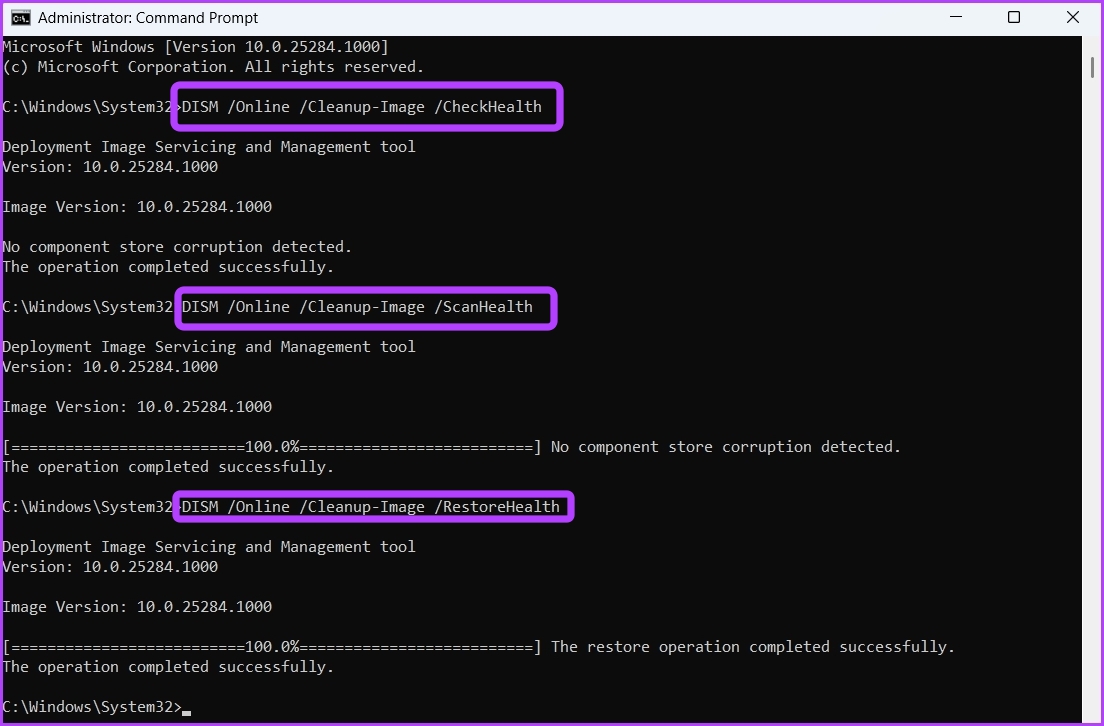
Deployment Image Servicing and Management (DISM) scan helps you fix the system files by matching them with the Windows image. To run the DISM scan, execute the following commands one by one in the elevated Command Prompt window.
3. Disable GPU Overclocking
Overclocking can do wonders if done correctly. However, it’s also a reason for the ‘Exception breakpoint has been reached’ error. Check if the error appears only on launching graphics-intensive games or apps. If yes, then your overclocked GPU is the culprit. To fix this, disable any GPU overclocking. Open your overclocking tool and undo all the recent changes in GPU overclocking. After that, restart your computer and check for the error.
4. Use the Memory Diagnostic Tool
Memory leak also causes this error to cough up on your Windows computer. When an application uses more memory over time without releasing it for other applications, then it may end up hogging memory resources in the long run. That’s when you can use the Windows Memory Diagnostic tool to check your system for memory issues. Here’s how to use that: Step 1: Type Windows Memory Diagnostic in the Start Menu search bar and press Enter.
Step 2: Select the ‘Restart Now and check for the problems’ option.
Your computer will now boot into the Windows Memory Diagnostic tool menu. The scanning process may take some time, so keep patience. Once done, your computer will automatically restart and display the test result.
Analyze the result and check if the RAM is defective. If yes, try changing the RAM slot. However, if that doesn’t make any difference, you might have to replace the RAM in your computer.
5 . Reinstall the Problematic App
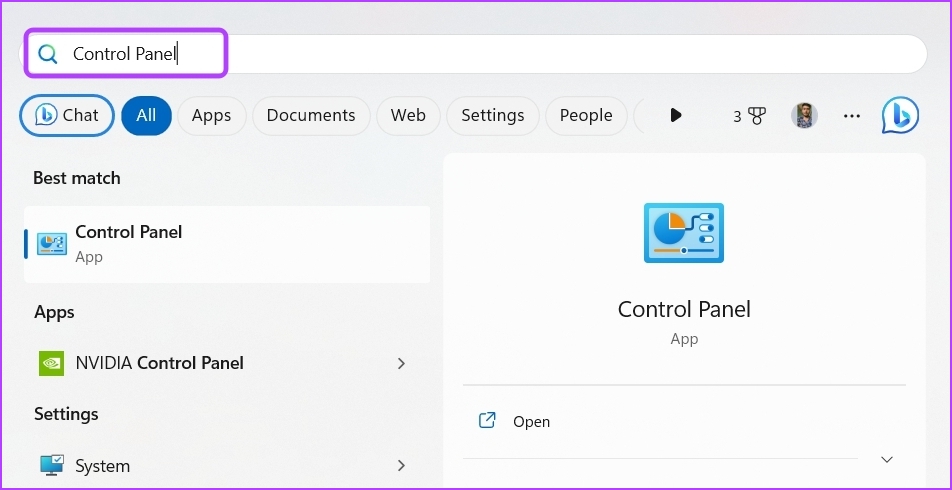
If the error message appears on launching an app, then you can reinstall that app to solve the problem. Reinstalling the app will remove any temporary bug or glitch that might be causing the issue. To reinstall the app, follow these steps: Step 1: Press the Windows key to open the Start menu, type Control Panel in the search bar and press Enter to launch it.
Step 2: From the Control Panel window, choose Uninstall a program under Programs section.
Step 3: Right-click on the problematic application and choose Uninstall. Follow the on-screen instructions to complete the uninstallation process.
After that, download the latest version of the app from its official website.
6 . Create New User Account
Are you still getting the error message? If yes, there’s probably something wrong with your current user profile. You’ll have to create a new user account in Windows to solve the problem. Here’s how you can do that: Step 1: Press Windows + I keyboard shortcut to open the Settings app. Step 2: Choose Accounts from the left sidebar and select Other users from the right pane.
Step 3: Click the Add Account button.
Step 4: Click the ‘I don’t have this person’s sign-in information‘ option.
Step 5: Choose the ‘Add a user without a Microsoft account’ option.
Step 6: Enter the details and click Next.
You’ve successfully created a new user account. Switch to it to eliminate the ‘Exception breakpoint has been reached’ error.
Launch Apps Without Any Issues
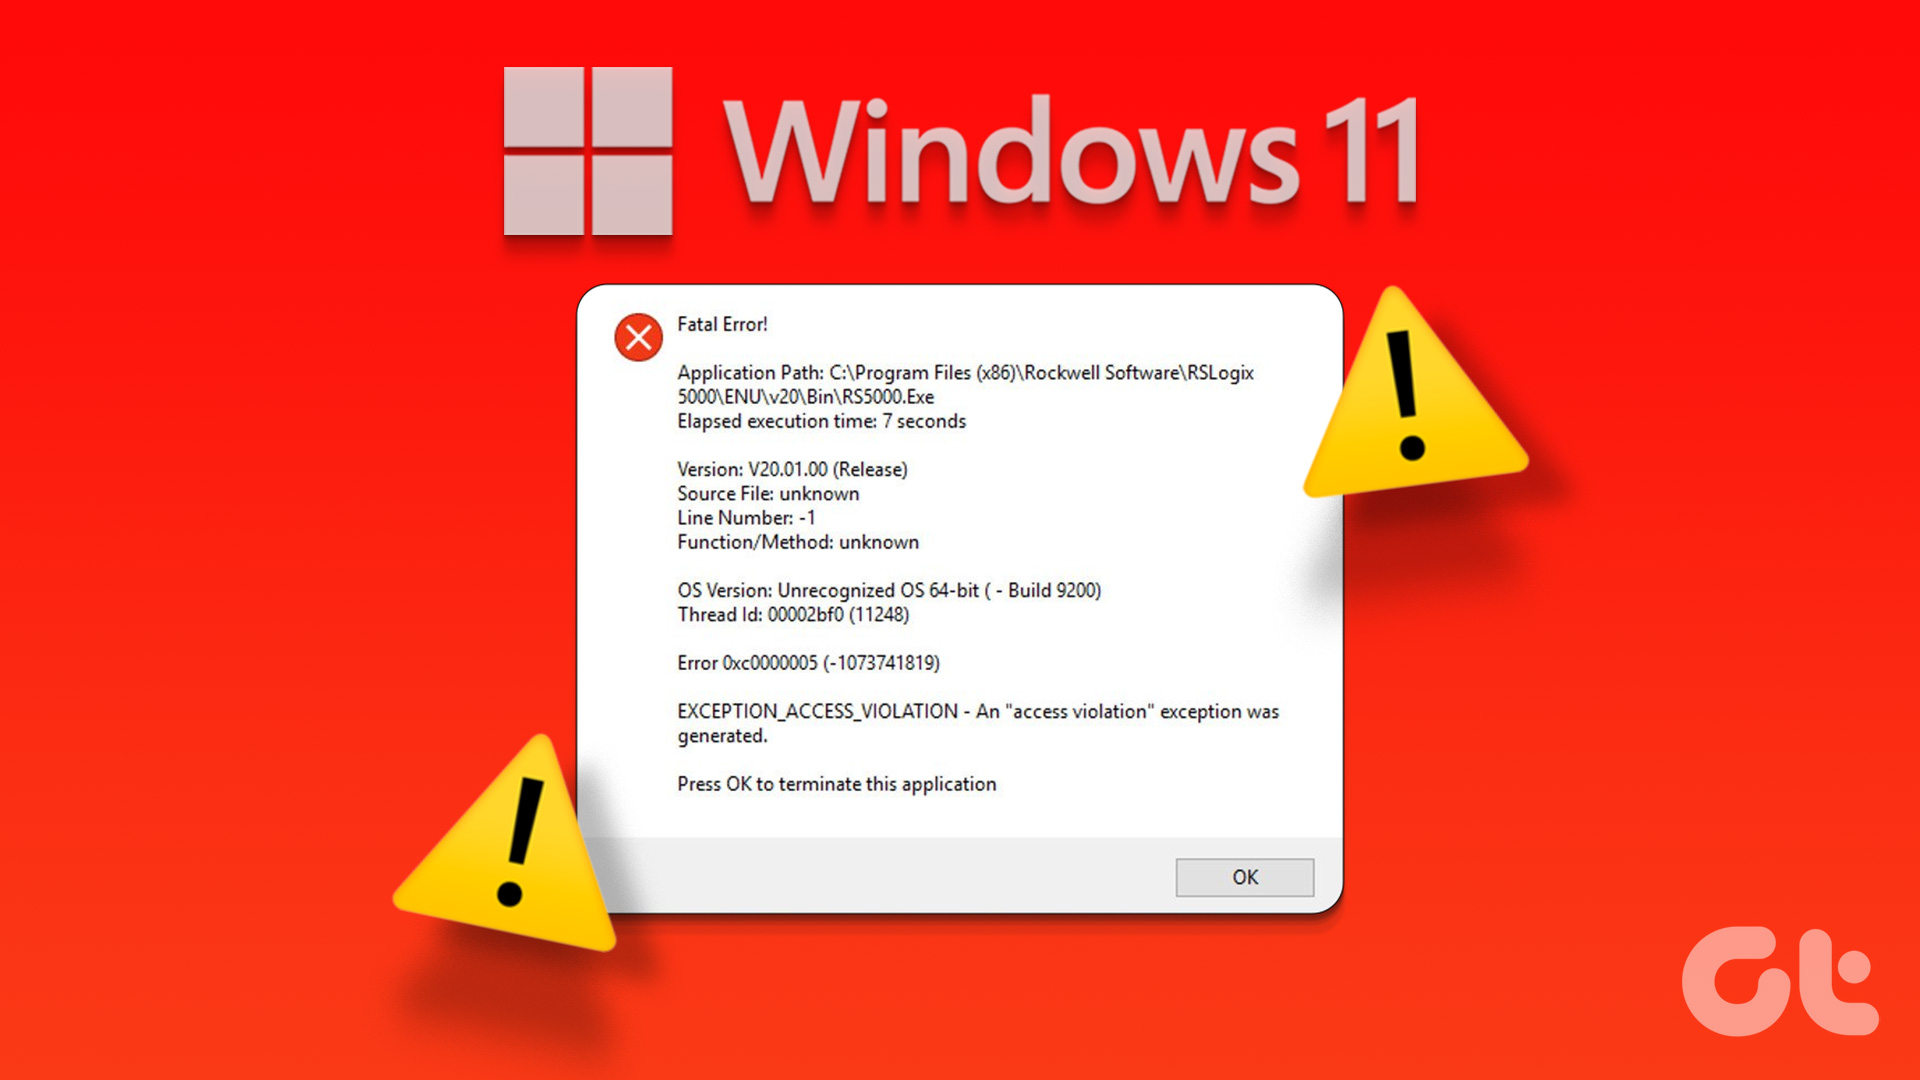
The ‘Exception breakpoint has been reached’ is among the many errors you might face when launching an application on Windows 11. Fortunately, it’s a common issue, and you can quickly resolve it using the above fixes. However, if none of the solutions were helpful, ensure Windows 11 is active on the computer. The above article may contain affiliate links which help support Guiding Tech. However, it does not affect our editorial integrity. The content remains unbiased and authentic.


![]()