That’s why it can be a hassle when your external microphone stops working while you are readying to take an important call or online lecture. If you face any issues, we bring the best fixes for the external microphone not working on your Mac.
1. Check USB Port or USB Hub
Most external microphones have a USB Type-A connection for connecting to your MacBook or iMac. So firstly, you should try connecting the external microphone to another USB port. Also, if you are using a USB Hub with Type-C to connect your external microphone to your Mac, check if that USB Hub is working properly or not by connecting more devices with it. You can read our post if the USB Type-C port on your Mac stops working.
2. Change External Microphone Levels
Every external microphone has a rotating dial to increase or decrease the input volume level. So your peers on the video calls cannot hear you clearly, we suggest changing the volume levels using that dial or knob. Then, check if the problem is solved.
3. Restart Your Mac
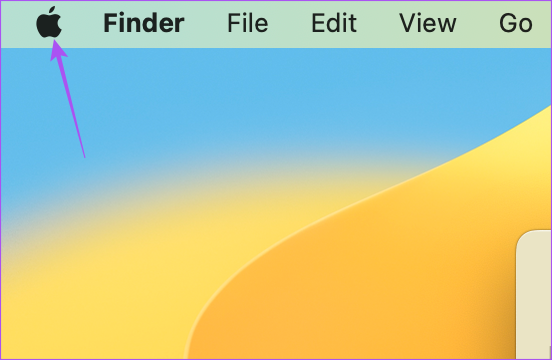
Another basic solution but something that we often tend to forget to do even when we don’t actively use our Mac. Restarting your Mac can help fix many software and app-related issues. Step 1: Click the Apple icon in the top-left corner.
Step 2: Select Restart.
After your Mac restarts, check if the problem is solved.
4. Check the Input Source
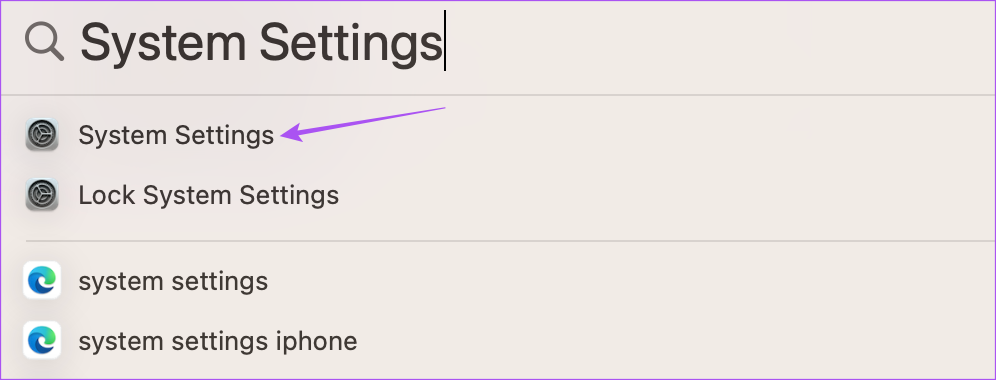
If your external microphone has not worked, you should now check the Input Source on your Mac. The internal microphone of your Mac acts as the default Input Source. Your external microphone should automatically become the Input Source once it is connected. If that’s not happening. here’s how to check the same. Step 1: Press Command + Spacebar to open Spotlight Search, type System Settings, and press Return.
Step 2: Click on Sound from the left menu.
Step 3: Scroll down and under Input, check if your external microphone has been selected.
If not, click on it to enable it. You can also quickly check the Input Levels and adjust the Input Volume as per your choice.
Step 4: After that, check if the problem is solved.
5. Check App Permissions
Many apps like Zoom, WhatsApp, Telegram, and Microsoft Teams require permission to use your Mac’s microphone. If you can still not use the external microphone, here’s how to check if the apps on your Mac have been allowed. Step 1: Press Command + Spacebar to open Spotlight Search, type System Settings, and press Return.
Step 2: Scroll down and click on Privacy and Security from the left menu.
Step 3: Scroll down and click on Microphone.
Step 4: Check from the list of apps and see which ones are allowed to use the microphone.
Click the toggle next to the app name to enable microphone access. Step 5: Close the window and check if the problem is solved.
6. Perform SMC Reset
Resetting your Mac’s SMC or System Management Controller will help resolve hardware-related issues, including the external microphone, if it stops working. Do note that SMC reset is only applicable for Intel-based Macs. To perform an SMC reset on your Mac running on the M-Series chip, restart it. You can read our post to check the steps for SMC reset on your Intel-based Mac.
7. Update macOS
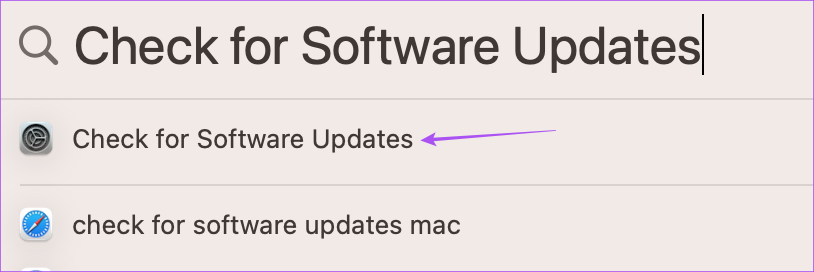
If the solutions have worked for you just now, it can be a bug present in the current version of macOS. We suggest updating the macOS version and seeing if the problem gets solved. Step 1: Press Command + Spacebar to open Spotlight Search, type Check For Software Update, and press Return.
Step 2: If an update is available, download and install it.
Mic Testing
These solutions should help in resuming the use of an external microphone on your Mac. You can also use an external microphone for recording better-quality Voice Memos on your Mac. But if that’s something you don’t prefer all the time for your video calls, we have a list of the best webcams for your Mac with a microphone. The above article may contain affiliate links which help support Guiding Tech. However, it does not affect our editorial integrity. The content remains unbiased and authentic.


