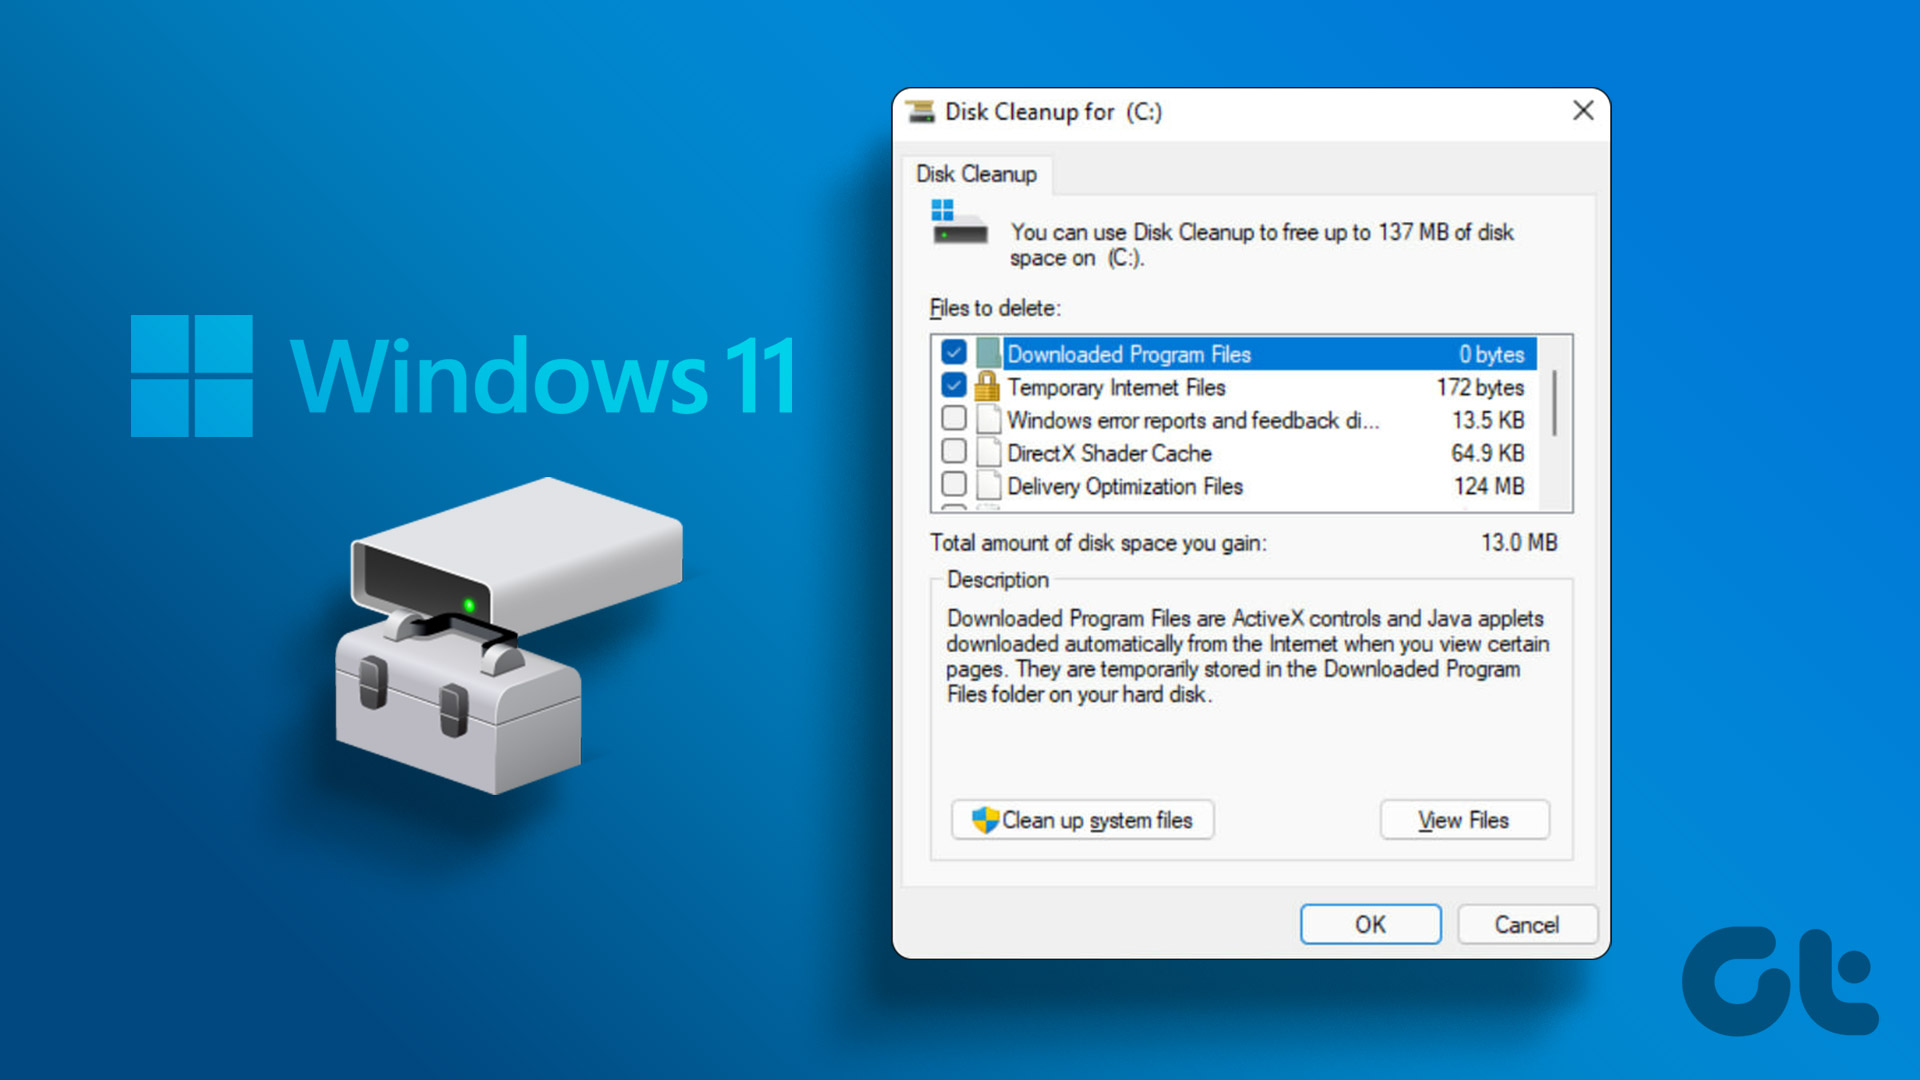
Disk Cleanup tool can help remove temporary files, old update logs, thumbnails cache, and other unnecessary files. It is free and secure because it ships with the operating system. We will list quick ways to open Disk Cleanup in Windows and remove the system clutter. Let’s begin.
1. Run Disk Cleanup Using the Start Menu
Start Menu is the easiest way to access the Disk Cleanup utility. It makes searching and opening any program or file very convenient. Here’s how to open Disk Cleanup using the Start Menu: Step 1: Press the Windows key to open the Start menu. Step 2: Type Disk Cleanup in the search bar and press Enter to open the Disk Cleanup app.
That’ll launch the Disk Cleanup tool window
2. Run Disk Cleanup Using the Pinned Start Menu or Taskbar Shortcut
You can pin the Disk Cleanup tool to the Start Menu or create a Taskbar shortcut. Both of these ways eliminate the need to search for the tool and directly launch it whenever required. Here’s how: Step 1: Open the Start Menu and type Disk Cleanup. Step 2: Go to the right pane and click on the Pin to Start option.
Step 3: After that, click on the Pin to taskbar option.
Now, Disk Cleanup will appear in the pinned app section when you open the Start menu. It will also remain pinned to the Taskbar unless you remove it manually.
3. Run Disk Cleanup Using the Control Panel
Control Panel acts as a central hub for majority built-in tools and settings. While Microsoft is trying hard to move many options to the Settings app, most of them still redirect to Control Panel. Here’s how to run Disk Cleanup using Control Panel: Step 1: Press the Windows key + S shortcut to open Windows Search, type Control Panel, and then press Enter to launch it.
Step 2: In the Control Panel window, click on the System and Security option.
Step 3: Scroll down and locate the Windows Tools section. Lastly, click on the ‘Free up disk space’ option to launch Disk Cleanup.
4. Run Disk Cleanup Using the Run Dialog Box
The Run dialog box also offers an easy way to launch applications. Type the correct file path or a matching command. Here’s how: Step 1: Press the Windows key + R shortcut to open the Run dialog box. Step 2: Type cleanmgr in the text input area and click on the OK button or press Enter to open Disk Cleanup.
5. Run Disk Cleanup Using the Command Prompt
If you prefer the command line method to launch applications, you can launch Disk Cleanup from the terminal window directly. It is a shorter way of accessing applications by avoiding the GUI method of opening the Control Panel or Settings. Here’s how: Step 1: Press the Windows key + S shortcut, type cmd, and press Enter.
Step 2: Type the following command in the Command Prompt window and press Enter:
Step 3: Disk Cleanup will launch. Close the Command Prompt window.
6. Run Disk Cleanup Using File Explorer
The Disk Cleanup application resides inside the SysWOW64 folder of the system drive (C:). So, you can access the C: drive and launch the tool using its executable file. Here’s how: Step 1: Press the Windows key + I shortcut to open File Explorer. Step 2: Go to the address bar, type the following path, and press Enter:
7. Run Disk Cleanup Using Task Manager
Most use Task Manager only to end processes or disable Startup programs. But you can also run a new task using Task Manager. Repeat the following steps: Step 1: Press the Ctrl + Shift + Escape shortcut to open Task Manager. Step 2: Go to the top bar in the Processes tab and click on the Run new task button.
Step 3: Type cleanmgr.exe in the text input box and press Enter.
Disk Cleanup utility will launch on your system.
8. Run Disk Cleanup Using Windows Tools
Window Tools houses all the important tools meant to deal with the core parts of the operating system. You can directly launch Disk Cleanup from this utility too. Here’s how: Step 1: Press the Windows key, type Windows Tools and press Enter.
Step 2: Scroll down and locate the Disk Cleanup tool on the page. Right-click on the Disk Cleanup icon and click on the Open option.
9. Run Disk Cleanup Using a Desktop Shortcut
You can add a desktop shortcut to the Disk Cleanup tool to access it faster. That way, you can switch to the Desktop and avoid searching for the tool. Here’s how: Step 1: Press the Windows key + D shortcut to switch to the Desktop. Step 2: Right-click on the Desktop to open the context menu and click on the New option. Then, select the Shortcut option from the menu.
Step 3: In the Create Shortcut window, paste the following file path in the text box:
Step 4: Click on the Next button.
Step 5: Type the shortcut name as Disk Cleanup. Click on the Finish button to close the Create Shortcut window.
Step 6: You will see the newly created Disk Cleanup shortcut on the Desktop. Lastly, double-click on it to run the Disk Cleanup tool.
Use Disk Cleanup to Remove Unnecessary Files
Disk Cleanup is an excellent inbuilt tool to remove all the files which serve no purpose. Rather than resorting to a sketchy, untrustworthy cleanup tool, use Disk Cleanup for periodic system cleanup. The above article may contain affiliate links which help support Guiding Tech. However, it does not affect our editorial integrity. The content remains unbiased and authentic.


