The Books app is another great system app that gives you the option to manage your PDF files. This post will show how to add, rename, and share PDFs in Apple Books on your iPhone and iPad.
How to Add PDFs in Books App on iPhone and iPad
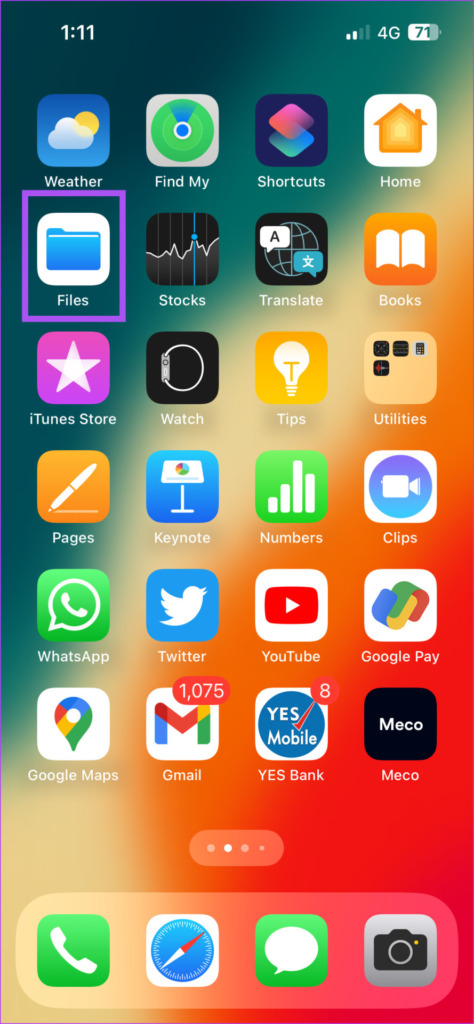
It’s natural to be surprised that Books app does support PDFs by default. That means you won’t have to download anything or do anything extra to start off. The steps remain the same for iPhone and iPad. Step 1: Open the Files app on your iPhone or iPad. Step 2: Tap on the PDF file icon to open it on your screen. Step 3: Tap the Share icon at the bottom-left corner. Step 4: Tap on the Books icon from the list of apps in the Share sheet. The Books app will open your PDF file. If you don’t see the Books app icon in the Sharing options menu, here’s how to enable it on your iPhone and iPad. Step 1: Open your PDF file and tap the Share icon at the bottom-left corner. Step 2: Swipe right on the list of apps and tap the three horizontal dots in the end. Step 3: Tap on Edit at the top-right corner. Step 4: Scroll down and tap the Plus icon next to Books. Step 5: Tap on Done at the top-right corner. Step 6: Tap on Done again at the top-left corner. Repeat the same steps to share your PDF and you will see the option of opening it in the Books app.
How to Use Markup for PDFs in Books App
The Books app doesn’t necessarily allow you to edit your PDFs. However, after you add your PDF files to the Books app, you can use the Markup feature to draw or highlight something important in your PDF file or on multiple pages of your document. Here’s how. Step 1: Open the Books app on your iPhone or iPad. Step 2: Tap on Library. Step 3: Tap on the PDF file which you have added to the Library. Step 4: Select the Markup icon at the top. You can select the Pencil icon at the bottom to write something. You can also tap the Highlighter icon to mark something important in your PDF file. To add annotations to your PDF file, tap the Plus icon in the bottom-right corner and select the Arrow icon. To remove any Markup elements, tap the Eraser icon or use the Reverse Arrow icon at the top. Step 5: To save your changes, tap the Markup icon again.
How to Add Signature to PDFs Using Books App
The Books app also gives you the option to add a signature to your PDF file. If you don’t wish to rely on apps like Adobe Acrobat Reader to sign your PDFs, here’s how to use the Books app. Step 1: Open the Books app on your iPhone or iPad. Step 2: Open your PDF file in which you want to add your signature. Step 3: Tap the Plus icon at the bottom-right corner and select Signature. Step 4: Add your signature and tap on Done at the top-right corner. Your signature will be added to your PDF file. You can select it to resize or select and tap the Reverse Arrow icon at the top to remove it.
How to Share PDFs Using Books App
After making changes to your PDF files, here’s how you can share them using the Books app on your iPhone or iPad. Step 1: Open the Books app on your iPhone or iPad. Step 2: Tap on Library at the bottom. Step 3: Tap the three dots next to your PDF file icon. Step 4: Select Share PDF. You can choose from the list of apps in the share sheet to share your PDF file.
How to Print PDFs Using Books App
You can also print PDF files directly from the Books app. Of course, your iPhone or iPad needs to be connected to the printer at least once to ensure this goes without hiccups. Here’s how you can print your PDFs directly using the Books app on your iPhone and iPad. Step 1: Open the Books app on your iPhone or iPad. Step 2: Open your PDF and tap the hamburger menu icon at the top-left side. Step 3: Tap the Share icon at the top-left corner. Step 4: Select Print. You can choose your printer to start printing your PDF file.
Manage PDFs Using Books App
The Books app is a great system app for managing your PDF files. You can also read our post on the best ways to customize your reading experience in the Books app on your iPhone. The above article may contain affiliate links which help support Guiding Tech. However, it does not affect our editorial integrity. The content remains unbiased and authentic.


