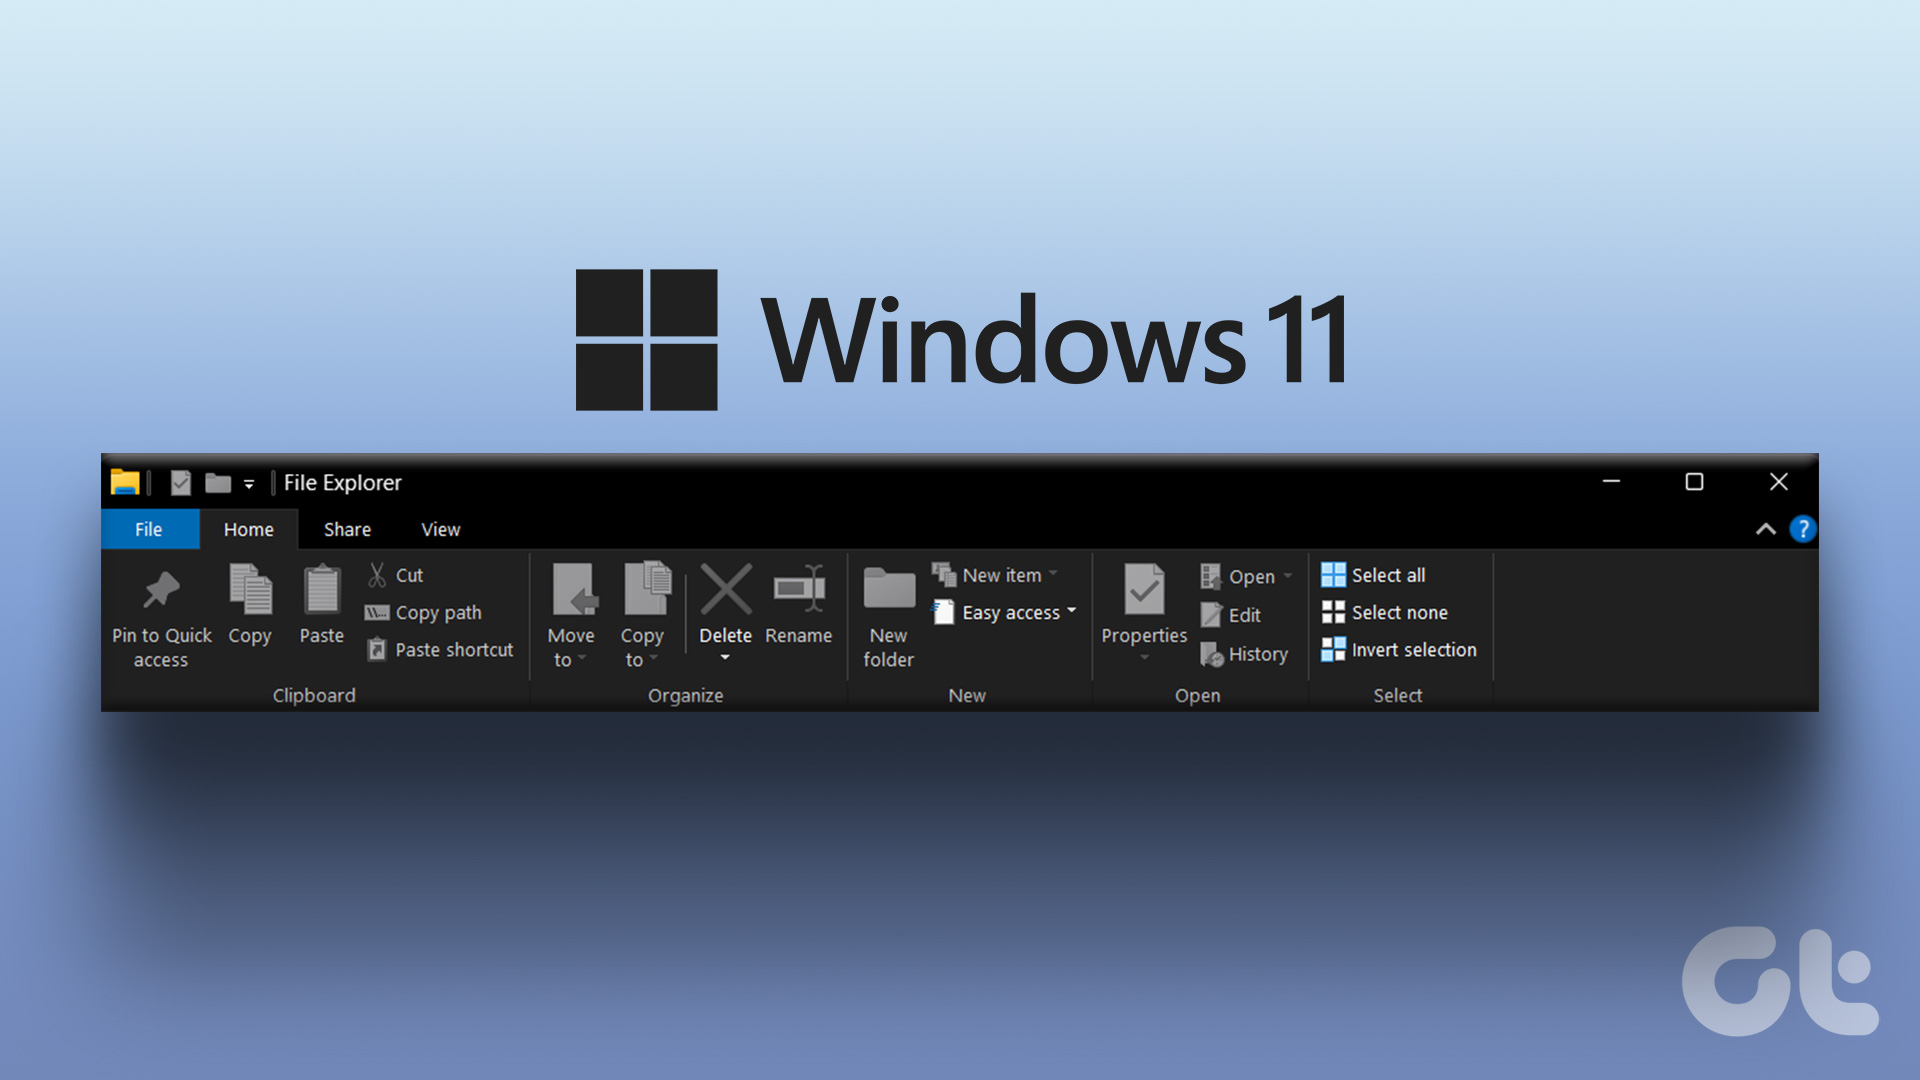
toolbars and ribbons . Now, why do you think they have done so? The simplest reason is that it enables users to work more comfortably with the mouse and perform activities quickly. The best example of the ribbon in the one that comes with all the products in the MS Office suite. It has multiple tabs, a number of groups within each tab and then a few commands in each group. By default, the ribbon comes with a custom set of tools and settings. However, as a user you may want to customize the contents. I recommend you don’t remove any of the options. What you can do is add a few more and choose what is displayed. Let us see how. Note: We will use MS Word 2013 for our example. The steps are almost similar for other MS Office tools and versions other than 2013. Step 1: Click on File to navigate to the backstage view. Step 2: On the left pane, click on Options to open the Word Option window. Step 3: From the window, on the left side, hit on the menu option reading Customize Ribbon. With that you are set to start adding new tabs and groups. Step 4: On the right side of the window you will see a pane to Customize the Ribbon. Hit the New Tab button to add a new tab. With the new tab you will get a default new group. You can add more groups by clicking on New Group. Step 5: You might want to rename the tab. Right-click on it and click on Rename. In the same way you can rename groups. Step 6: You might also want to place it in an apt position. So, you can move it up or down the sequence. Now, let us go back and see how our new test tab looks like. It is blank, it does not have any commands. Well we need to add them. Step 7: Go back to the same Word Options window. Select a group from the tab you have just added. Select a command from the other pane on the left and then click on Add to make it a part of the new tab and new group. I added a few random ones. Let us go back and see our tab again. This time it has a few commands in it. Interesting, right? If you wish a tab not be displayed in the interface you can simply uncheck it from the list where you see them.
Conclusion
MS Office ribbons have only a few tabs and commands showcased by default. However, I feel that they have been carefully chosen and handpicked for normal, day-to-day usage. Now you know how to add new tabs, new groups and new commands. Go ahead and try a few combinations. Next time you feel something is missing, just follow the steps, search for your command and have it added. The above article may contain affiliate links which help support Guiding Tech. However, it does not affect our editorial integrity. The content remains unbiased and authentic.


