You can also share images via email with your contacts. And this post will show you the steps to add pictures to Outlook email and email body using your Mobile and Desktop. We will be covering the steps for different platforms in this post. So please ensure you are using the updated version of Outlook on your respective device.
Add Images to Outlook Email on Desktop
You can send pictures to your Outlook contacts as an attachment via email. Let us first show how to insert images to your Outlook email (as an attachment) using the Desktop apps. Do note that Outlook only allows email attachment file sizes up to 20MB. For larger file sizes, you can share them using OneDrive.
For Windows
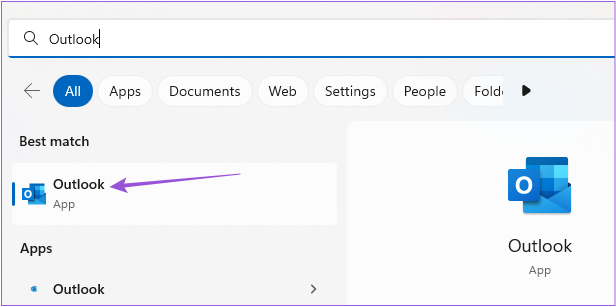
Step 1: Click the Start icon on the Taskbar, type Outlook, and press Enter to open Outlook. Step 2: Click on New Email at the top-left corner. Step 3: Click the Insert tab in the New Message window. Step 4: Click on Attach File to select your image. That’ll attach the image you select to your email. You can click the arrow icon next to your attachment and select Remove Attachment.
For Mac
Step 1: Press Command + Spacebar keyboard shortcut to open Spotlight Search, type Outlook, and press Return. Step 2: Click on New Message at the top left side. Step 3: Click on Attach File in the Compose section. Step 4: Select the file source and attach the same. When Outlook attaches the image, you will see an icon of your attachment. You can type the email and send it. To remove the attachment, click the dropdown menu and select Remove. You can also read our post if the Outlook app stops working on your Mac.
Add Inline Image to Outlook Email on Desktop
If you don’t wish to send an image as an attachment on Outlook, you also get the option to send it as an inline image. This means that you can add an image directly in the body of your email. Here’s how to insert images to your Outlook email (not as an attachment) using the Desktop apps.
For Windows
Step 1: Click the Start icon on the Taskbar, type Outlook, and press Enter to open Outlook. Step 2: Click on New Email at the top-left corner. Step 3: Select the Format Text tab in the New Message window. Step 4: Click the three horizontal dots on the right side in the Format Text tab. Step 5: Select HTML as the Message Format. Step 6: Place the cursor in the email message body where you want the inline image. Step 7: Click the Insert tab and select Pictures. After you select the image, it will be added as an inline image in the body of your email.
For Mac
Step 1: Press Command + Spacebar keyboard shortcut to open Spotlight Search, type Outlook, and press Return. Step 2: Click on New Message at the top-left side. Step 3: Place the cursor in the email body where you want to place the inline image. Step 4: Click the Image icon in the Format menu bar. Step 5: Select your file source and then attach the image to the email body. After that, you can select the inline image to resize it if you want to. You can right-click on the image and select Format Picture to edit your Inline image.
Add Images to Outlook Email on Mobile
While using the Outlook app on your iPhone or Android to manage your emails, you can add a picture both as an attachment and as an Inline image. The steps remain the same for iPhone and Android. Step 1: Open the Outlook app on your Android or iPhone. Step 2: Tap the Plus icon at the bottom-right corner (iPhone) or tap on New Email at the bottom-right corner (Android). Step 3: Tap on the Attachment icon. Step 4: Select the file location on your iPhone or Android to attach the image. The image will be added as an attachment to your email. To make it an Inline image, tap the three dots next to the attachment and select Move to Message Body. You can select Remove Attachment to delete it from your email.
Send Pictures Via Outlook
You can easily add pictures to your Outlook email and send them to your contacts. You can also read our post to learn how to delete multiple emails in Outlook. The above article may contain affiliate links which help support Guiding Tech. However, it does not affect our editorial integrity. The content remains unbiased and authentic.


