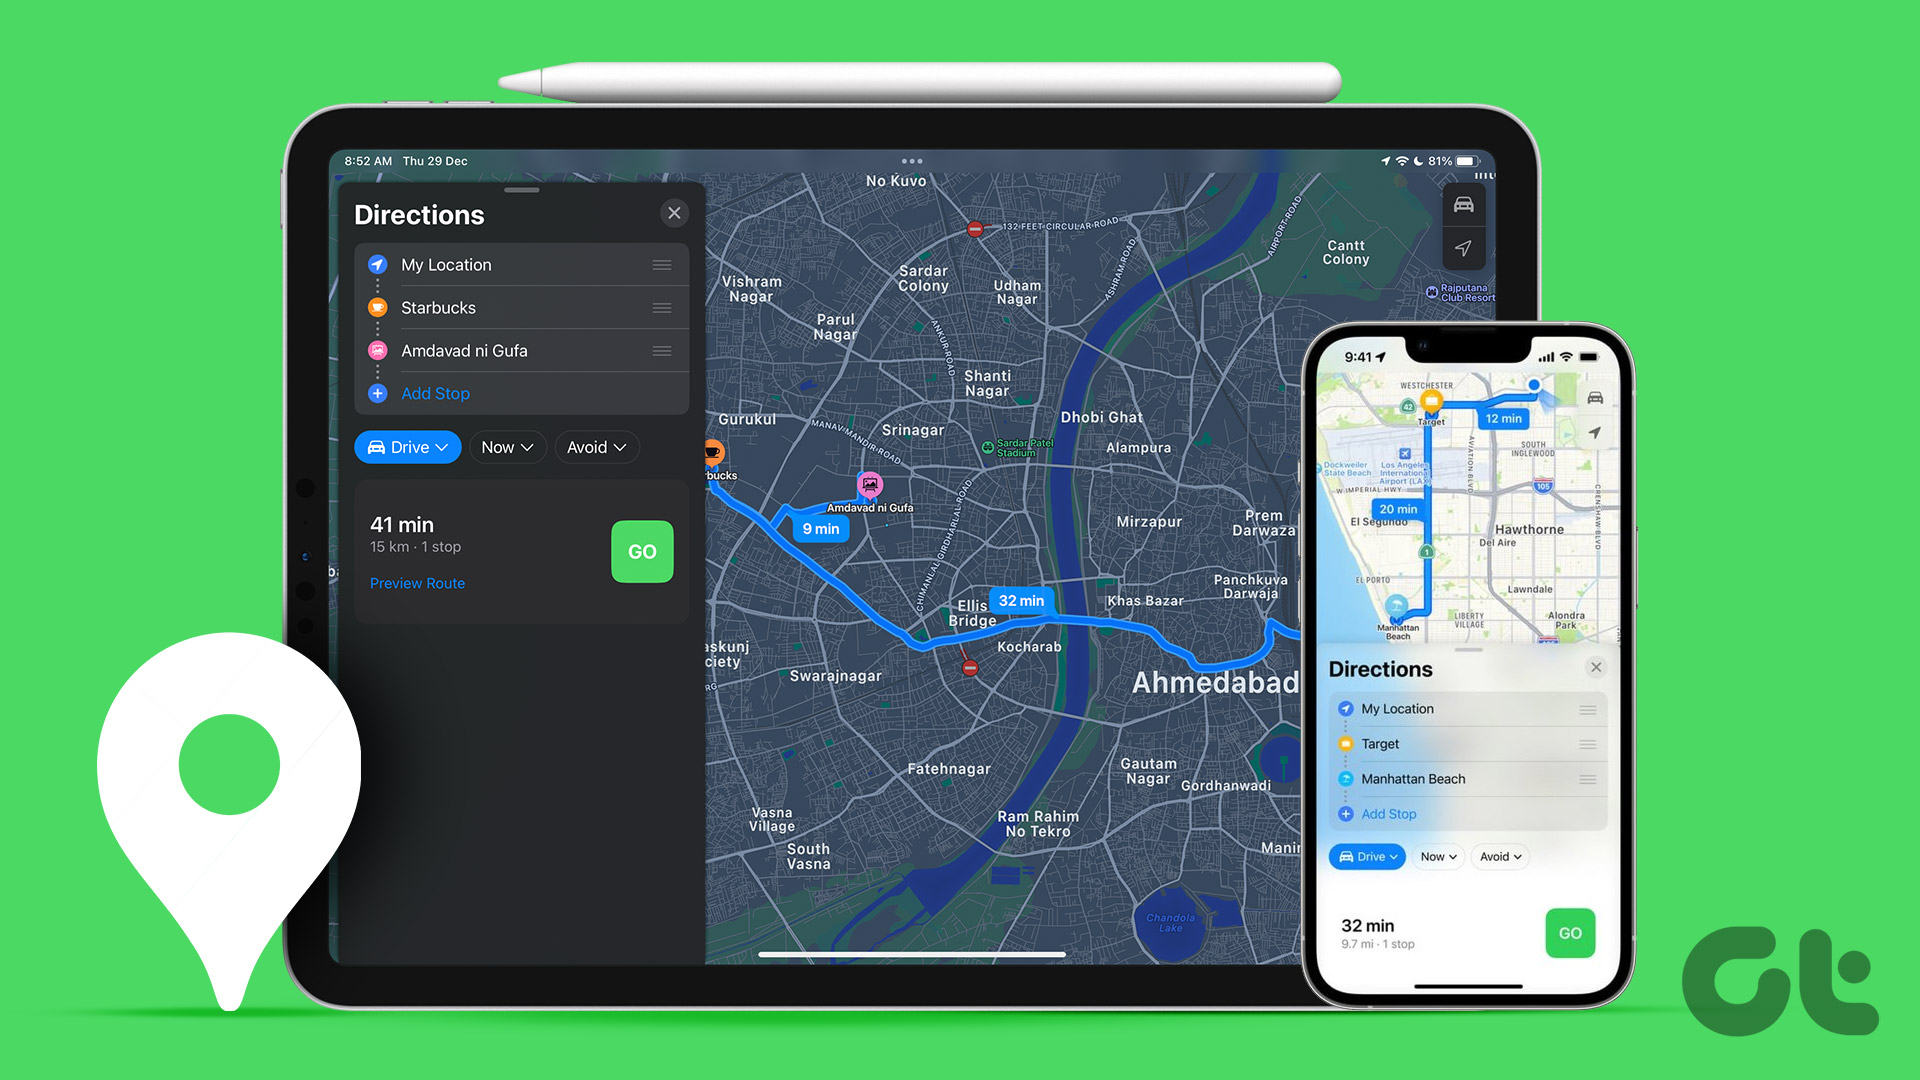
This will help Apple Maps find the best route and directions to avoid unexpected roadblocks. In this post, we will share the steps to add or change your home address in Apple Maps on your iPhone.
Before Getting Started
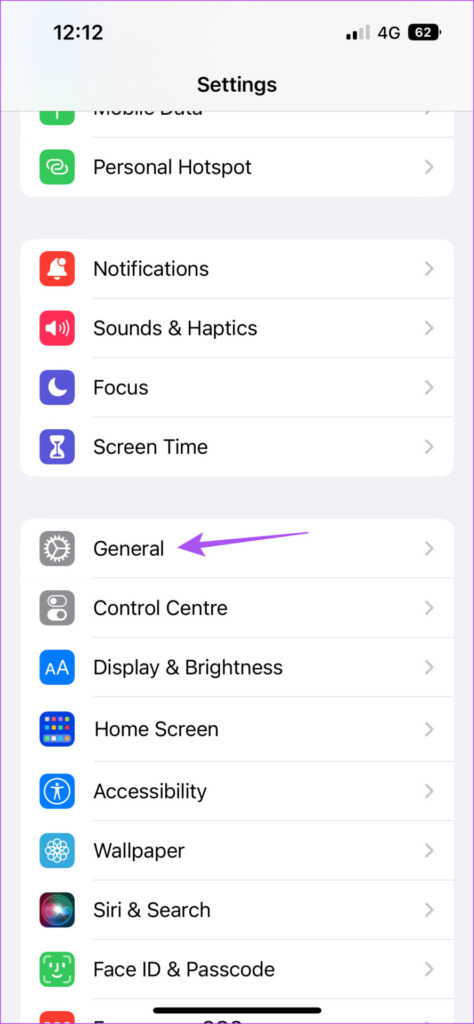
We suggest updating the version of iOS to enjoy a bug-free experience on Apple Maps while you add your home address. Here’s how to do it. Step 1: Open the Settings app on your iPhone.
Step 2: Scroll down and tap on General.
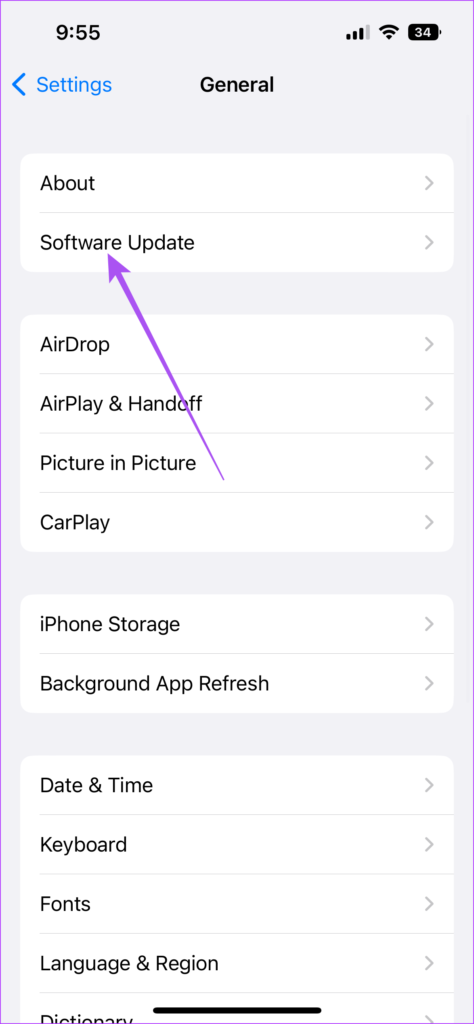
Step 3: Tap on Software Update.
Step 4: If an update is available, download and install it.
How to Add Home Address in Apple Maps on iPhone
After you install the latest version of Apple Maps on your iPhone, you’ll need to ensure that your iPhone is connected to a stable internet connection. Here’s how you can add your home address in the app. Step 1: Open Apple Maps on your iPhone.
Step 2: Under Favorites, tap on Add under the Home icon.
Step 3: Tap on ‘Open My Contact Card’ button at the bottom.
Your Contact Card includes all your information like address, phone number, email address, social media profile link, and more. Step 4: Scroll down and tap on Add Address.
Step 5: Add your home address in the spaces provided. Step 6: After you add the details, tap on Done at the top-right corner to save the changes.
Step 7: Tap on Done at the top-right corner again to add your home address to your Contact Card.
Whenever you tap the Search Bar in Apple Maps on your iPhone, just type Home and select the result to start navigation. Alternatively, here’s how you can add your home address. Step 1: Open Apple Maps on your iPhone.
Step 2: Tap on your profile icon at the bottom-right corner.
Step 3: Select Favorites.
Step 4: Tap on Add Your Home.
Step 5: Tap on ‘Open My Contact Card’ button at the bottom.
Follow the same steps as mentioned above to add and save your home address.
How to Change Home Address in Apple Maps on iPhone
If you have just moved to a new city or a new location in the same city, you also get the option to change your home address in Apple Maps on your iPhone. Here’s how to do it. Step 1: Open Apple Maps on your iPhone.
Step 2: Under Favorites, tap on Add under the Home icon.
Step 3: Tap on ‘Open My Contact Card’ button at the bottom.
Step 4: Scroll down and look for your home address. Step 5: Select the address fields and make changes as per your preference. Step 6: After making the changes, tap on Done at the top-right corner.
Step 7: Tap on Done at the top-right corner again to save the new address in your Contact Card.
You can use the same steps to add or change your office address in Apple Maps on your iPhone.
How to Remove Home Address in Apple Maps on iPhone
If you wish to protect your home address when someone else uses Apple Maps for navigation on your iPhone, you can delete your home address from the Contact Card. Here’s how to do it. Step 1: Open Apple Maps on your iPhone.
Step 2: Under Favorites, tap on Add under the Home icon.
Step 3: Tap on ‘Open My Contact Card’ button at the bottom.
Step 4: Scroll down and look for your home address. Step 5: Swipe right on the home address field and tap the Delete icon on the right side.
Step 6: Tap on Done at the top-right corner to confirm.
Step 7: Tap on Done at the top-right corner again to remove your address from your Contact Card.
Alternatively, here’s how you can use the Contacts app to delete your home address. Step 1: Open the Contacts app on your iPhone.
Step 2: Tap on My Card at the top.
Step 3: Tap on Edit at the top-right corner.
You can follow the same steps as mentioned above to remove your home address. The changes will reflect in Apple Maps.
Manage Your Home Address
Like Google Maps, you can manage your home address in Apple Maps on your iPhone. The best part about adding your address to Apple Maps is that you can create guides out of it and share with your friends or colleagues. Refer our post on how to create and share an Apple Maps Guide with your contacts. The above article may contain affiliate links which help support Guiding Tech. However, it does not affect our editorial integrity. The content remains unbiased and authentic.




![]()


