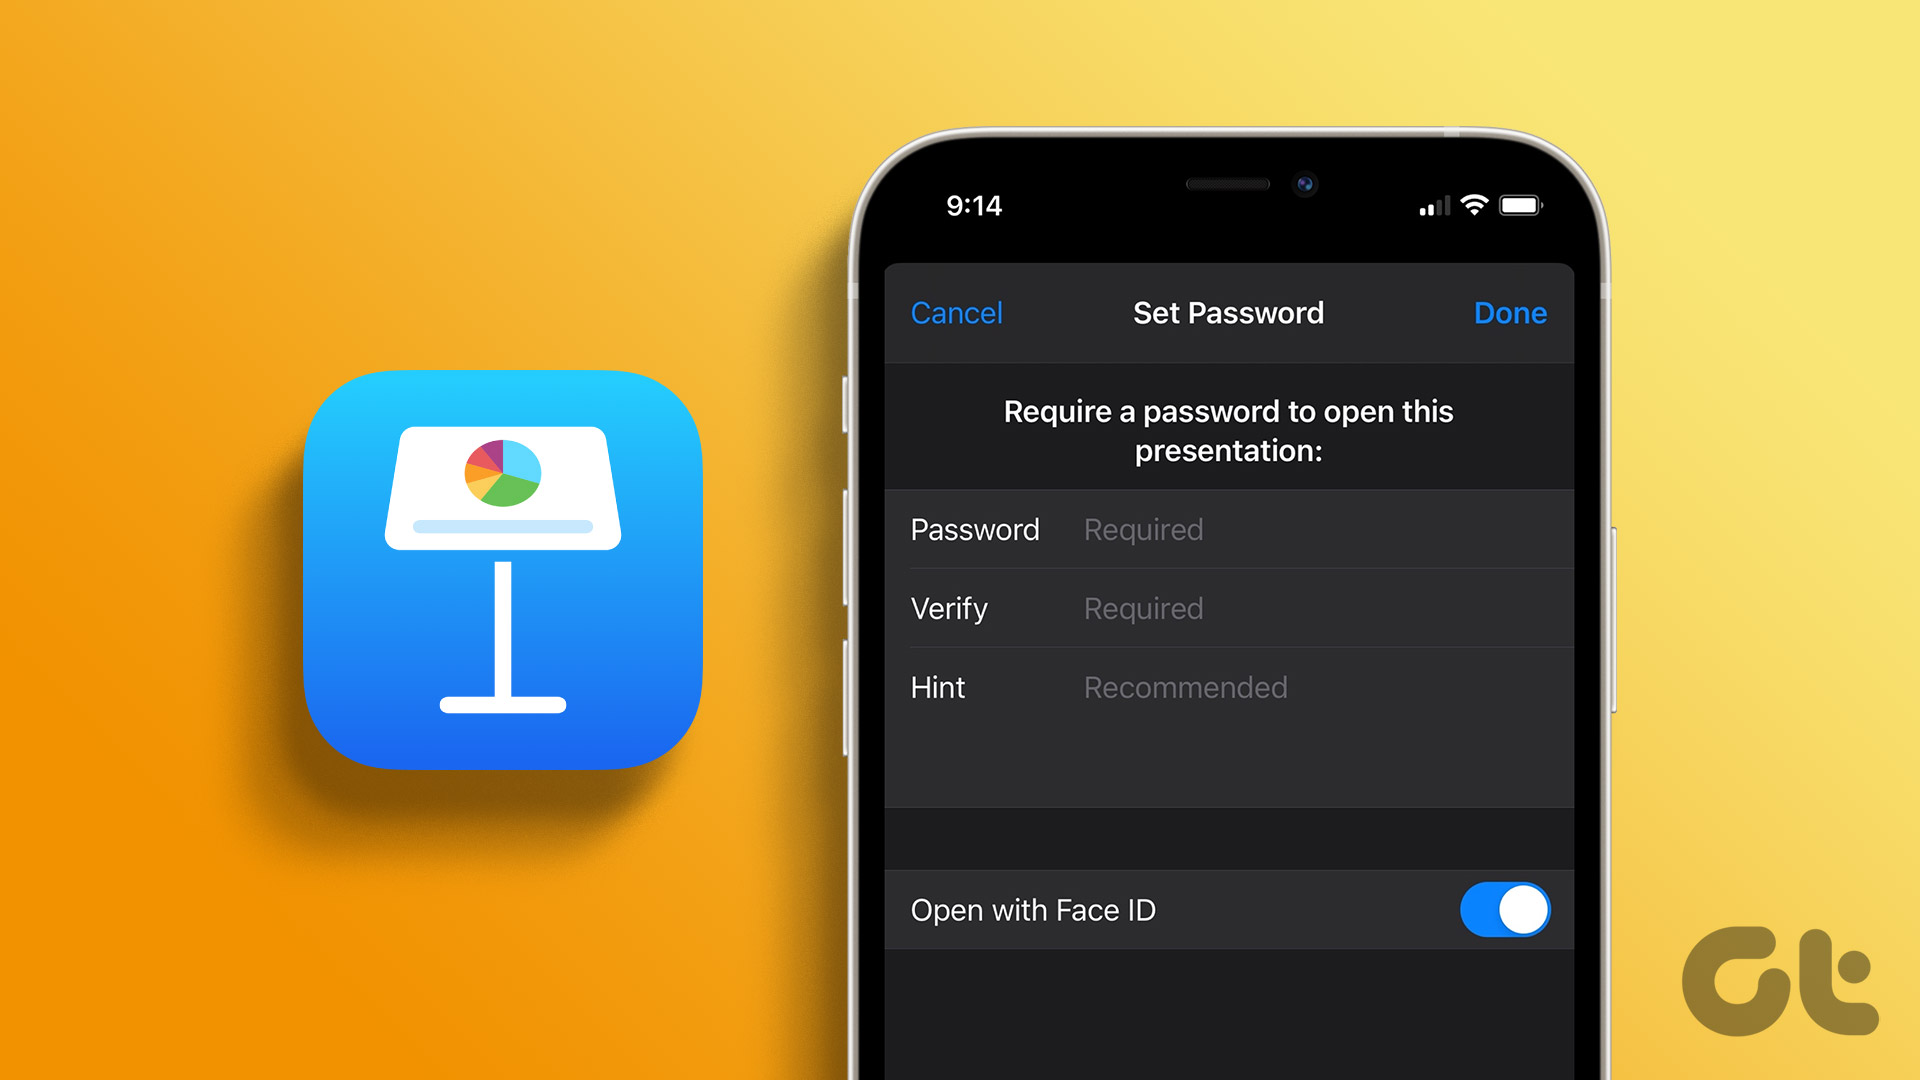
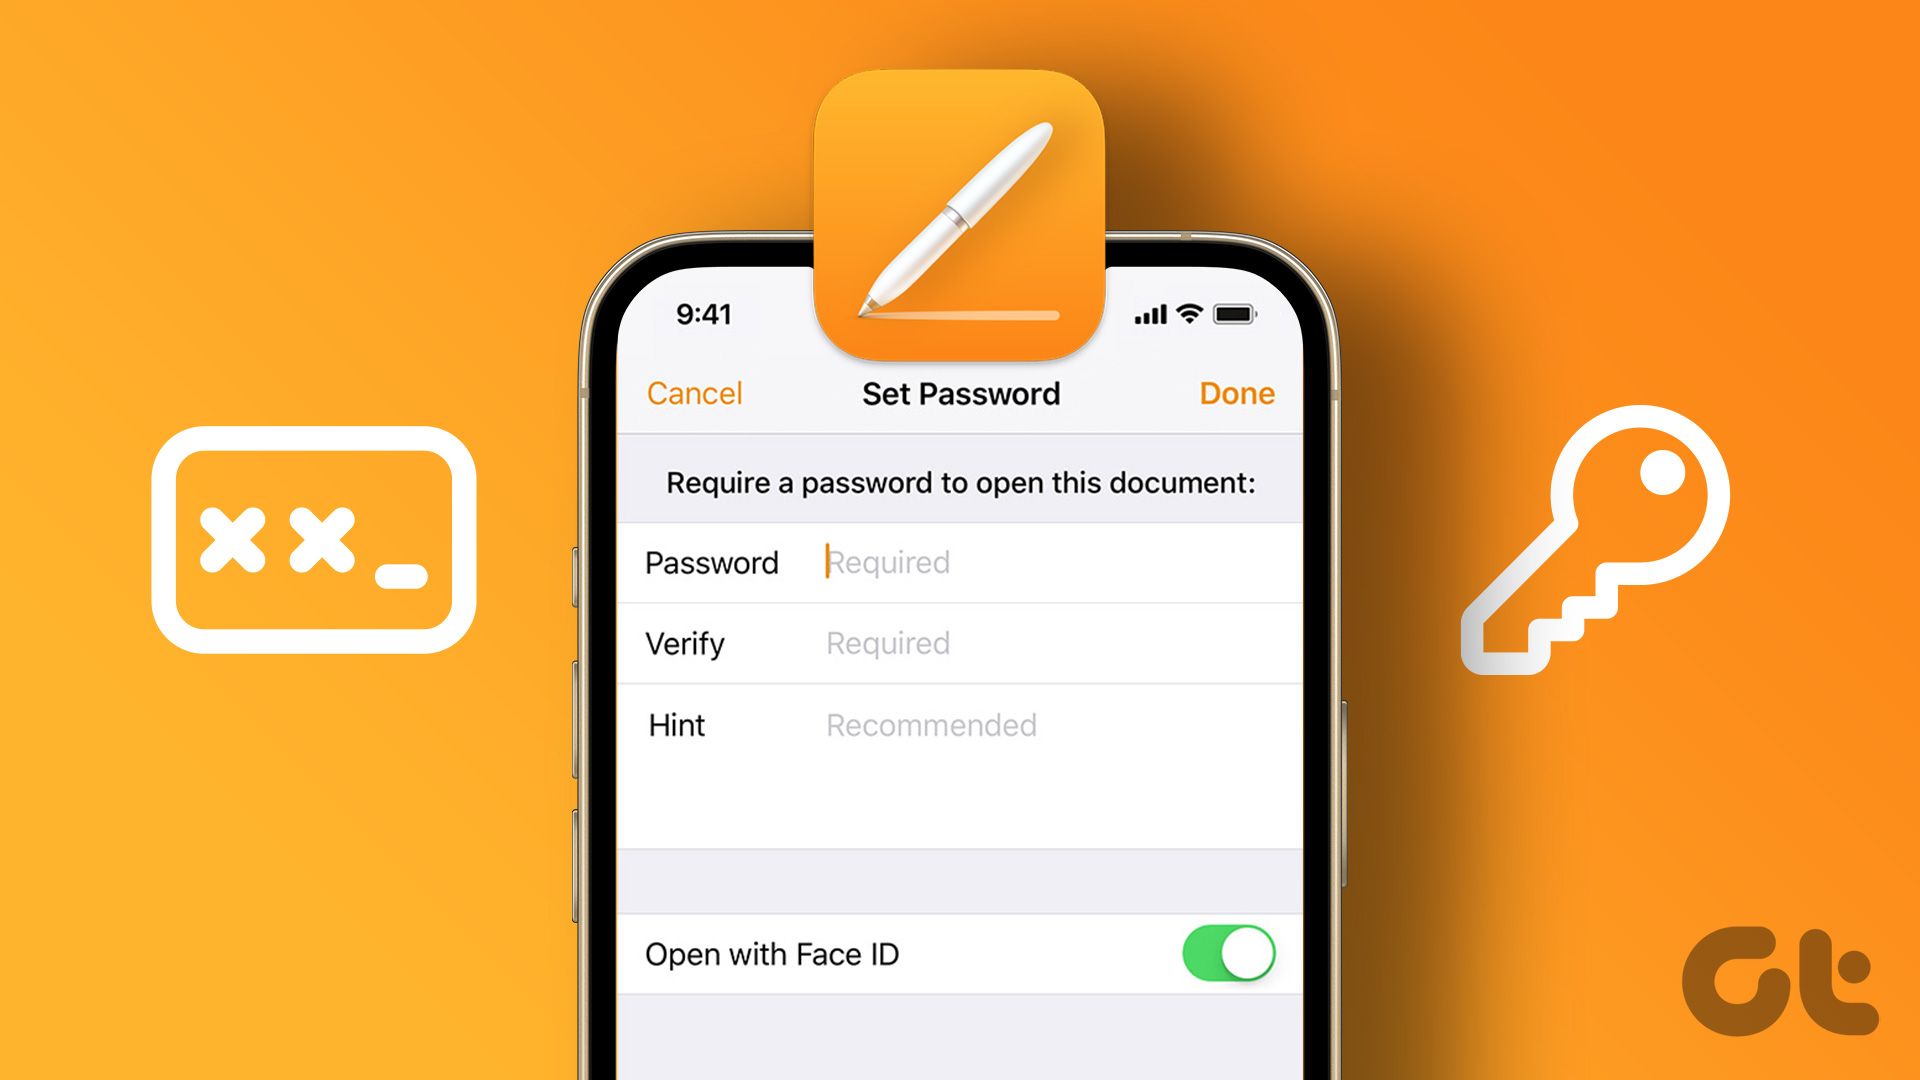
Luckily, the Keynote app offers a built-in option to add a password to your presentation files. The best part is that you can do it on iPhone, iPad, and Mac. Here’s how to add a password to your Keynote presentation file on your iPhone, iPad, and Mac.
Add Password To Keynote Presentation on Mac
By default, it’s natural to use the Keynote presentation file on your Mac when you want to add a password. However, we suggest updating the Keynote app to its latest version before proceeding with the steps. Update Keynote for Mac After updating the apps, here’s how to secure your Keynote file. Step 1: Press Command + Spacebar shortcut to open Spotlight Search, type Keynote, and press Return.
Step 2: Open a Keynote file. Step 3: Click on File at the top-left corner.
Step 4: Select Set Password.
Step 5: Enter the password and re-enter to verify it.
You can check the box next to ‘Open with Touch ID’ if your Mac model supports the feature.
Step 6: Click on Set Password.
Step 7: Press Command + S shortcut to save changes. Your Keynote file is now protected with a password that needs to be entered even for minimal changes like changing the slide size. To access your file, double-click on it and enter your password or use Face ID to open the file.
How to Remove Password From Keynote File on Mac
Here’s how you can remove the password from your Keynote file on Mac. Step 1: Press Command + Spacebar shortcut to open Spotlight Search, type Keynote, and press Return.
Step 2: Open a Keynote file. Step 3: Click on File at the top-left corner.
Step 4: Click on Change Password.
Step 5: Add your current password to verify.
Step 6: Click on Remove Password to confirm.
Step 7: Press Control + S shortcut to save changes. That’ll remove your password from the Keynote file.
Add Password To Keynote Presentation on iPhone or iPad
If you like to look at your Keynote files on your iPhone or iPad, you can add a password to your presentation for extra protection on the go. Just like for Mac, we recommend installing the latest version of Keynote on your iPhone or iPad. Update Keynote for iPhone or iPad Here’s how to secure your Keynote file with a password on iPhone and iPad. Step 1: Open the Keynote app on your iPhone or iPad.
Step 2: Tap to open your Keynote file. Step 3: Tap the three vertical dots menu at the top-right corner.
Step 4: Select Presentation Options.
Step 5: Tap on Set Password.
Step 6: Add your password and re-enter to verify it.
You can also tap the toggle next to Open With Face ID.
Step 7: Tap on Done at the top-right corner.
Your Keynote file will now appear locked in the app. When you tap to open it, you will have to enter the password or use Face ID.
Bonus Tip – How to Remove Password from Keynote File on iPhone or iPad
Here’s how you can remove the password from your Keynote file on your iPhone or iPad. The steps to remove the password remain the same for both iPhone and iPad. Step 1: Open the Keynote app on your iPhone or iPad.
Step 2: Tap to open your Keynote file. Step 3: Tap the three vertical dots at the top-right corner.
Step 4: Select Presentation Options.
Step 5: Tap on Change Password.
Step 6: Enter your current password.
Step 7: Tap the toggle next to Require Password to disable the feature.
Step 8: Tap on Done at the top-right corner.
The password has been removed from your Keynote file.
Secure Your Keynote Files
Whenever you have something important to present using Keynote, securing your file with a password is a good choice. But sometimes, when your Keynote file needs to be accessed by someone else, you might miss out on sharing the password. Plus, on some occasions, there’s an issue with the availability of a Mac for using the Keynote file. On such occasions, it is better to share your Keynote file in a more widely supported format. That’s why we have covered a post that lists the steps to convert a Keynote file to video on iPhone, iPad, and Mac. The above article may contain affiliate links which help support Guiding Tech. However, it does not affect our editorial integrity. The content remains unbiased and authentic.


