Also Read: How to update your Kindle Reader
What Happens When You Remove Your Kindle Account
All the purchased books on the account will also be removed from Kindle. However, note that you can still access these books if you add the account on your Kindle again. Books that are manually added, the ones that are not purchased on the Kindle store, will remain on your device. However, the reading progress on these books will reset. We observed that a few device settings linked to your Kindle account were reset once we removed the account. You will lose all the other benefits that you availed on your account, like Kindle Unlimited, Prime Reading, etc.
Long story short, you will lose access to all the online services that your Kindle account offers. You can only use your Kindle to read books that you added offline. If you’re fine with that, move to the next section.
How to Remove Your Kindle Account
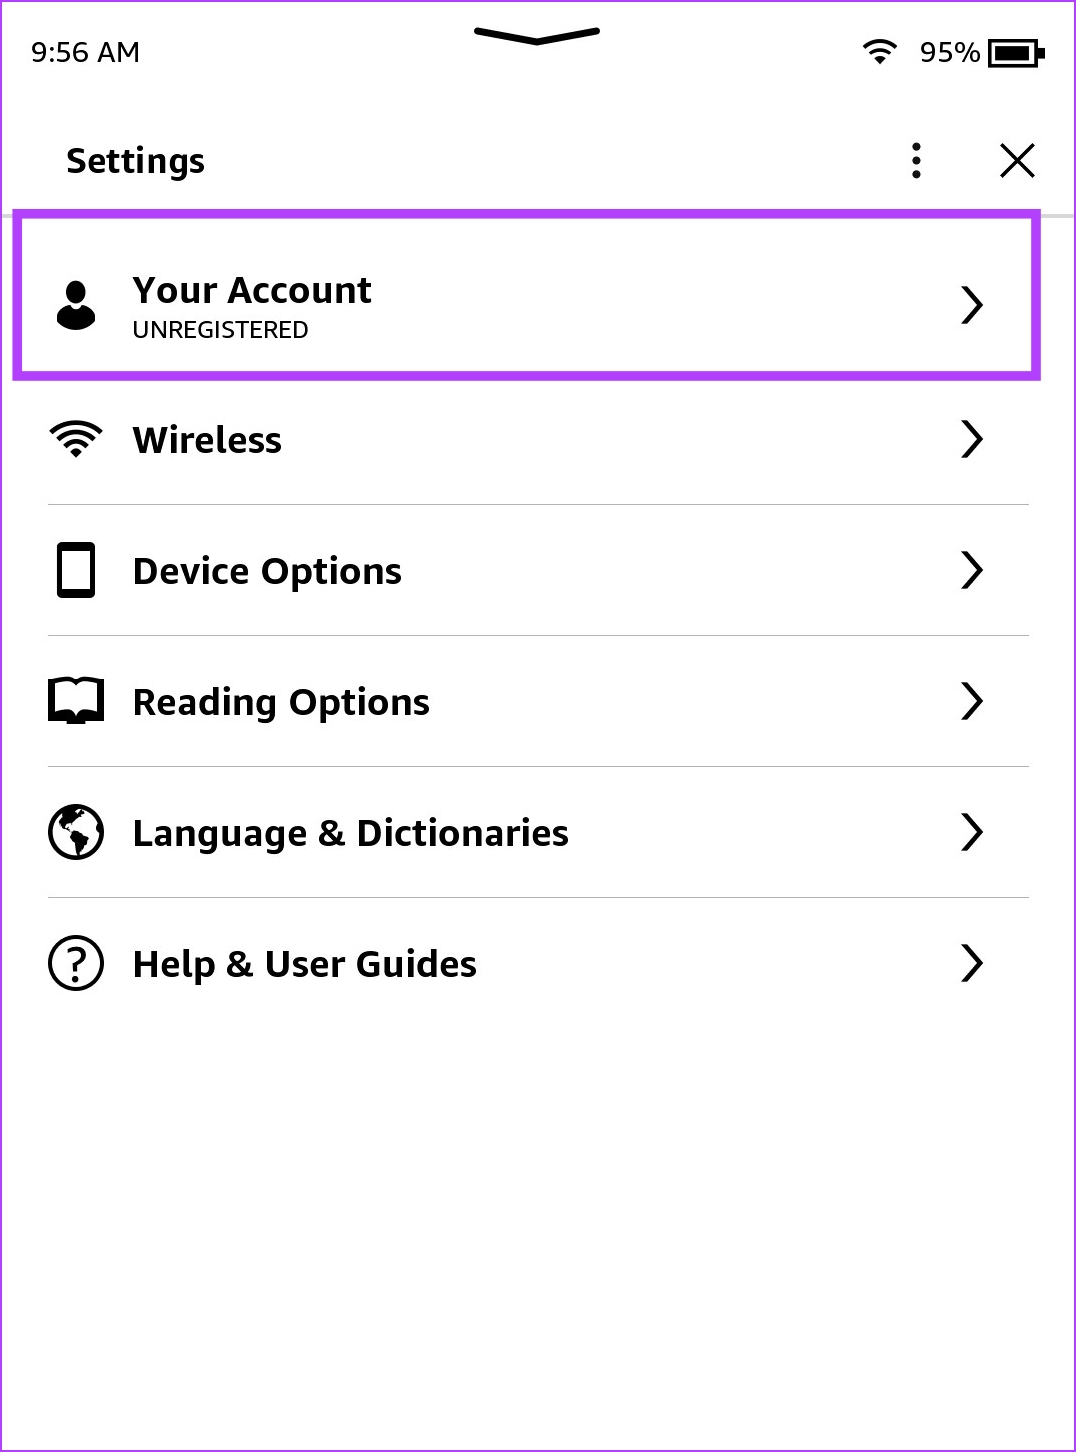
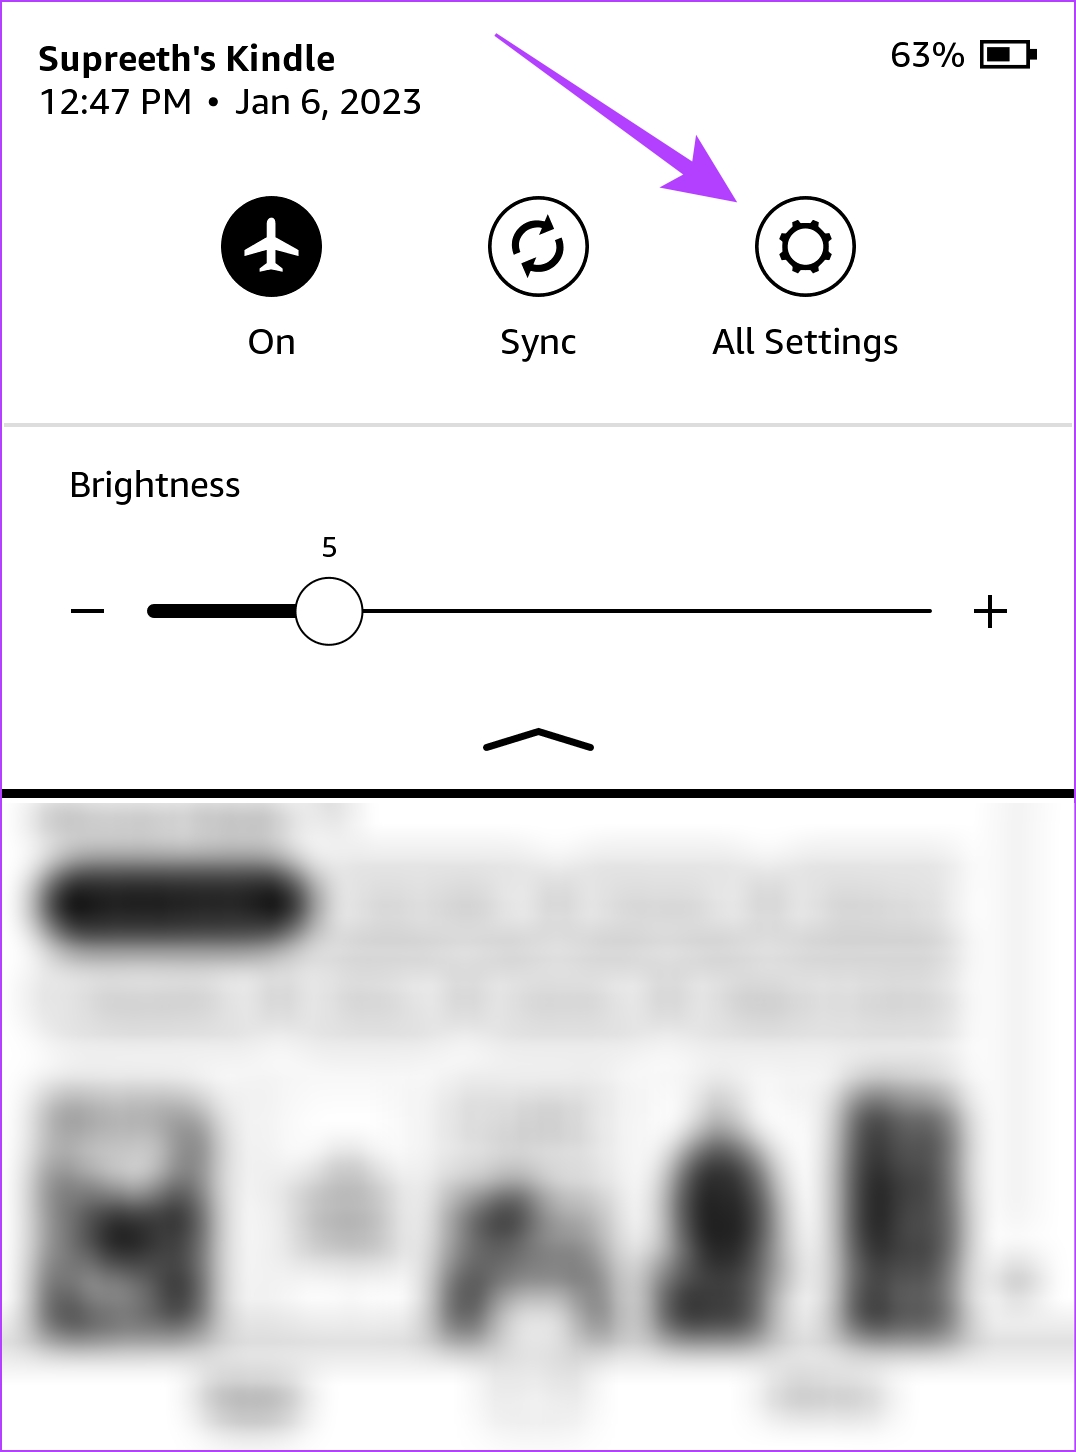
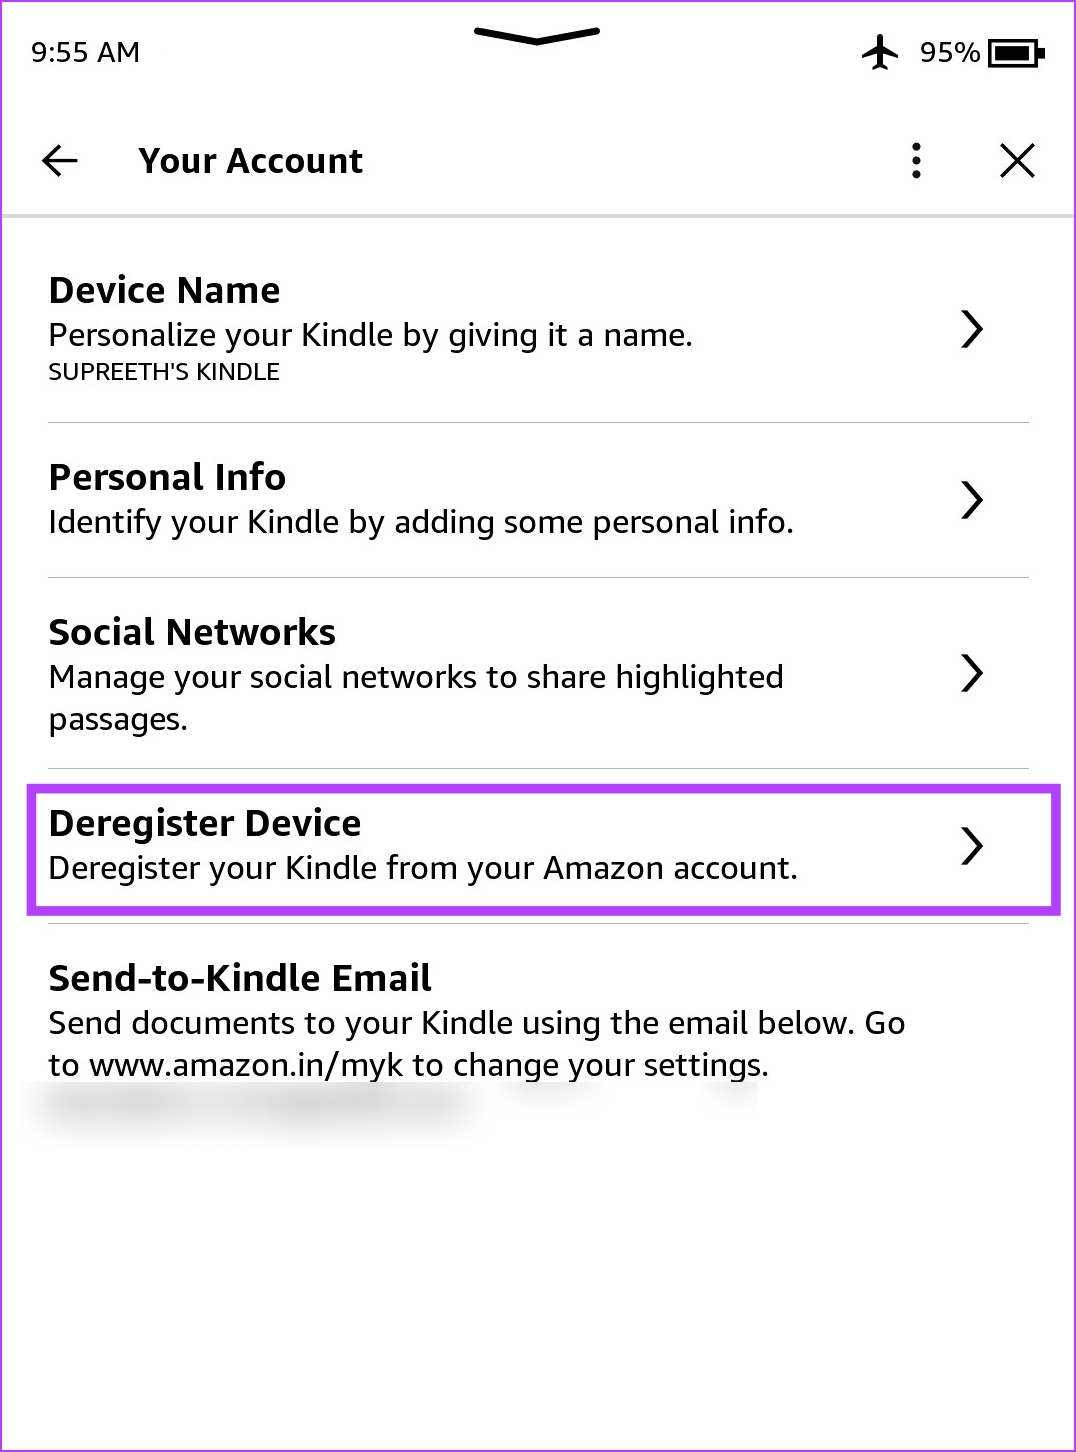
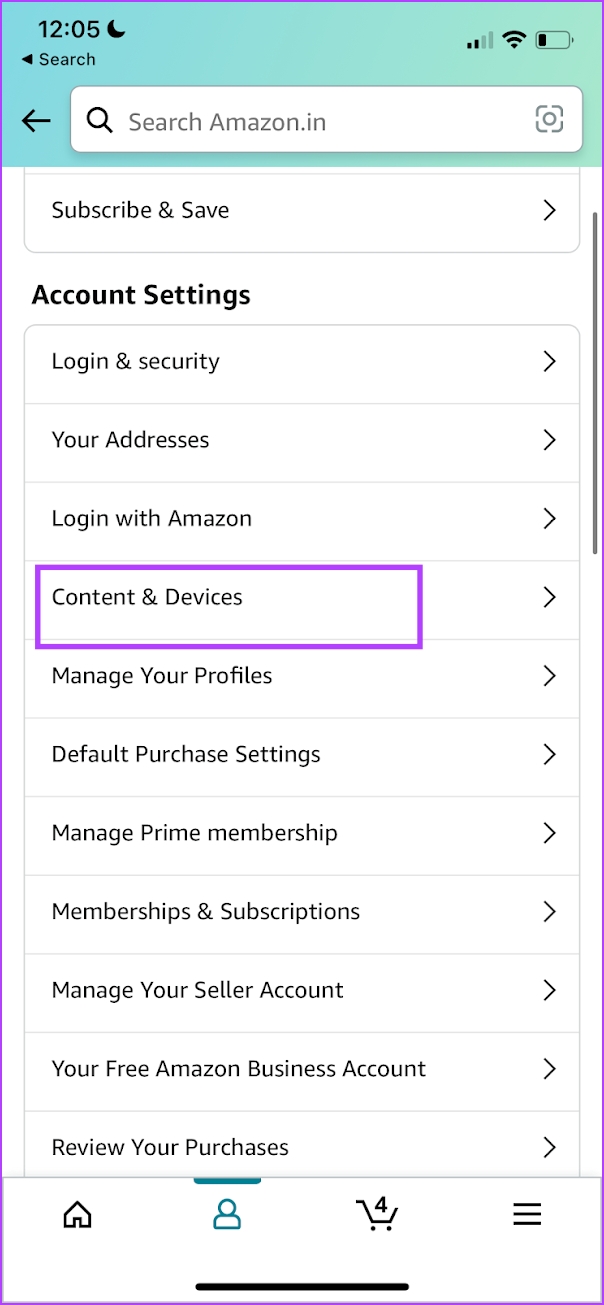
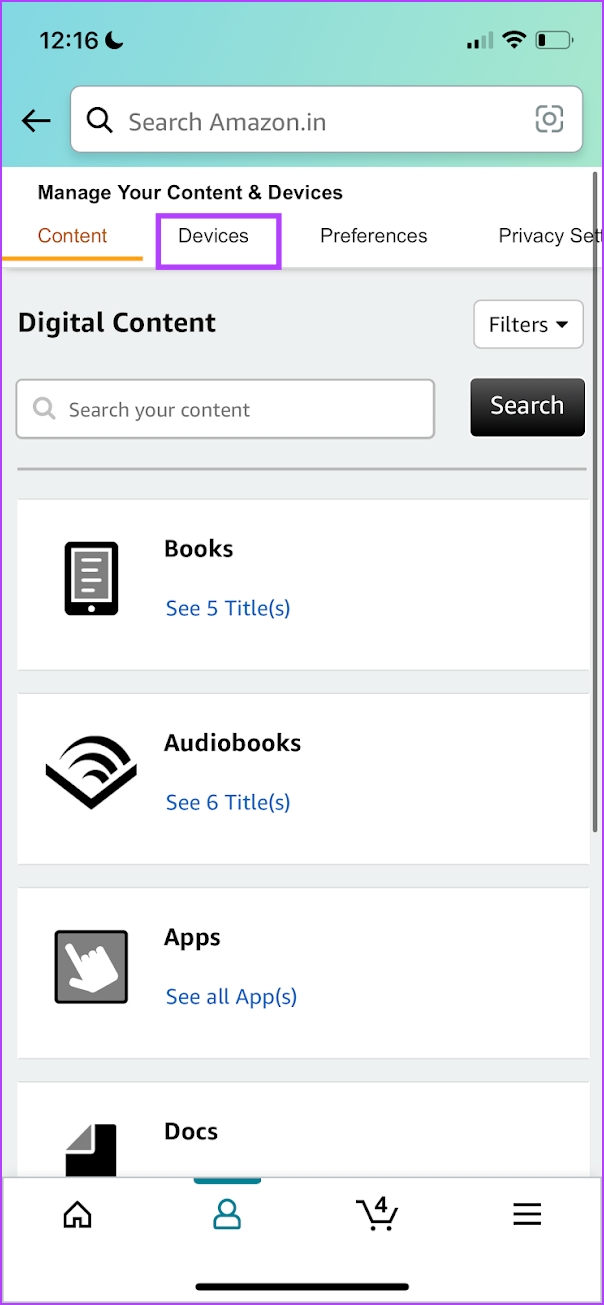
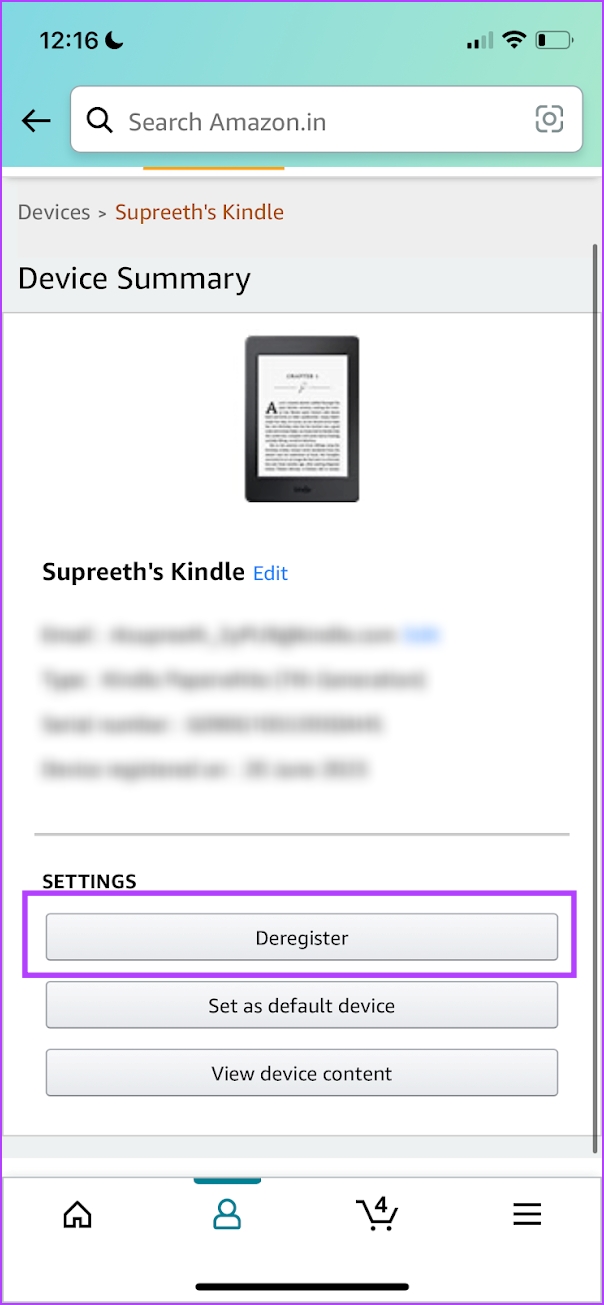
You may also consider removing your Kindle account if you are selling it or giving it away to a friend. Step 1: Tap anywhere on the screen and select the downward-facing arrow on the topmost section of the screen. Step 2: Tap on all Settings. Step 3: Tap on Your Account. Step 4: Tap on Deregister Device. This will effectively remove the account from your Kindle reader. Step 2: Tap on ‘Content & Devices’. Step 3: Tap on Devices. Step 4: Tap on Kindle. Step 5: Select the Kindle from which you want to remove the account. Step 6: Tap on Deregister. Once you complete the above steps, the account will be removed from the selected Kindle device.
3. Remove Kindle Account on PC or Mac
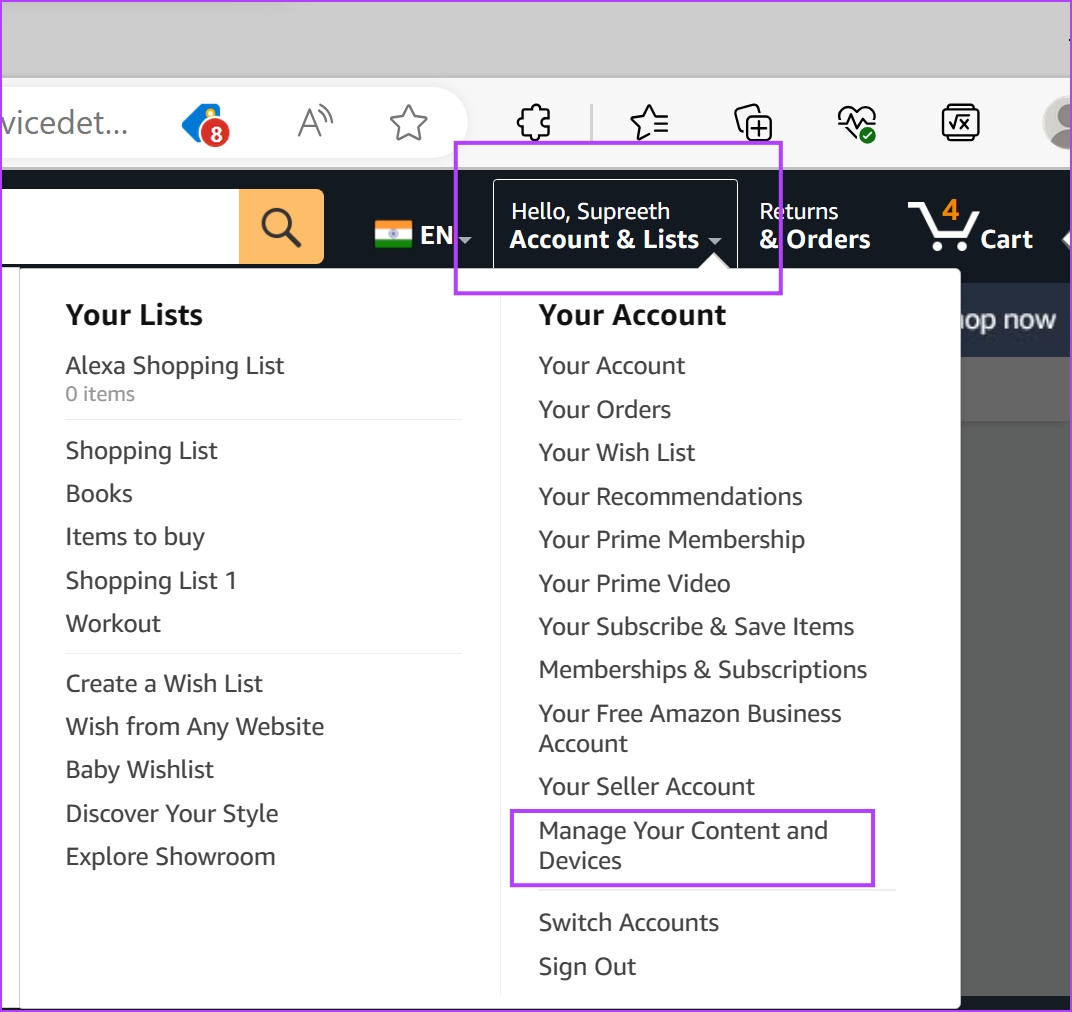
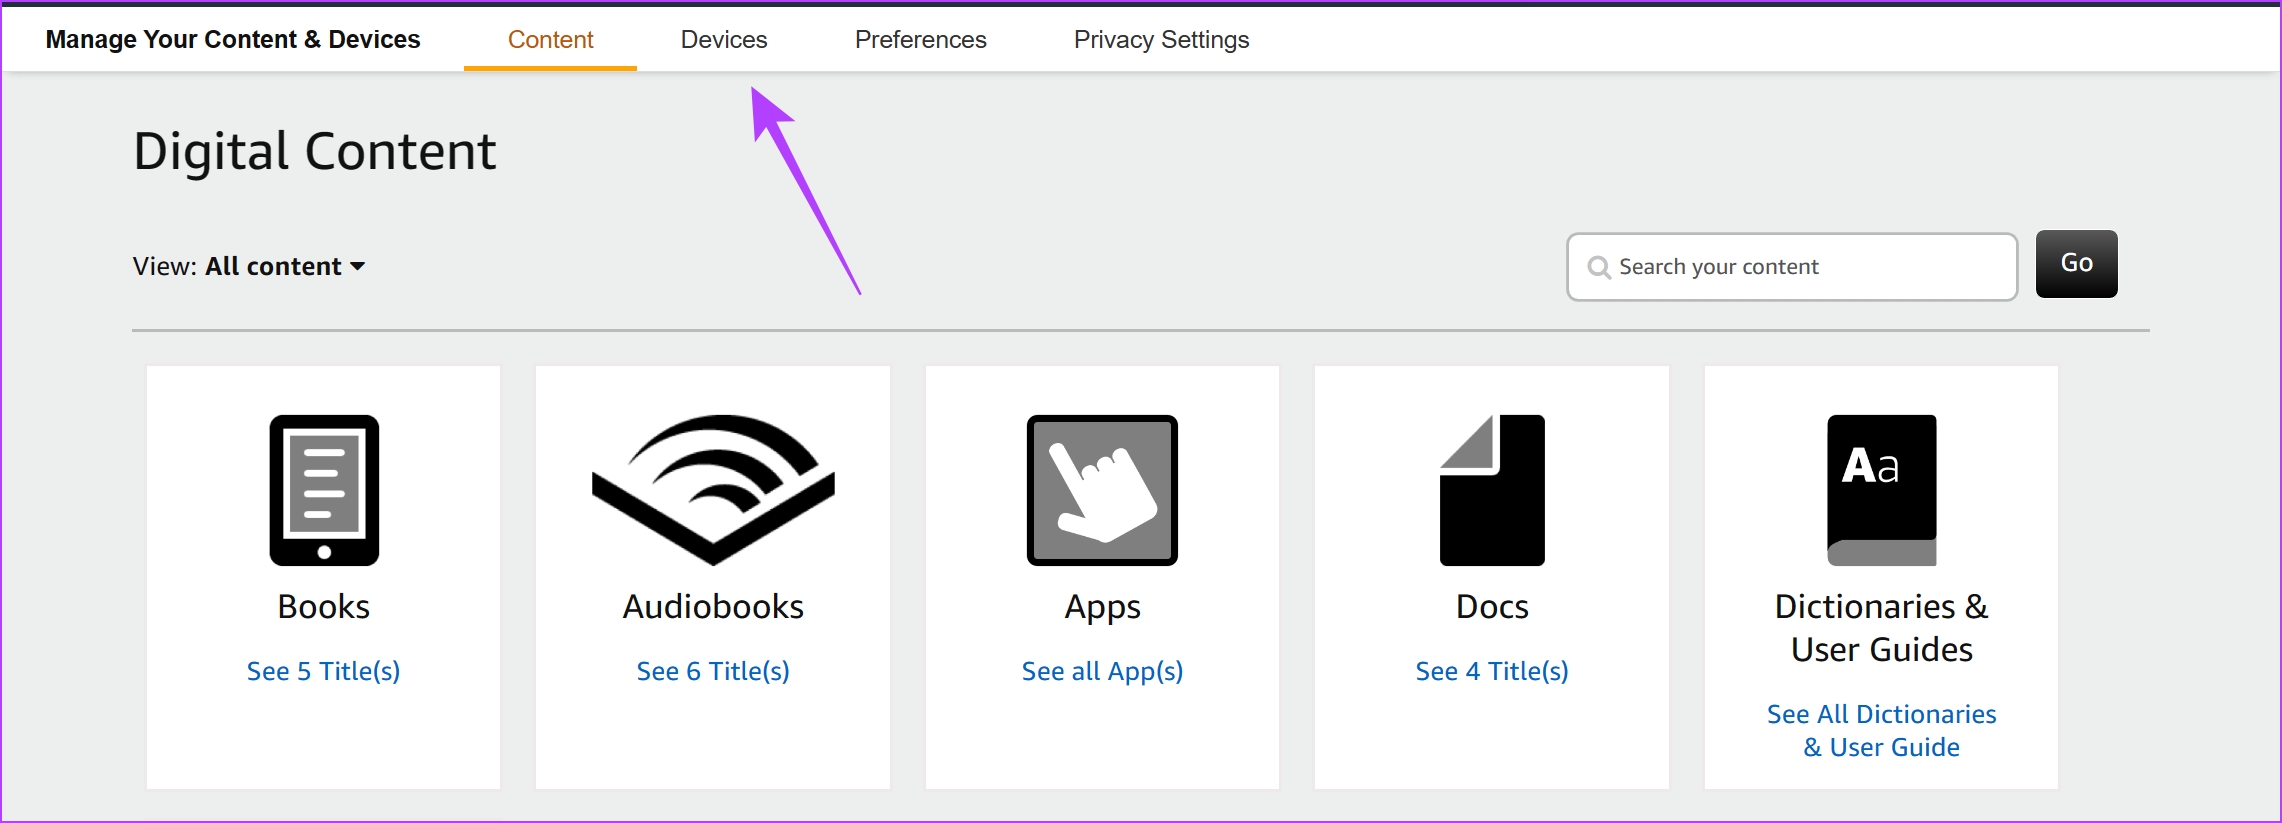
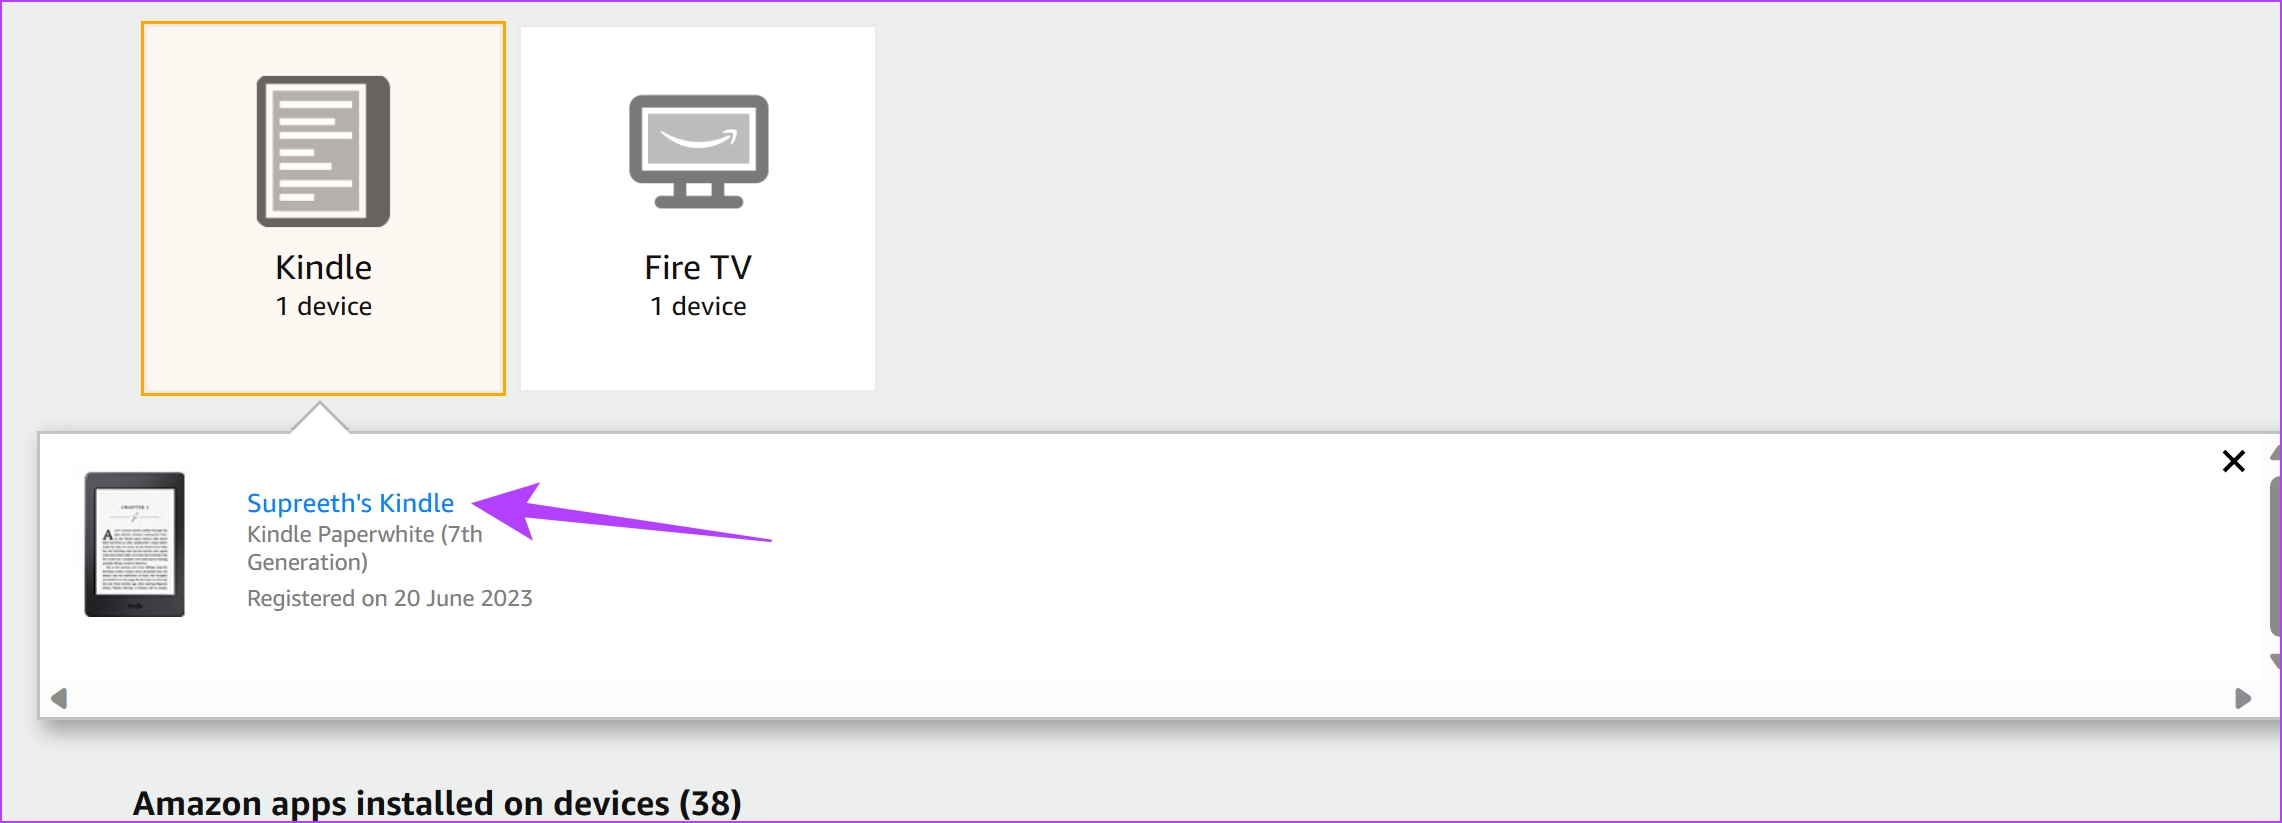
Step 2: Click on the drop-down menu on your username. Click on ‘Manage Your Content and Devices’. Step 3: Click on Devices. Step 4: Click on Kindle. Step 5: Select the Kindle device from which you want to remove the account. Step 6: Click on Deregister. This will remove the account from your Kindle reader. Those are all the ways in which you can remove an account from your Kindle reader. Next, let us take a look at how to add a new account to your Kindle reader.
How to Add New Account on Kindle
Step 1: Tap anywhere on the screen and select the downward-facing arrow on the topmost section of the screen. Step 2: Tap on all Settings. Step 3: Tap on Your Account. Step 4: You will see two options – either add an existing account or create a new account. Select the relevant option and enter the necessary credentials.
Switch Accounts on a Kindle Reader
The above article may contain affiliate links which help support Guiding Tech. However, it does not affect our editorial integrity. The content remains unbiased and authentic.


![]()


![]()