While privacy is slowly but truly becoming a myth, there are still some ways you can ensure that your information, like location data, is not completely compromised. To do this, you can either go for a VPN or a browser extension. However, do you know that you can also change your location in Edge, Chrome, and Firefox and even disable it? There are 3 easy ways to successfully change your location in Chrome, Edge, and Firefox: using VPN, browser extensions, and browser menu options. Let’s have a brief look at them all.
1. Use a VPN to Fake Your Location in Chrome, Edge, and Firefox
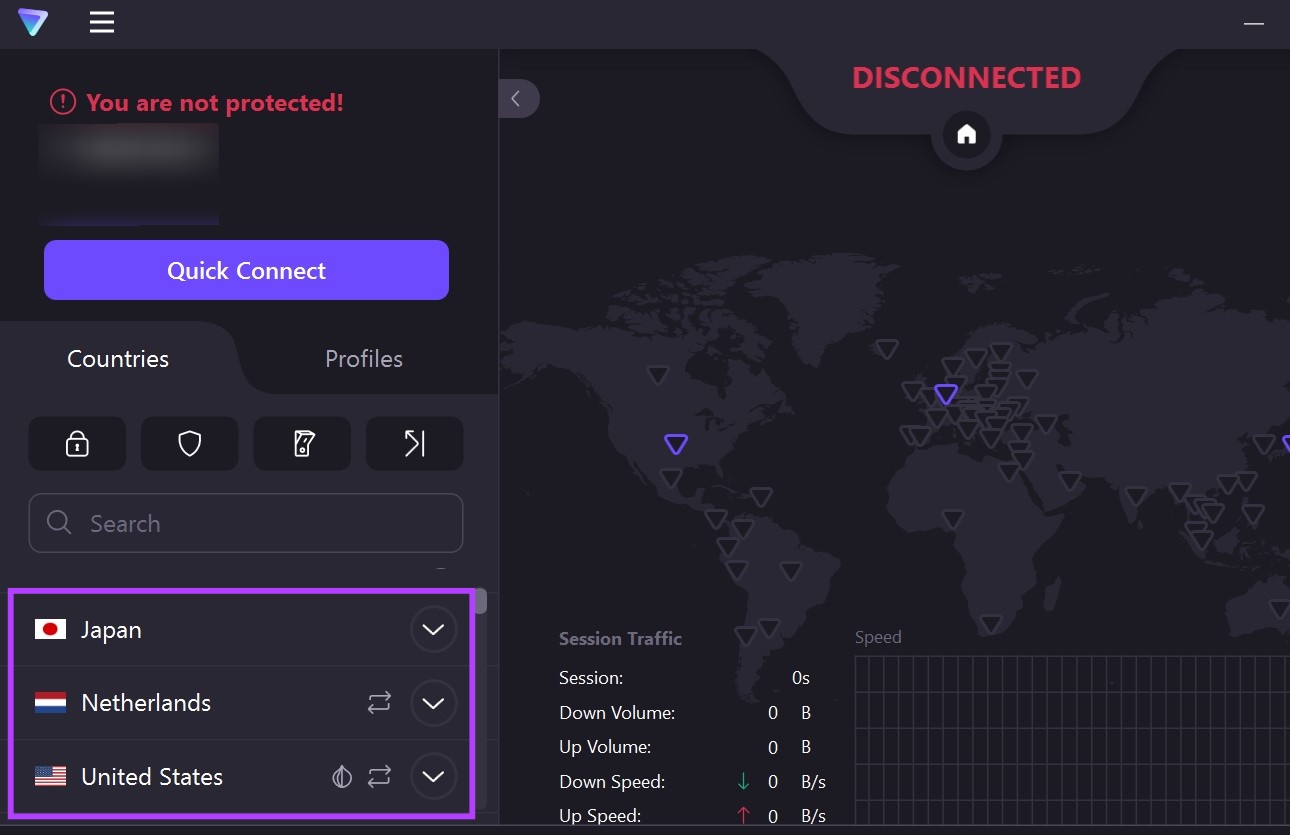
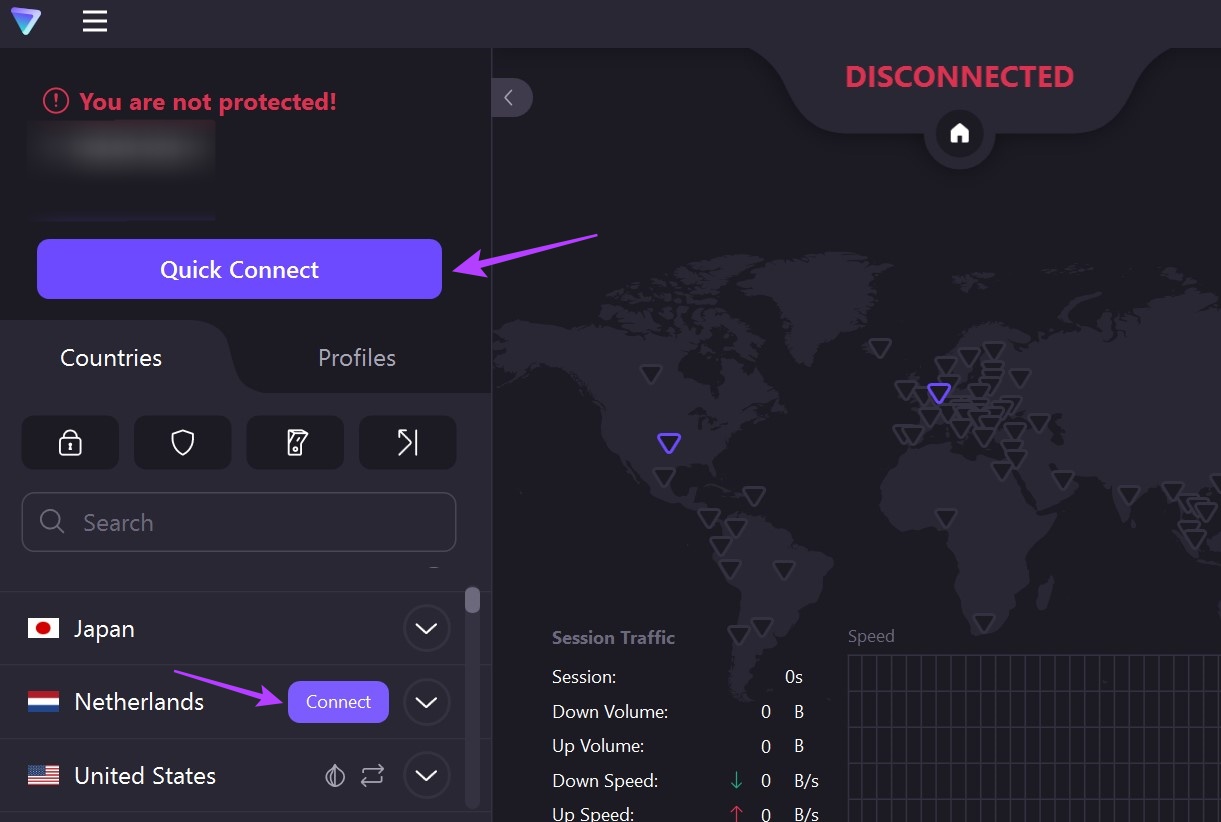
A VPN or Virtual Private Network does exactly what its name suggests. It makes your private network truly private when you connect to its servers. This way others will only be able to see your location as whatever location’s server you’re currently connected to. Additionally, most VPN apps come with kill switches that disconnect your network connection if your VPN fails mid-way. On that note, let us have a look at how to connect to VPN to change your IP address and fake your location. Note: For demonstration purposes, we will be using the free version of Proton VPN. Step 1: Download and install the Proton VPN app using the below link. Once done, open it and sign in. Get Proton VPN Step 2: Here, go to the location you want to connect to. Step 3: Then, click on Connect. Alternatively, you can also click on Quick Connect to let the Proton VPN decide the location and quickly connect to it. Once the VPN has been connected, instead of Quick Connect, your app should show the Disconnect button. Tip: You can also use any of these readily available VPN apps for Android and iOS to change or fake your location in the Chrome, Edge, and Firefox mobile app.
2. Spoof Your Location Using an Extension
While VPN apps come with added functionality, like the kill switch, browser extensions are not far behind. Using these, you can easily change your location in Firefox, Chrome, or Edge, without affecting the rest of your device apps and services. Moreover, they can easily be accessed from the browser’s menu option and usually don’t require a separate app to operate. Here’s how to install the extensions on Chrome, Edge, and Firefox. Note: The following extensions are free to use and do not require a subscription. However, due to this, the options for locations to connect might be limited.
For Chrome
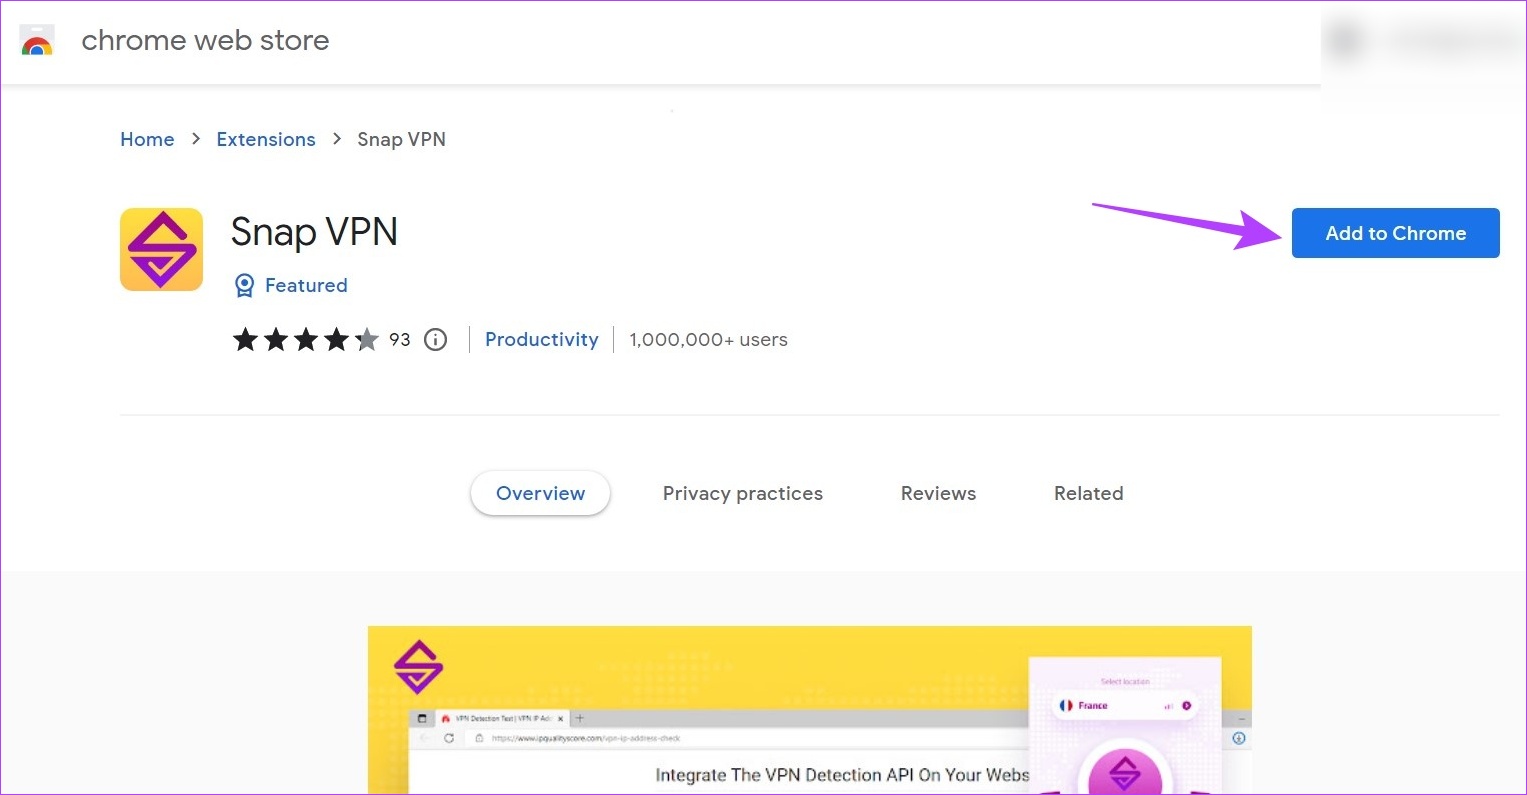
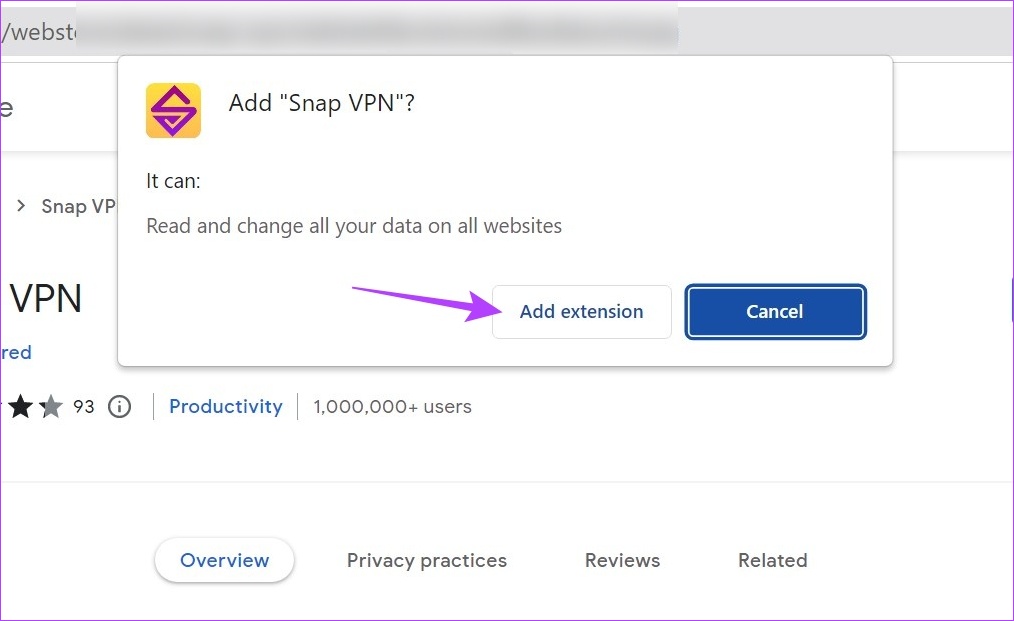
Step 1: Open the Snap VPN page in Chrome’s webstore. Get Snap VPN for Google Chrome Step 2: Here, click on ‘Add to Chrome’. Step 3: Click on Add extension to confirm. Step 4: Once the extension is installed, click on the Extensions icon. Step 5: Here, click on Snap VPN. Tip: You can also click on the pushpin icon to pin the extension to Chrome’s toolbar. Step 6: Here, click on the arrow icon to open the list of available locations. Step 7: Select the desired location. Now, wait for the extension to connect to the selected location. Once done, try opening another site, like Google or YouTube, and check if your location has changed.
For Edge
Step 1: Open the Snap VPN page on Edge web browser. Get Snap VPN for Microsoft Edge Step 2: Here, click on Get. Step 3: Then, click on Add extension. Step 4: After the extension finishes installing, go to the Edge menu bar and click on the extension icon. Step 5: Here, click on Snap VPN. Step 6: Click on the arrow icon to open a list of all the locations currently available. Step 7: Then, click on the location you wish to connect to. Just like Chrome, once the VPN status shows Connected, open any website to confirm.
For Firefox
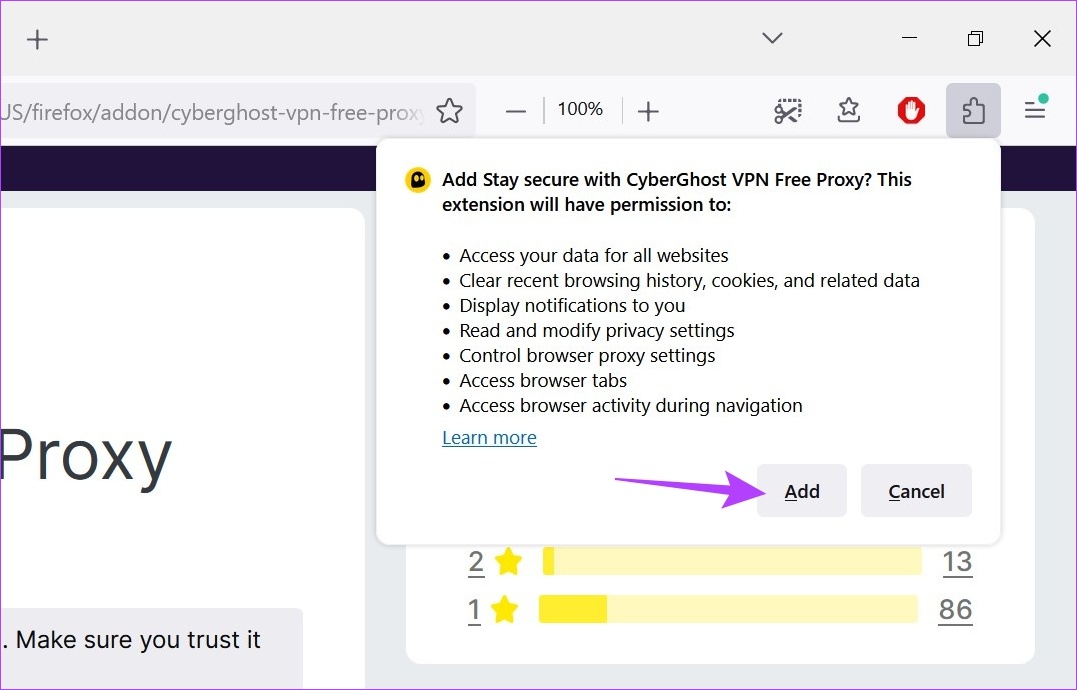
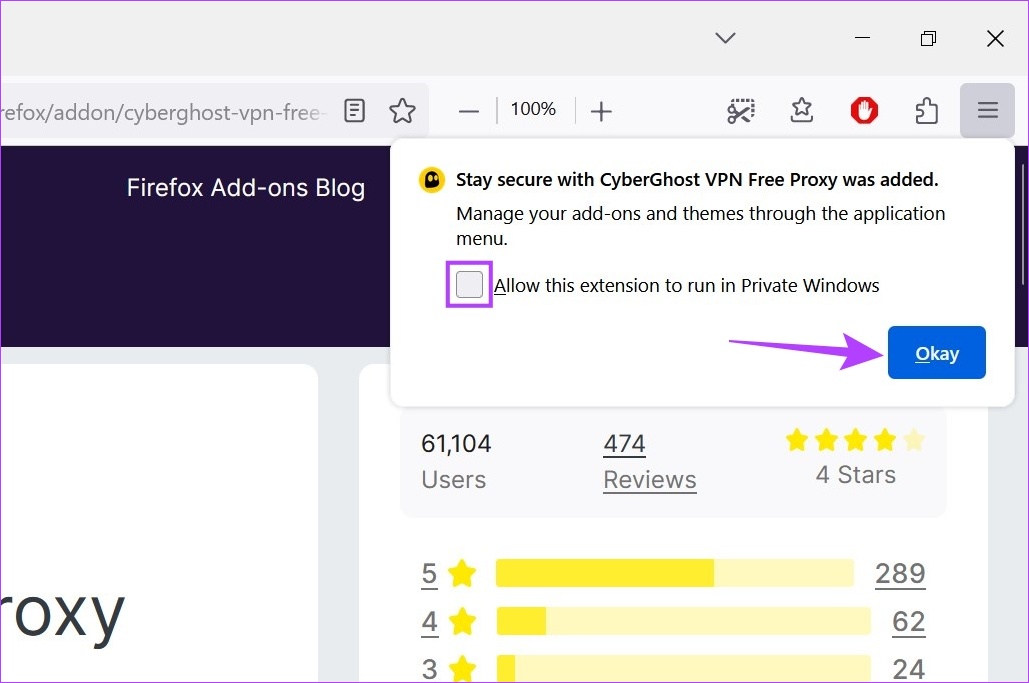
Step 1: Open the CyberGhost VPN add-on page in Firefox. Get CyberGhost VPN for Mozilla Firefox Step 2: Here, click on ‘Add to Firefox’. Step 3: Then, click on Add. Step 4: Here, you can check the ‘Allow this extension to run in Private Window’ option if you want the CyberGhost VPN extension for incognito mode as well. Step 5: Then, click on Okay. Step 6: Click on the Extension icon and once the list opens, click on CyberGhost VPN. Step 7: Here, click on the Connect to field to open a list of available countries. Step 8: Once you select the country, click on the power button to connect. The CyberGhost VPN extension will show a disconnect option once the VPN connection is successful.
3. Using Browser Settings
While using a VPN or browser extension is a more reliable option to spoof your location, you can also change your browser location using the browser settings. However, certain apps will still be able to pick up on your changed location while others might just show your location as unknown. Although it’s not a foolproof method, you can give it a go if you just want to mask your immediate location data. Here’s how to use it: Note: Closing the browser windows will result in your true location being revealed.
For Chrome and Edge
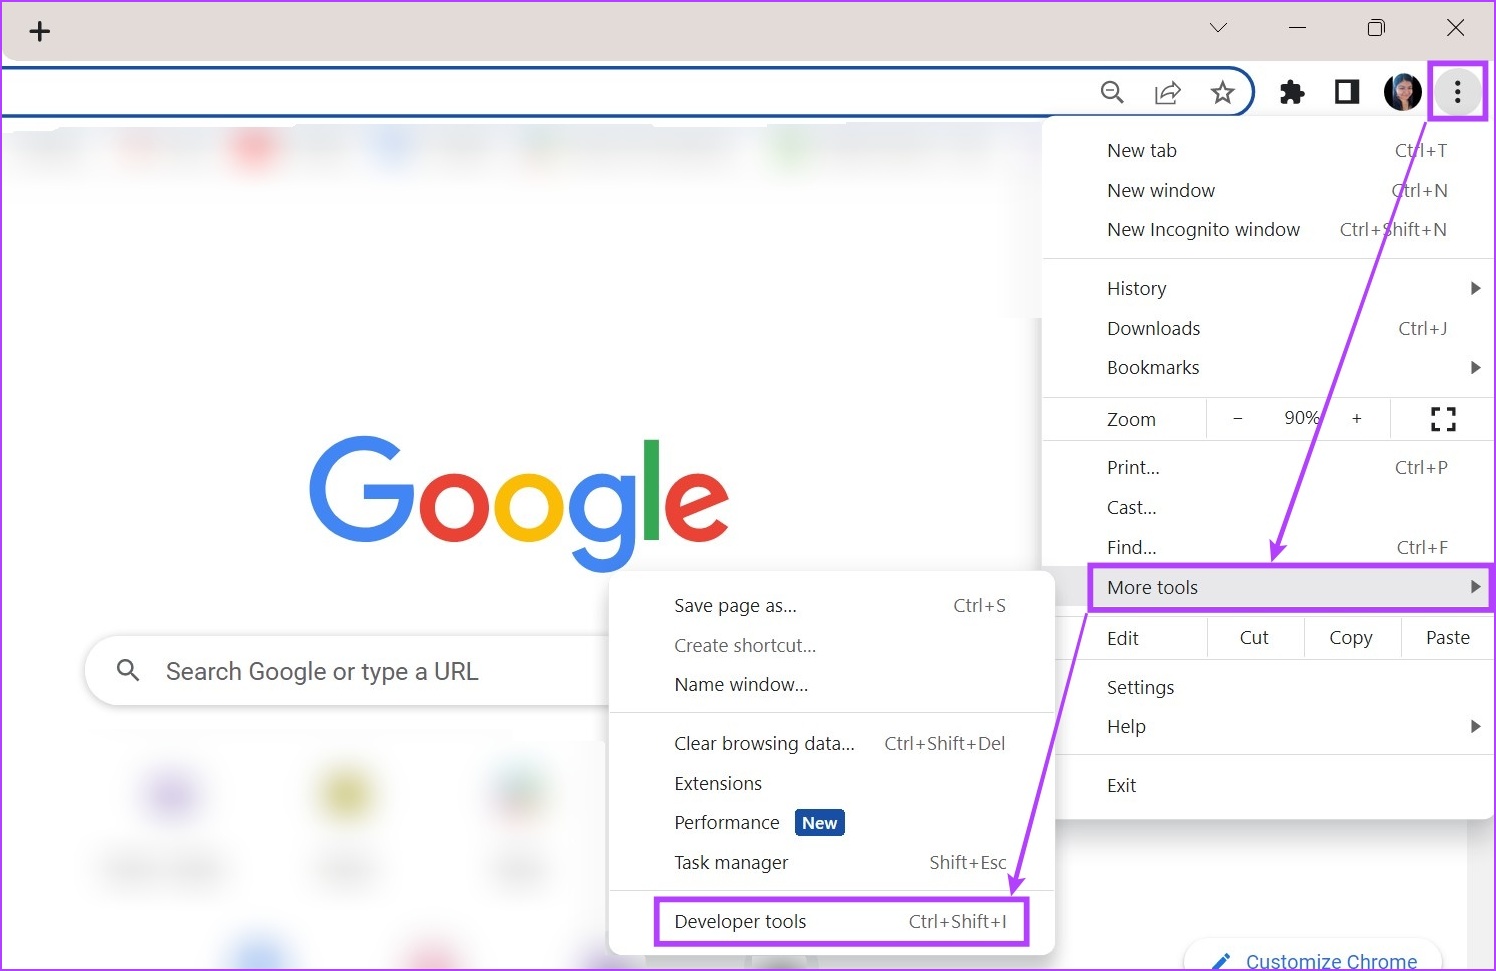
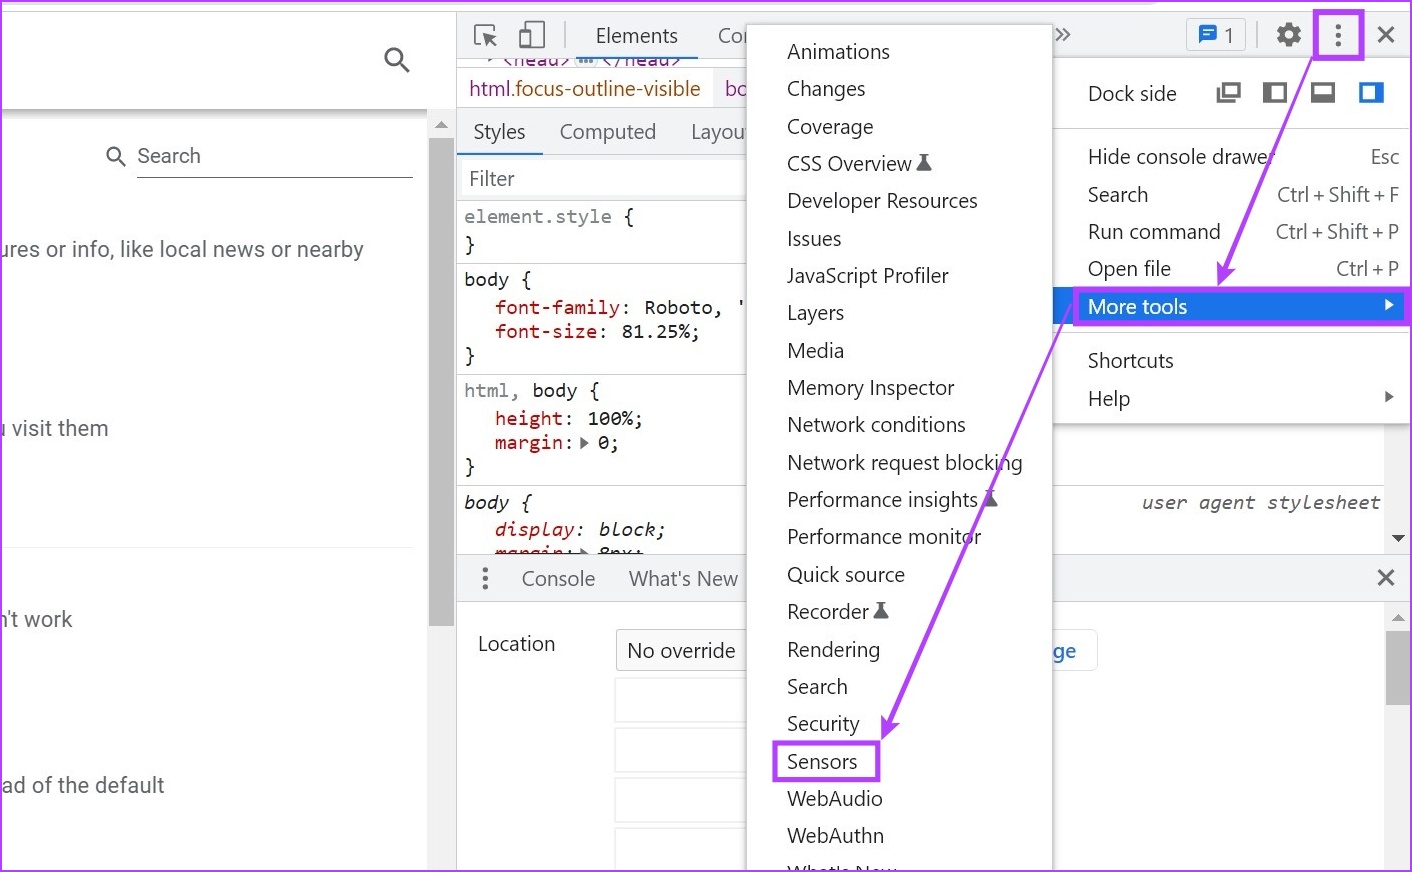
Note: The method for changing location using the settings menu is the same for Chrome and Edge. So, for demonstration, we will be using Chrome. Step 1: Go to Search and type Google Chrome. Open Google Chrome from the search results. Step 2: Then, click on the three-dot icon. Step 3: Here, click on More tools and then, click on Developer tools. Step 4: Now, in the developer console menu, click on the three-dot icon on the right. Step 5: Then, go to More tools and select Sensors. Step 6: Here, click on the No override dropdown and select any of the pre-fed locations. Tip: Alternatively, you can add longitude and latitude coordinates to manually select the desired location. This will change your browser location.
For Firefox
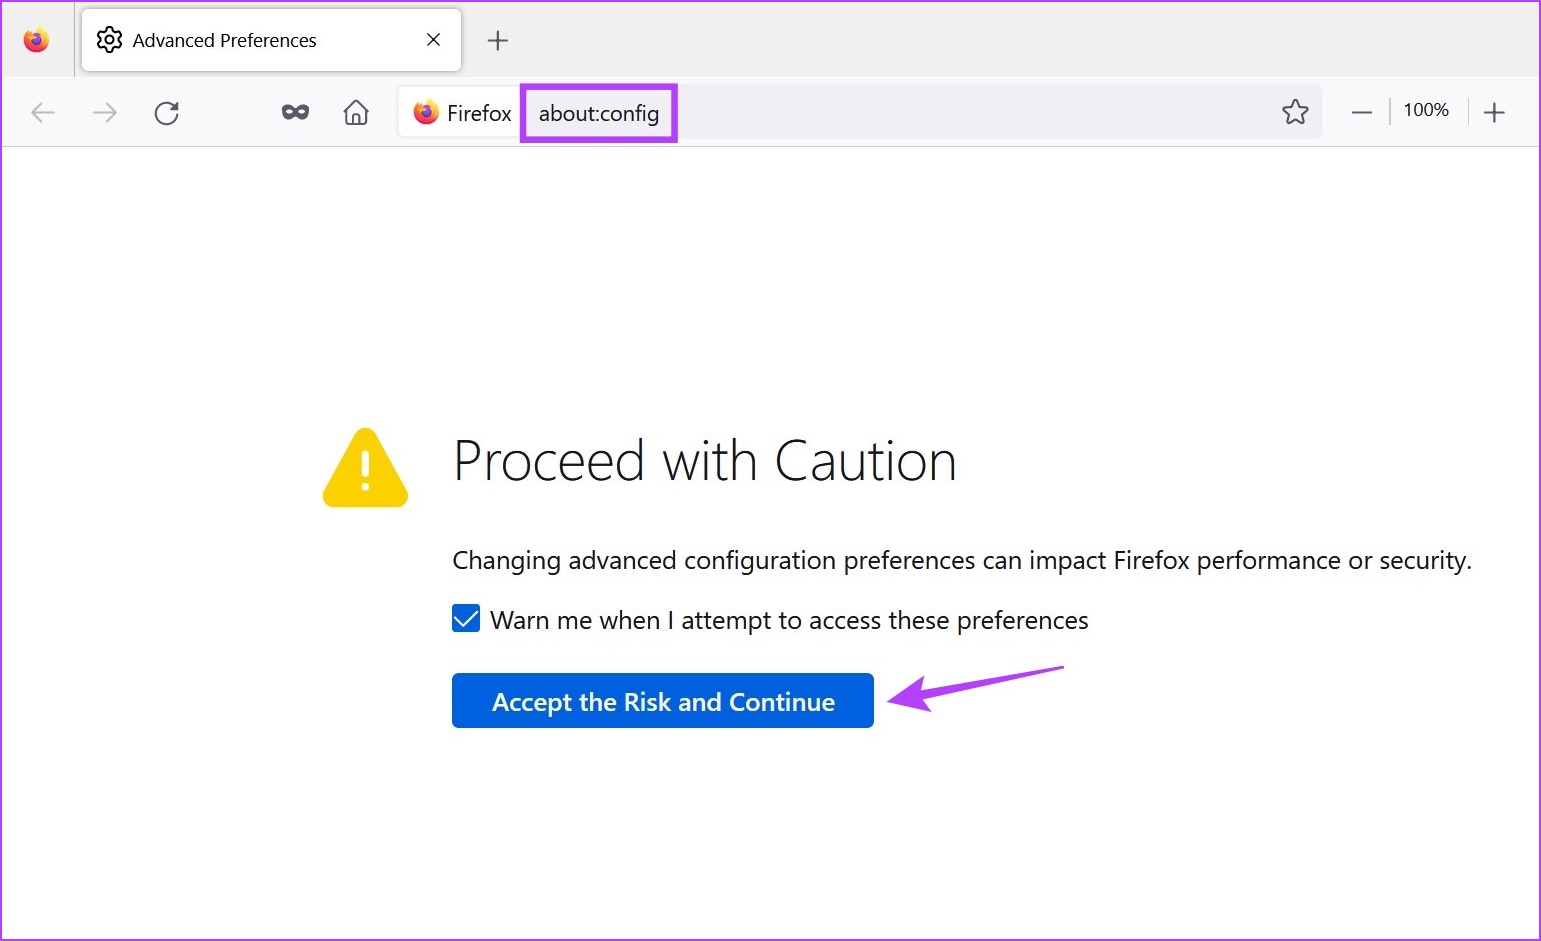
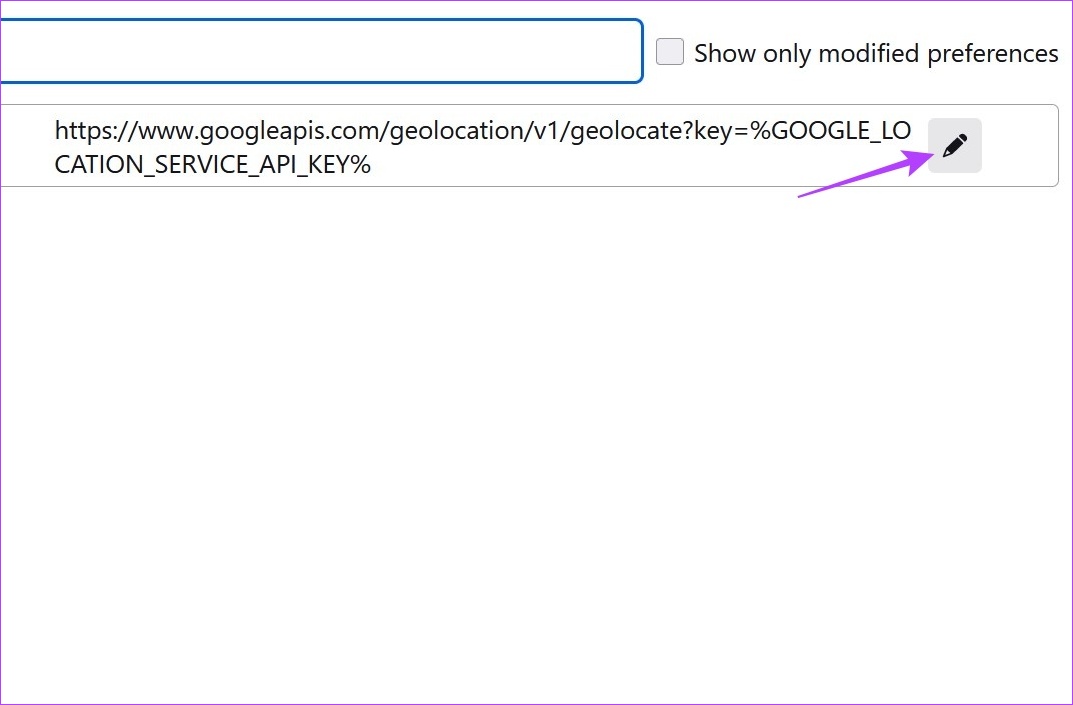
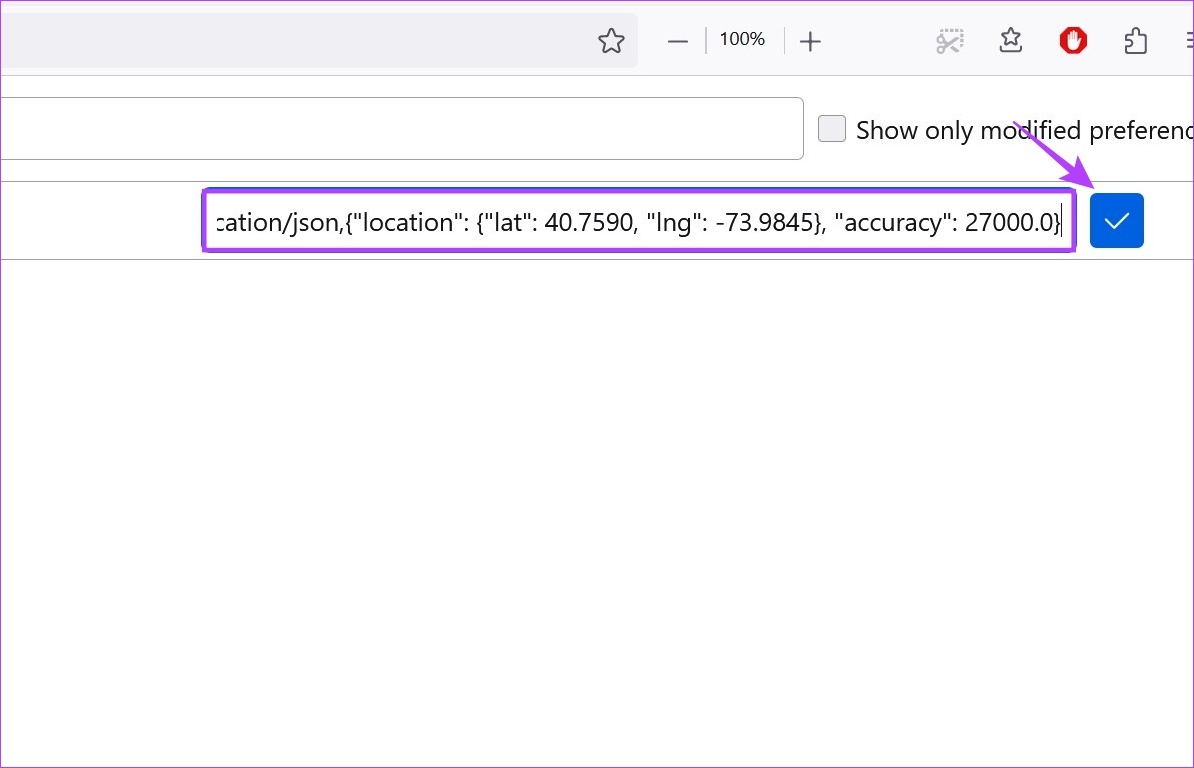
Step 1: Go to Search, type Firefox, and open the browser from the search results. Step 2: Here, type about:config in the address bar and press enter. Step 3: Click on ‘Accept the Risk and Continue’. Step 4: Now, in the search bar, type geo.enabled and ensure it’s set to True. Step 5: Then, type geo.provider.network.url in the address bar. Step 6: Here, click on the pencil icon. Step 7: Once the editing window opens, delete the previous text and add the following instead: Note: This would change Firefox’s location to Times Square, New York. If you have any other specific location in mind, you can change the location coordinates accordingly. Step 8: Once done, click on the tick icon.
Bonus: Disable Location Access Using Browser Settings
Apart from spoofing your location in Chrome, Edge, and Firefox, you can also turn off location access so that apps are unable to access your current geolocation. While this will not make geo-restricted services available, it will ensure services don’t have access to your exact location data.
For Chrome
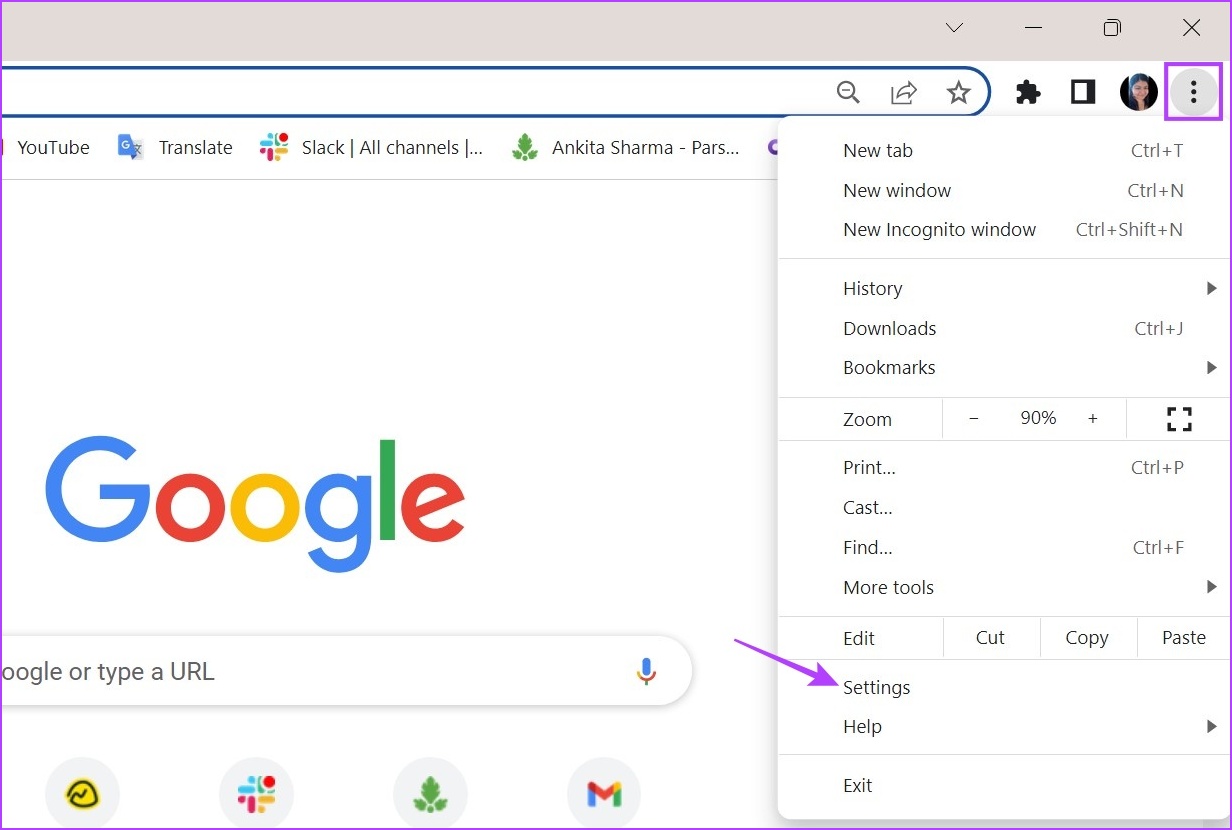
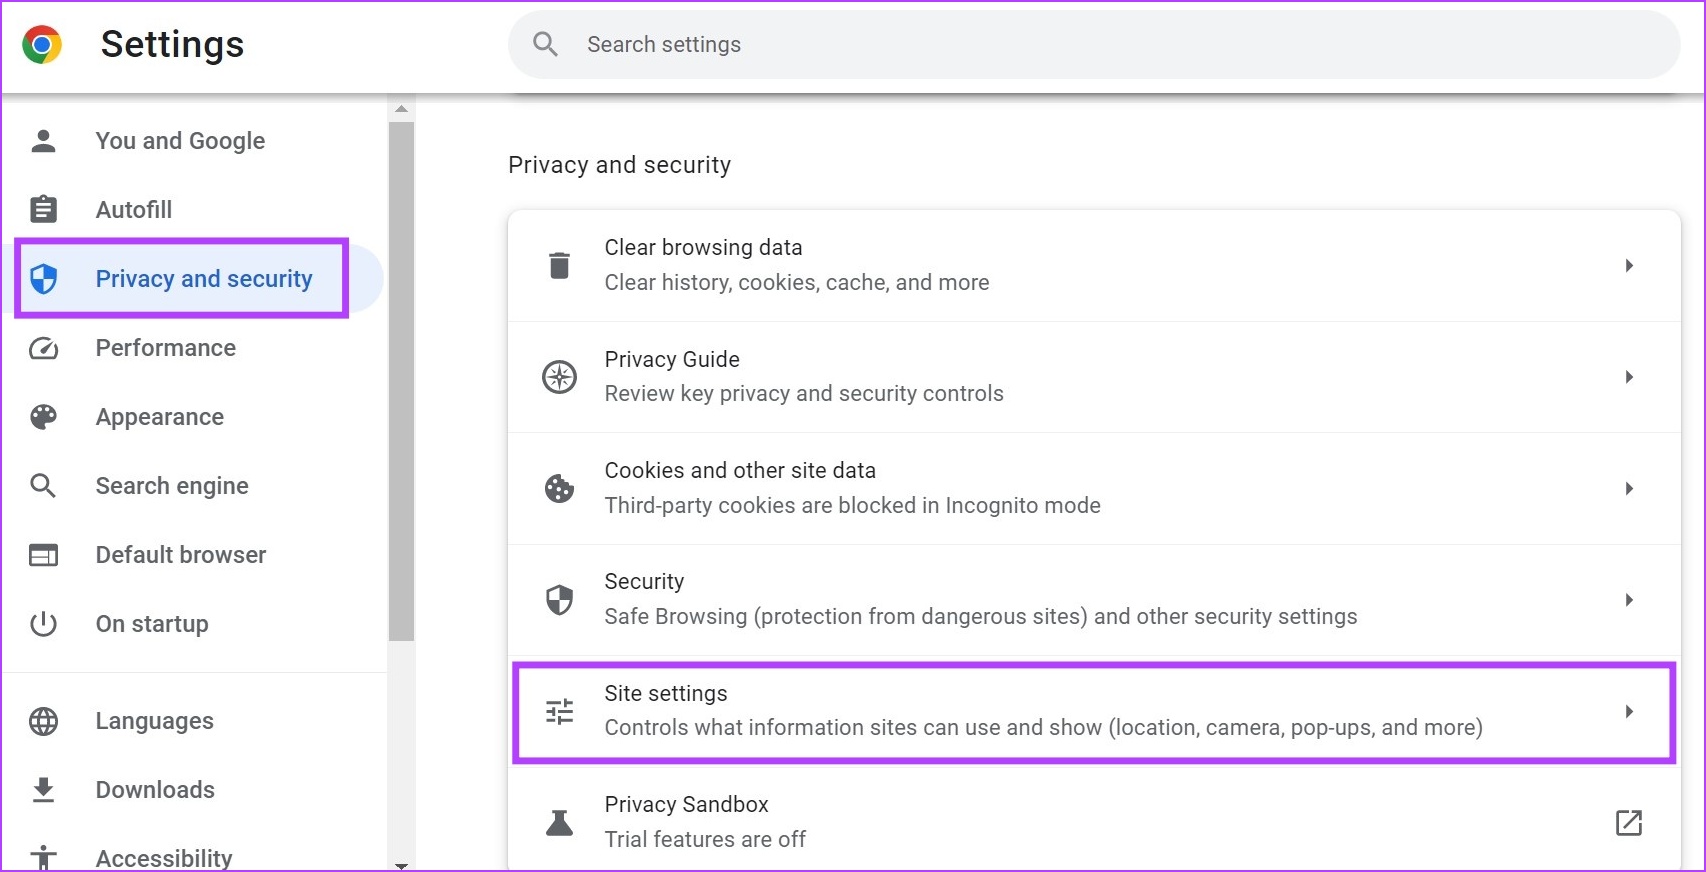
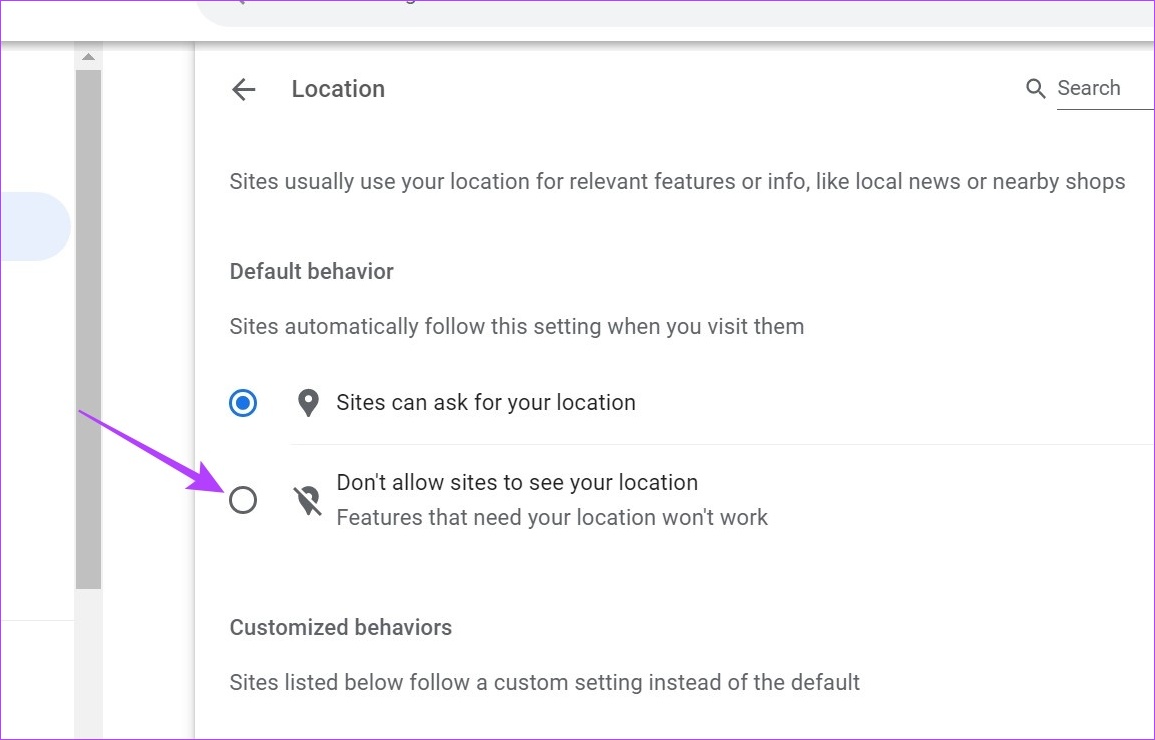
Step 1: Open Chrome. Step 2: Here, click on the three-dot icon. Step 3: Then, click on Settings. Step 4: From the menu tab, click on ‘Privacy and security’. Step 5: Scroll down and click on Site settings. Step 6: Here, go to the Permissions section and click on Location. Step 7: Select the ‘Don’t allow sites to see your location’ option. This will make sure that sites are unable to access your location in Google Chrome. Additionally, if any site has been added as an exception, make sure to delete it as required.
For Edge
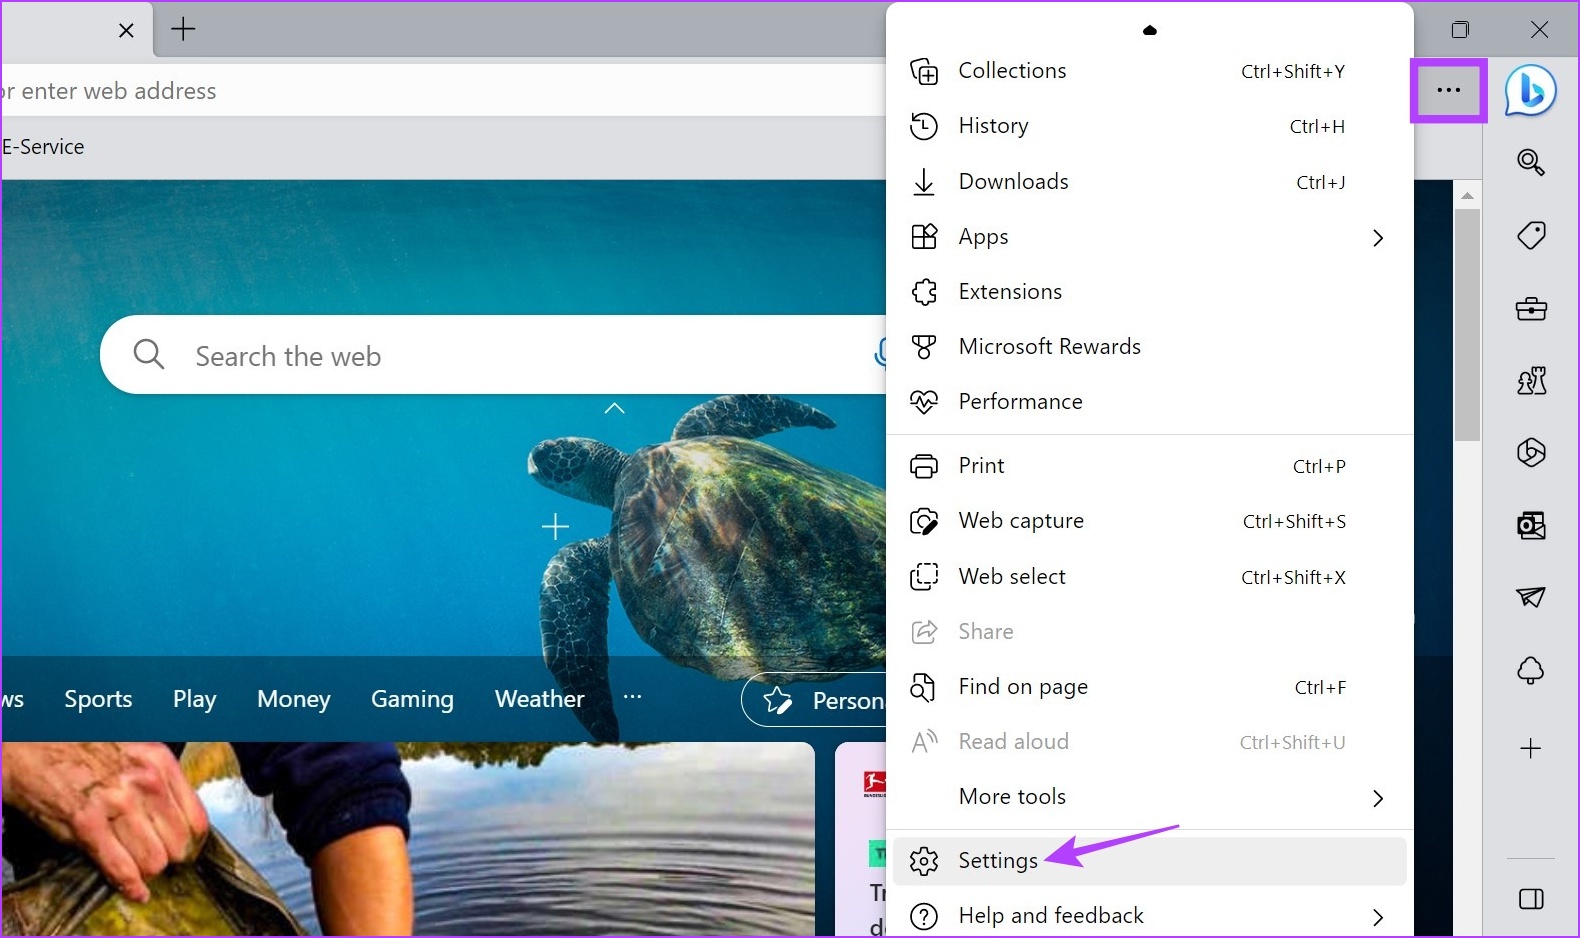
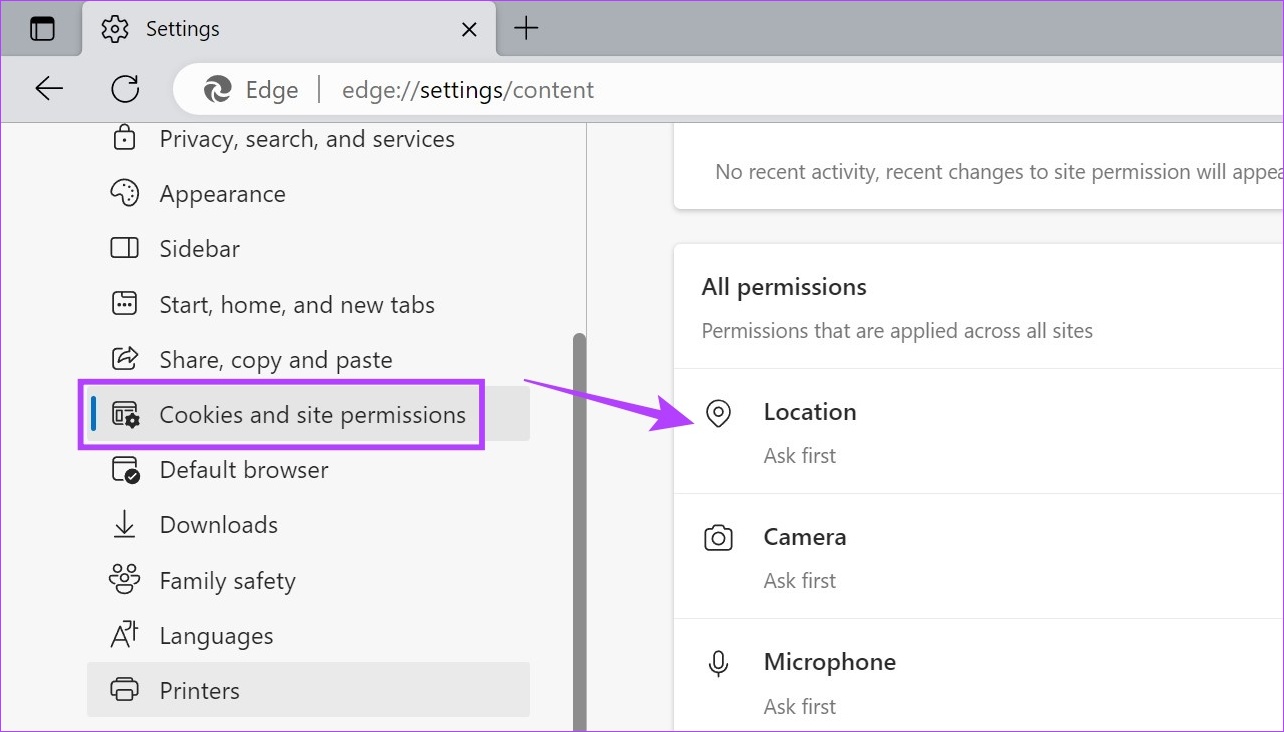
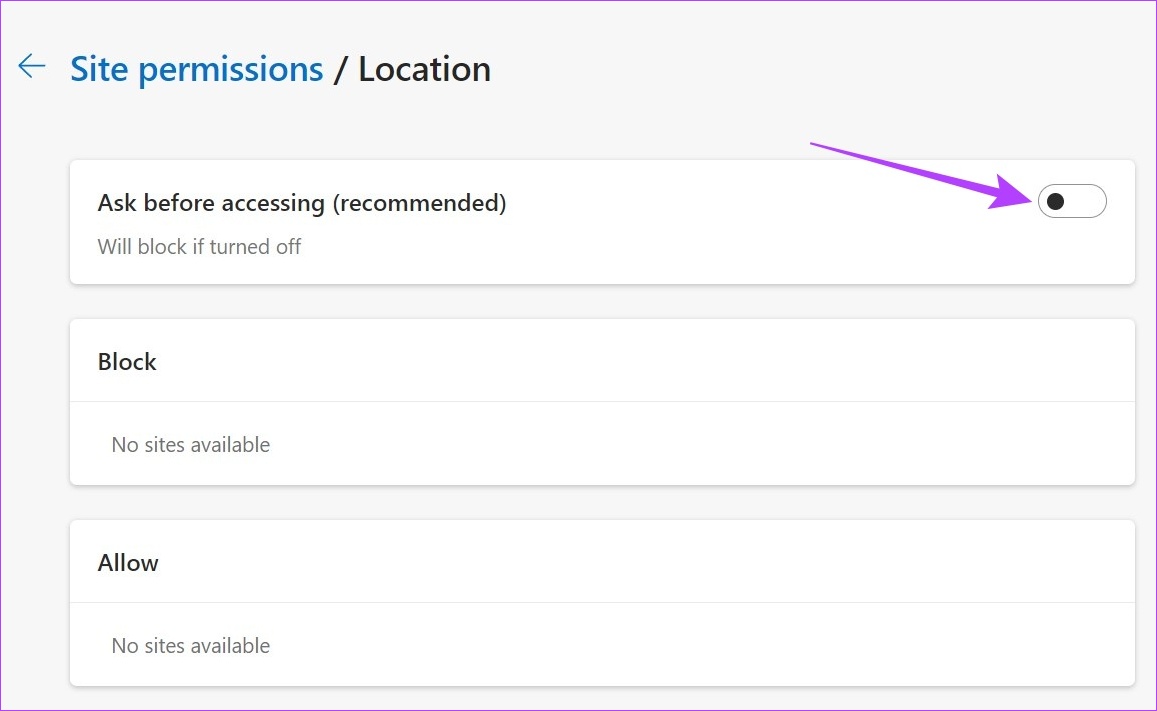
Step 1: Click on Search and type Edge. Then, open Edge from the search results. Step 2: Here, click on the three-dot icon and then, click on Settings. Step 3: From the menu sidebar, click on ‘Cookies and site permissions’. Step 4: Scroll down and click on Location. Step 5: Here, turn on the toggle for ‘Ask before accessing’. This will ensure that sites ask you for permission every time before accessing your location data.
For Firefox
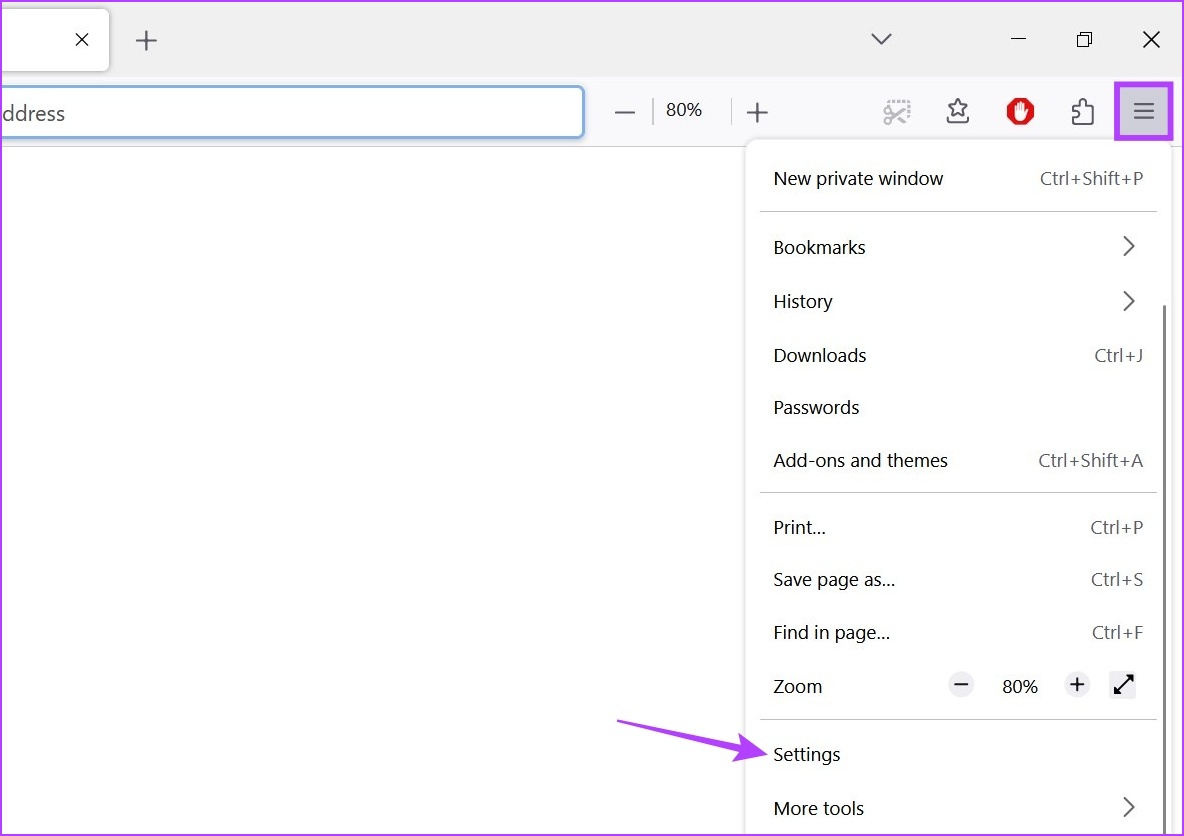
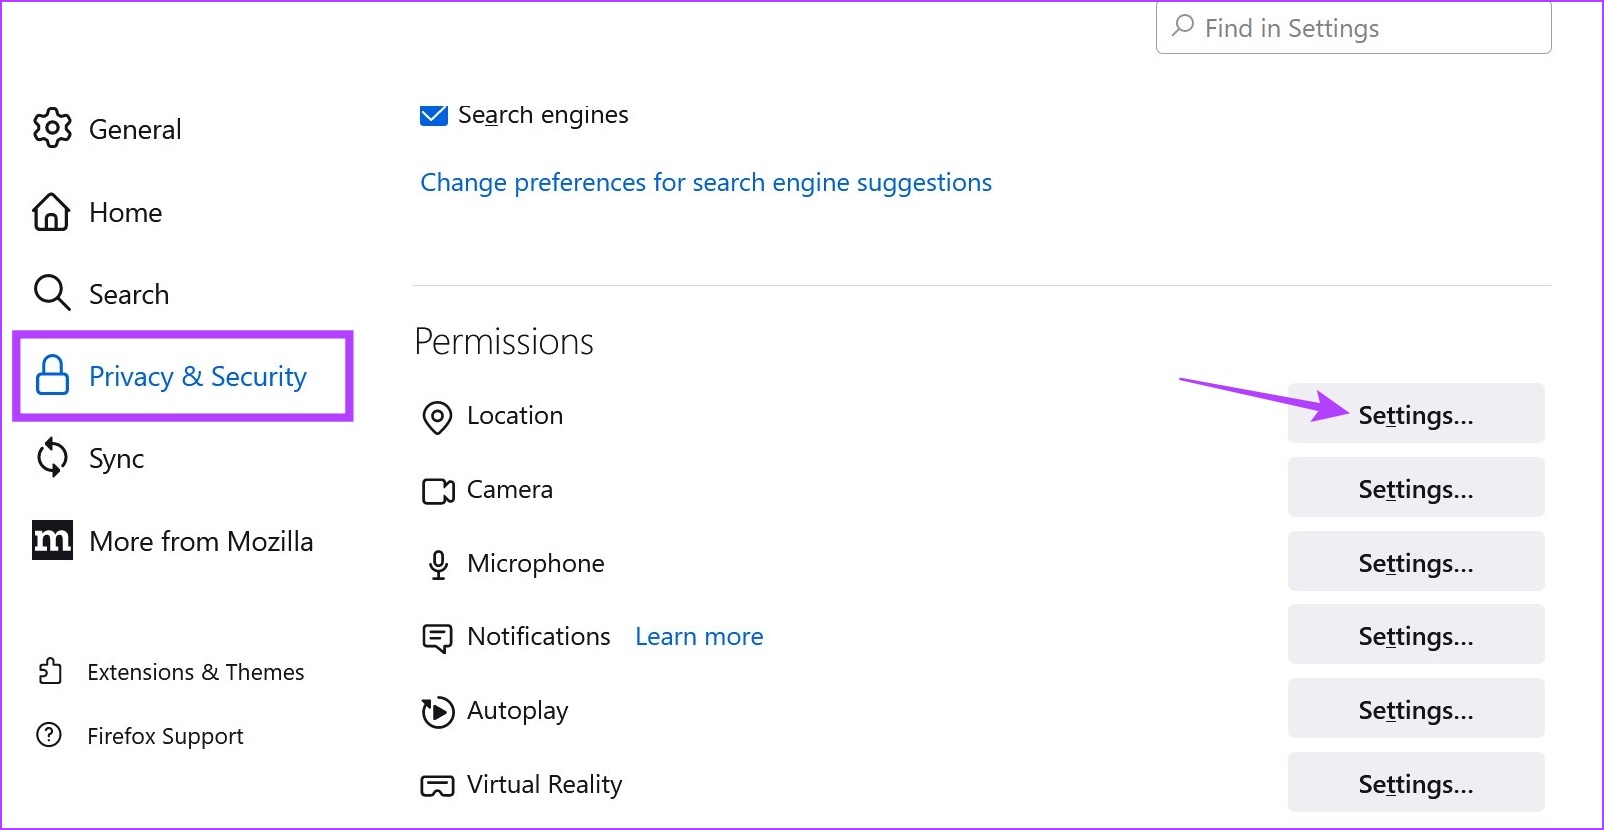
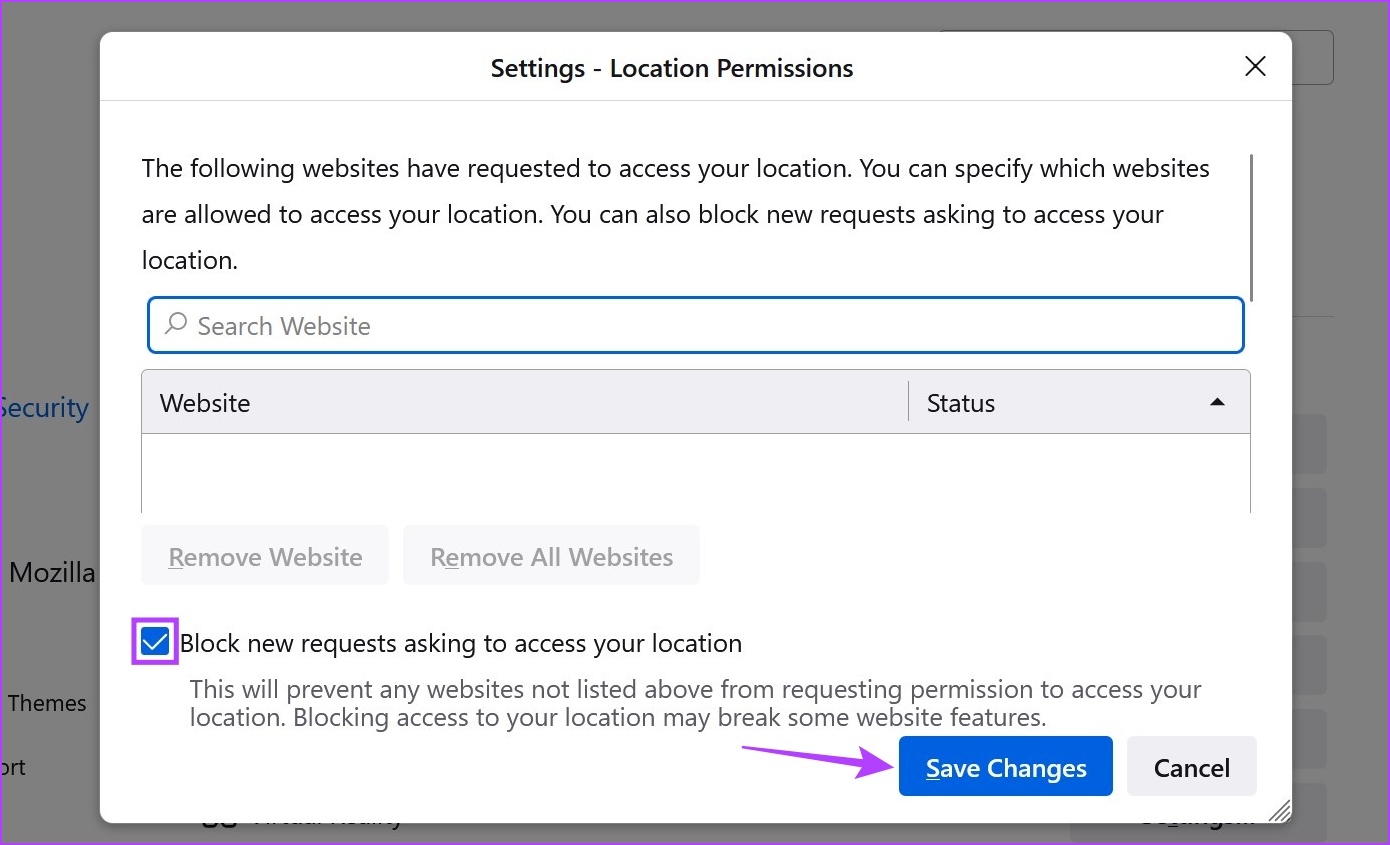
Step 1: Open Firefox. Step 2: Click on the three-dot icon and then, click on Settings. Step 3: Here, click on ‘Privacy & Security’. Step 4: Then, scroll down to Location and click on the Settings option in front of it. Step 5: Here, check the ‘Block new requests asking to access your location’ option. Step 6: Then, click on Save Changes. This will block websites from requesting your location in Firefox. You can also go through the websites that might have been added as the exception and delete them before saving the changes in Firefox.
Hide Your Location
While disabling your location seemingly helps you to stay incognito, certain websites can still access your location information. This is why we recommend going for either a VPN or certain reliable location spoofing extensions to change your location in Chrome, Edge, and Firefox. The above article may contain affiliate links which help support Guiding Tech. However, it does not affect our editorial integrity. The content remains unbiased and authentic.