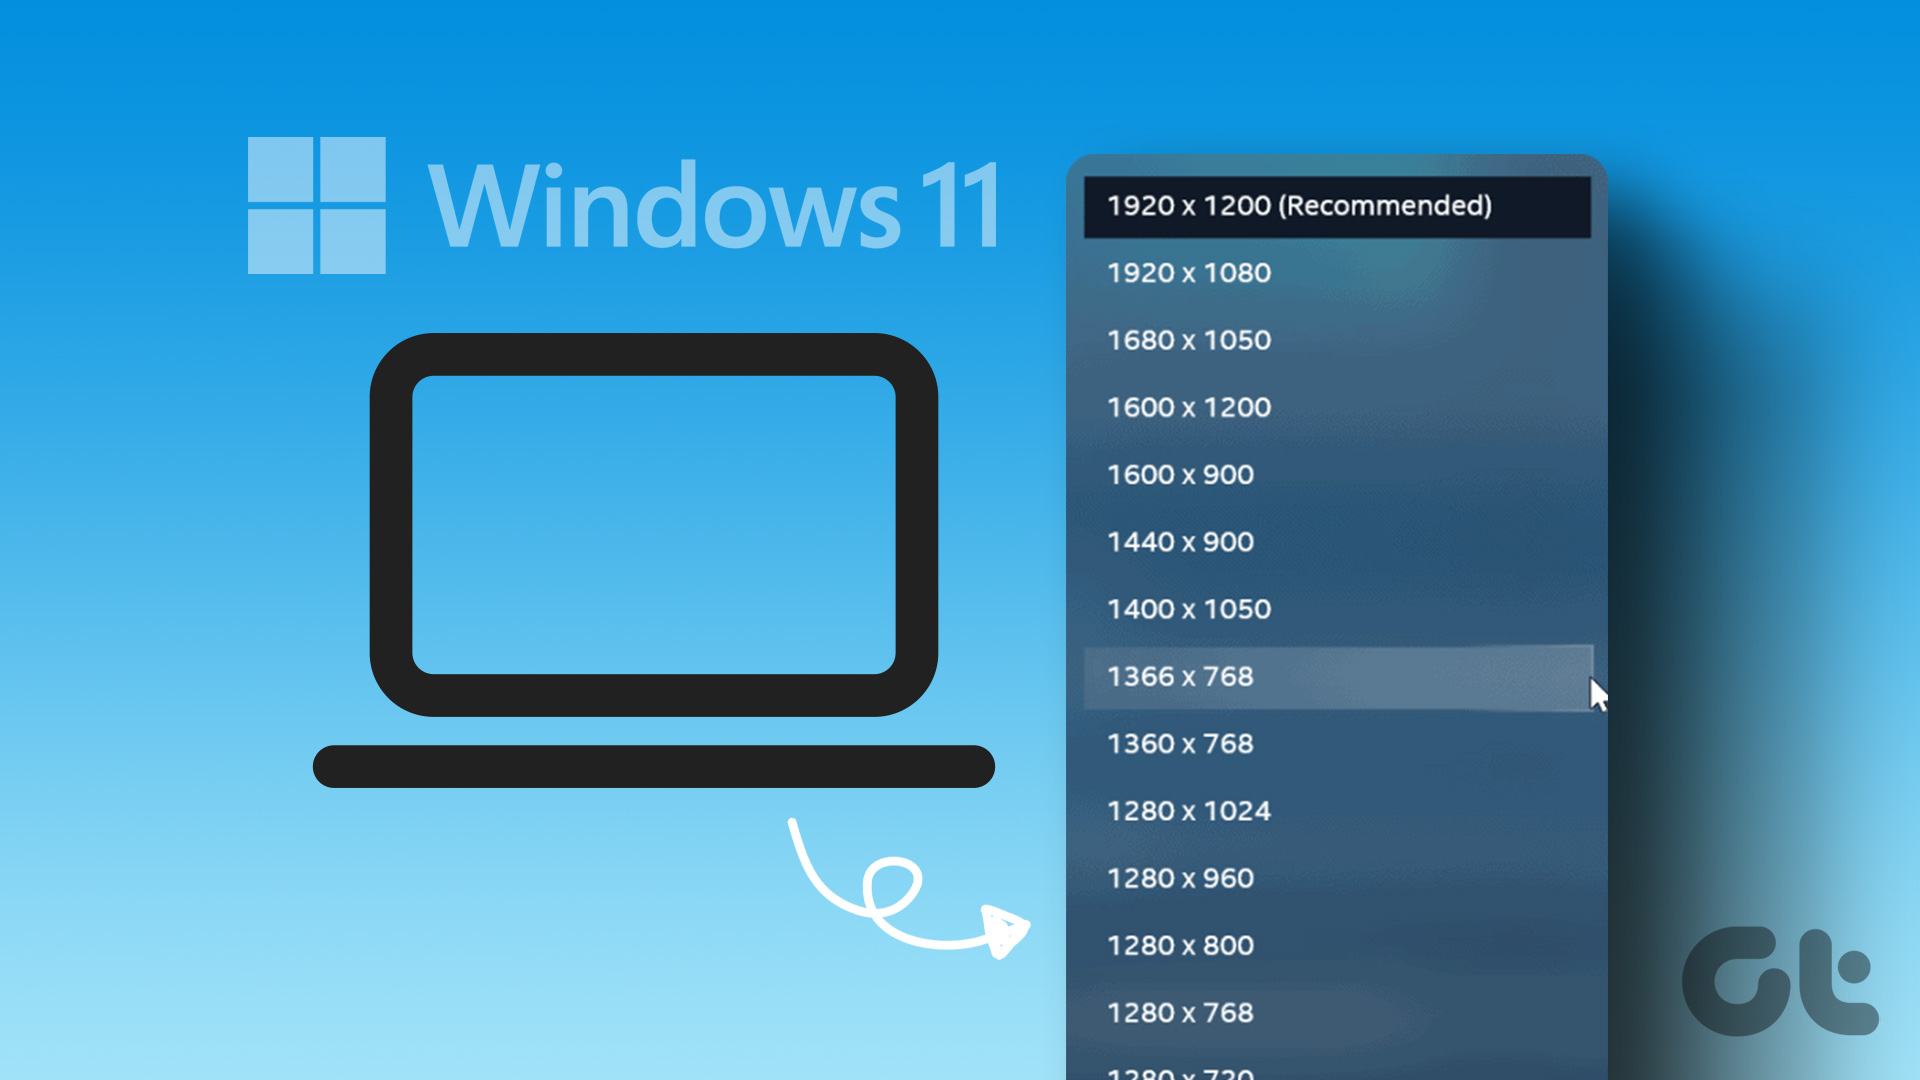
In this article, we’ll explore some of the best ways to change screen resolution on macOS, including built-in settings as well as third-party apps. Whether you’re a Mac beginner or an advanced user, this guide will help you find the right resolution for your screen and make the most of your Mac’s display.
Change Display Resolution Using Apple’s Official Method
Apple has a simple method to change the screen resolution on your macOS device. This can be done via the System Settings itself, for both the in-built display as well as external displays.
1. For In-Built Display
Step 1: Click on the Apple logo in the top-left corner and click on System Settings. Step 2: In the System Settings window, scroll down and click on Displays in the sidebar. You will now be presented with a handful of options, going from Larger Text to More Space. It goes from lower resolution to higher resolution. You can also hover your mouse cursor over the resolution thumbnail to see the exact resolution in pixels. Step 3: Click on the resolution of your choice. You might get a prompt asking you if you are sure about your action. Click on Change Resolution to proceed. And that’s it. The new resolution will be applied automatically.
2. For External Display
Step 1: Click on the Apple icon on the top-left > select System Settings. Now, go to the Displays section from the sidebar. Step 2: On the Displays page, click on the thumbnail of your external display to switch to it. Step 3: Similar to the previous method, you will see a series of thumbnails going from Larger Text to More Space. You can click on your preferred screen resolution thumbnail to automatically switch to it. Step 4: Additionally, you can select from a list of custom resolutions. Simply control-click or right-click on a thumbnail and select Show List. Step 5: You will now be presented with a list of display resolutions. Click on any resolution to select it. Step 6: If you wish to view even more resolutions, scroll down and enable the toggle next to Show all resolutions. You will now get an even bigger list of various resolutions to choose from. That’s it! However, we weren’t entirely happy with the native screen resolution settings for Macs. Move to the next section to know why.
Limitations in Apple’s Method
Starting with macOS Ventura, Apple has made setting custom resolutions for the in-built display on MacBooks and iMacs quite difficult. You only get a handful of options to choose from. There’s no way to set a custom resolution. Additionally, the options shown here are scaling options and not actual display resolutions. Furthermore, even for external displays, the list does not include different aspect ratios. Lastly, even if you connect to an HDMI 2.1 output, you do not get the option to output at a higher refresh rate. The maximum shown in the list is 60Hz only. All of these issues can be easily fixed by resorting to a 3rd-party application called EasyRes. It allows you to easily select from a huge list of screen resolutions for both your in-built display as well as your connected display.
Set Custom Screen Resolution on Mac Using EasyRes
Step 1: Download and install the EasyRes app from the Apple App Store. Once done, click on Open. Download EasyRes Step 2: You will get a pop-up window informing you that EasyRes requires access to the Screen Recording facility. However, this is only required if you wish to preview resolution changes. It is not necessary to enable this setting. Just click on OK to proceed. Step 3: In the Screen Recording pop-up, select Open System Settings if you wish to grant screen recording access. You can also choose to Deny this permission. Now that EasyRes has been installed, you can easily access it from the top Menu bar. Step 4: Now, click on the EasyRes icon in the menu bar. Step 5: Simply hover your mouse over a display to view a complete list of resolutions available. Each resolution will also have its refresh rate mentioned next to it. Step 6: Click on the resolution of your choice to apply it. And that’s it. You can now easily change the resolution on your MacBook running macOS Ventura or later.
Make the Most out of That Display
Whether you need to increase the size of text or connect an external display to your Mac, adjusting the screen resolution can help. However, with the new macOS update, many users are left wondering how to change screen resolution on macOS. Thankfully, by following the steps outlined in this article, you should now have a better understanding of changing your Mac’s screen resolution. Also, apart from EasyRes, there are plenty of other useful macOS apps you should check out to optimize your experience. The above article may contain affiliate links which help support Guiding Tech. However, it does not affect our editorial integrity. The content remains unbiased and authentic.


