Microsoft Word offers several templates which you can check out. These Word templates have standard properties to replicate multiple times across documents that require similar formatting. However, you can create custom templates to make your documents stand out and store those templates for future use. Here’s how to create and use custom document templates in Microsoft Word.
How to Create a Custom Document Template in Microsoft Word
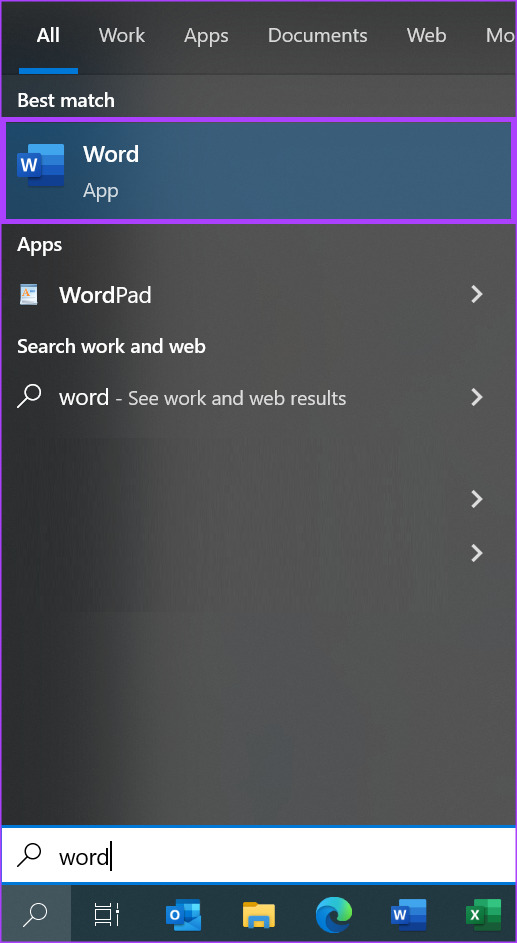
Creating a document template in Microsoft Word similar to making a guide or model to make tools. The differentiating factor between a document template and a simple document is how they are saved. Here’s how to create a custom document template. Step 1: Click the Windows button to open the Start menu and type word in the Windows search.
Step 2: From the results, click on the Microsoft Word app or document to open it.
Step 3: On the Word canvas, input the document content, properties, and format you want to use as a template. They could be header, footer, titles, images, background, or other elements.
Step 4: On the Word Ribbon, click on the File tab at the top-right corner.
Step 5: Click the Open button.
Step 6: On the Open window, click the Browse button to launch your File Library.
Step 7: From your File Library menu, click the Documents tab.
Step 8: From the folders list in your Documents library, click the Custom Office Templates folder.
Step 9: In the text box beside File name, give a name for your template.
Step 10: Click the File type drop-down beside the file name textbox and select Word Templates (.dotx) from the list. Choose Word (97-2003) if you plan to use the template with older version of Word.
Step 11: Click Save to save your new template. You can choose to save your document templates in OneDrive, SharePoint, or any other cloud location. However, saving it in the Custom Office Templates folder on your PC drive makes it easy to find the template whenever you need to use it.
How to Edit a Custom Document Template in Microsoft Word
If after creating the custom document template, you have added changes to make, here’s how to do so. Step 1: Click the Start button and type word to search for the app.
Step 2: From the results, click on the Microsoft Word app or document to open it.
Step 3: On the Word Ribbon, click on the File tab.
Step 4: Click the Open button.
Step 5: On the Open window, click the Browse button to launch your File Library.
Step 6: From your File Library menu, click the Documents tab.
Step 7: From the folders list in your Documents library, click the Custom Office Templates folder.
The Custom Office Templates folder serves as the default location for any custom template you create. However, if you stored your custom template in the cloud or a different location on your PC, you would have to navigate to them to import the template. Step 8: Select a template from the options shown. Step 9: Click the Open button to view the template in Word and make your changes.
Step 10: Click the Save button on the Microsoft Word Ribbon to save the changes to your template.
How to Use a Custom Document Template in Microsoft Word
After creating and saving the custom document template, using it is also easy. It’s very similar like using the default templates of the Microsoft Word. Here’s how to create a document using a custom templete: Step 1: Click the Start button and type word to search for the app.
Step 2: From the results, click on the Microsoft Word app or document to open it.
Step 3: On the Word Ribbon, click on the File tab.
Step 4: Click the New button to preview the available Word templates.
Step 5: Scroll down the page and you will see two options – Office and Personal. For Microsoft Office templates, click Office, while for your custom templates, click Personal.
Step 6: Click on your custom template from the options shown under Personal and the template will be launched in Microsoft Word for your use.
Creating a Custom Color Theme in Microsoft Word
You can also personalize the color theme used in Word apart from your template. The color theme is what typically affects your Word background, text, and link color. For routine tasks that require the same color sets, creating a custom color theme and saving it helps in saving time and effort. The above article may contain affiliate links which help support Guiding Tech. However, it does not affect our editorial integrity. The content remains unbiased and authentic.


