The Properties section of your Microsoft Word document has another name – metadata. Here, information on the document’s title, author name, subject, keywords, etc., are listed. These details also make searching, identifying and organizing your files easy. Another good thing is that you can create or edit properties of your Word document. Here’s how to do so:
How to Edit the Standard Properties for a Microsoft Word File
In Microsoft Word, you have different file properties. By default, when you create a new Word document, there are standard properties associated with the file. Standard properties are author, title, and subject. For these standard properties, Microsoft Word expects you to specify your own text values for them to make it easy to organize and identify the document. If you want to edit the standard properties for a Word document, here’s what you should do: Step 1: Click the Start button on the Taskbar and type word to search for the app.
Step 2: From the results, click on the Microsoft Word app or document to open it.
Step 3: On the Microsoft Word Ribbon, click on the File tab.
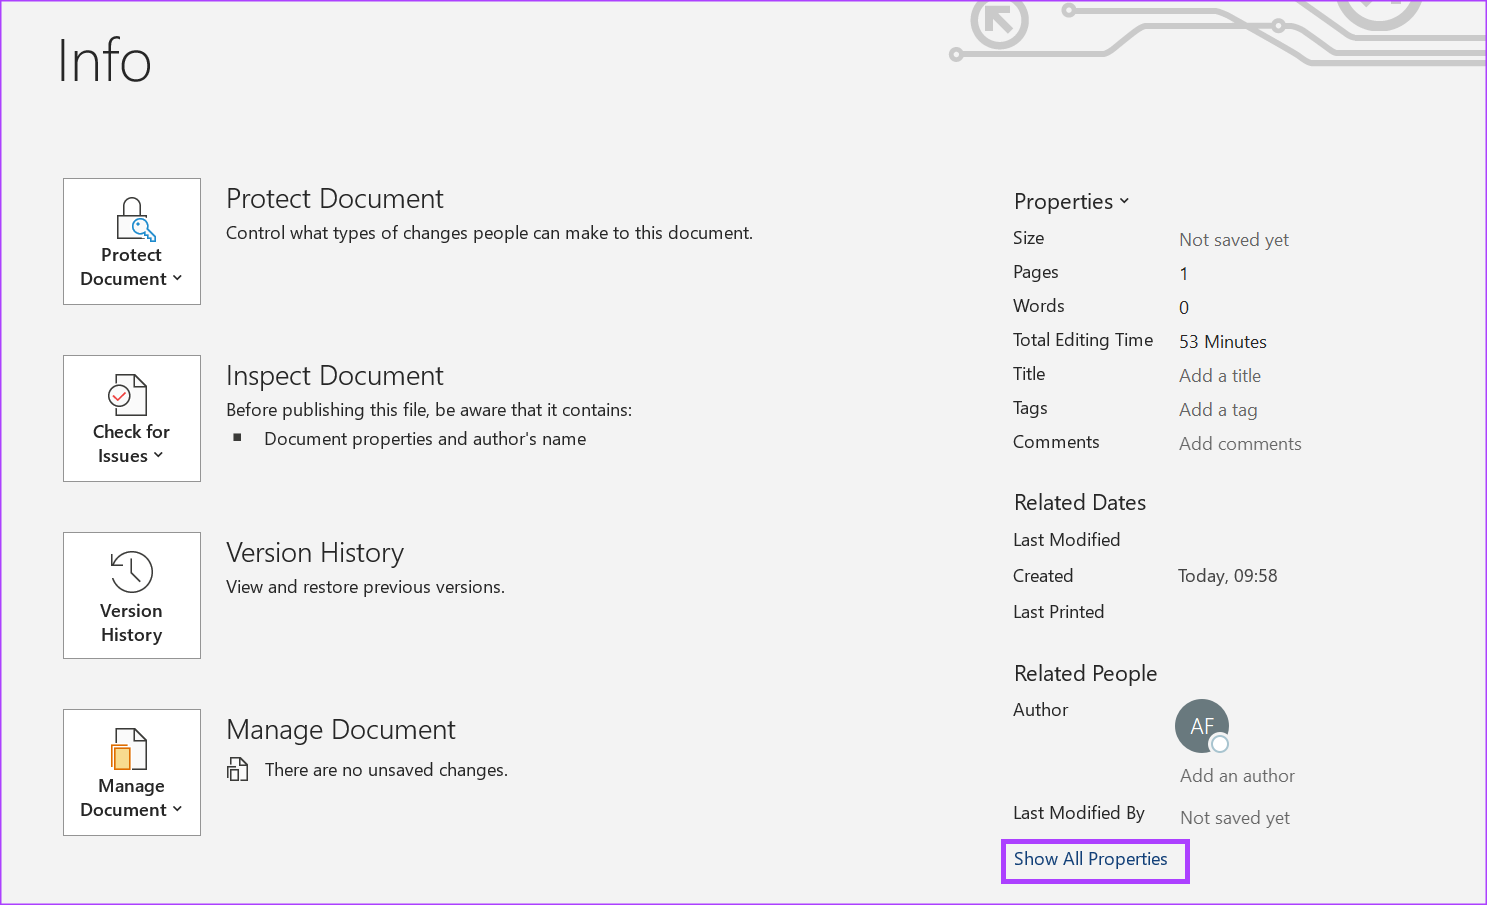
Step 4: Click the Info tab to view the document properties.
Step 5: On the right of the Info page, you will see the Properties section. Click Show All Properties to view all options.
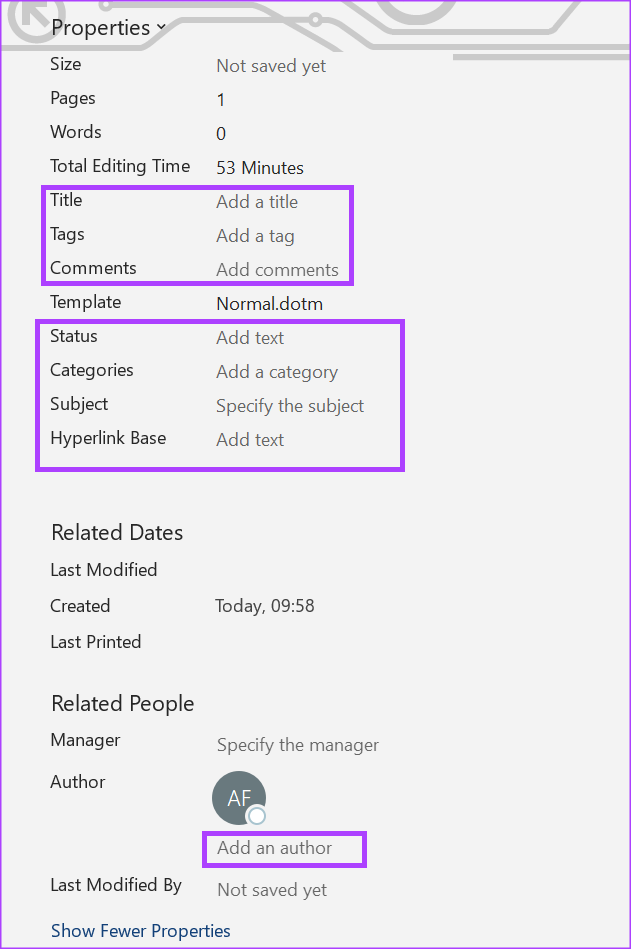
Step 6: Place your cursor in the text box of the following properties fields to enter your preferred text value:
Title Tag Comments Status Categories Subject Hyperlink Base Author
Step 7: After entering the details into the Properties field, click the back arrow to return to the main Word page. Any changes made to the properties will be saved automatically.
How to Create Custom Properties for a Microsoft Word File
Custom properties are additional elements you can assign to your Microsoft Word file. Unlike standard properties, they are not restricted to only text values. You can assign numeric, text, or time values to custom properties. You can also define your custom properties or choose from Word’s list. Here’s how to create custom properties for your Word file. Step 1: Click the Start button on the Taskbar and type word to search for the app.
Step 2: From the results, click on the Microsoft Word app or document to open it.
Step 3: On the Microsoft Word Ribbon, click on the File tab.
Step 4: Click the Info tab to view the document properties.
Step 5: Click the drop-down beside Properties at the top of the page.
Step 6: Click Advanced Properties to launch your Document’s Properties dialog box.
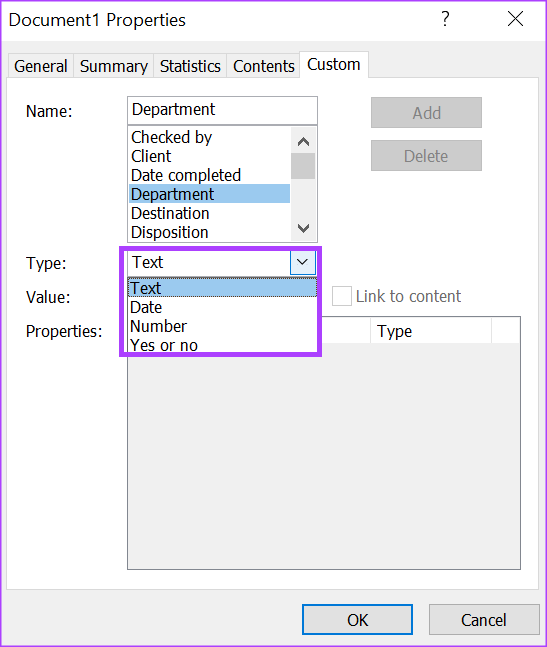
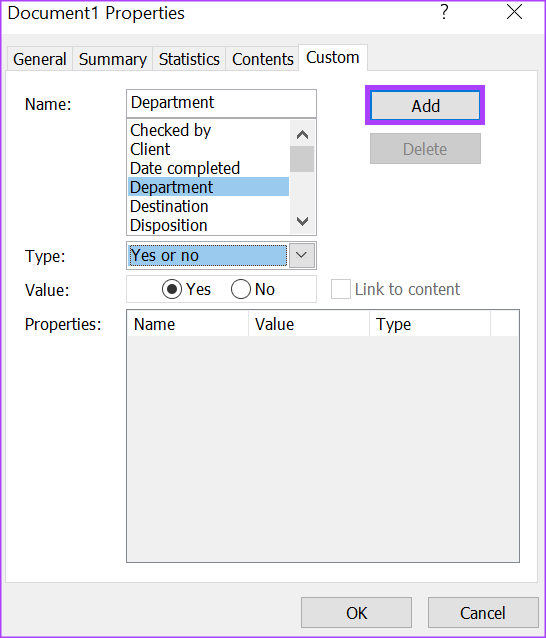
Step 7: On the dialog box, click the Custom tab. Here, you will have different options to define your preferred custom properties requirement.
Step 8: In the Name box, enter a name for your custom property or choose from the default Word list shown.
Step 9: From the Type list, select the data type for the custom property you want to add. The options available include:
Text Date Number Yes or No
Step 10: In the Value box, choose or type a value for the property. The value entry will depend on your selection from the Type list. If you select Yes or No from the Type list, the value box will only have Yes or No as options.
Step 11: Click the Add button to include the new custom property in your Properties menu.
Step 12: Click OK to save your new changes.
Adding Tags to a Word Document
By populating the properties of your Word document, you make it easy to identify and organize it. One of the properties in Word that makes it possible to do so is the Tags feature. You can add tags to your Microsoft Word document in various ways, including from the Properties menu. The above article may contain affiliate links which help support Guiding Tech. However, it does not affect our editorial integrity. The content remains unbiased and authentic.


![]()


