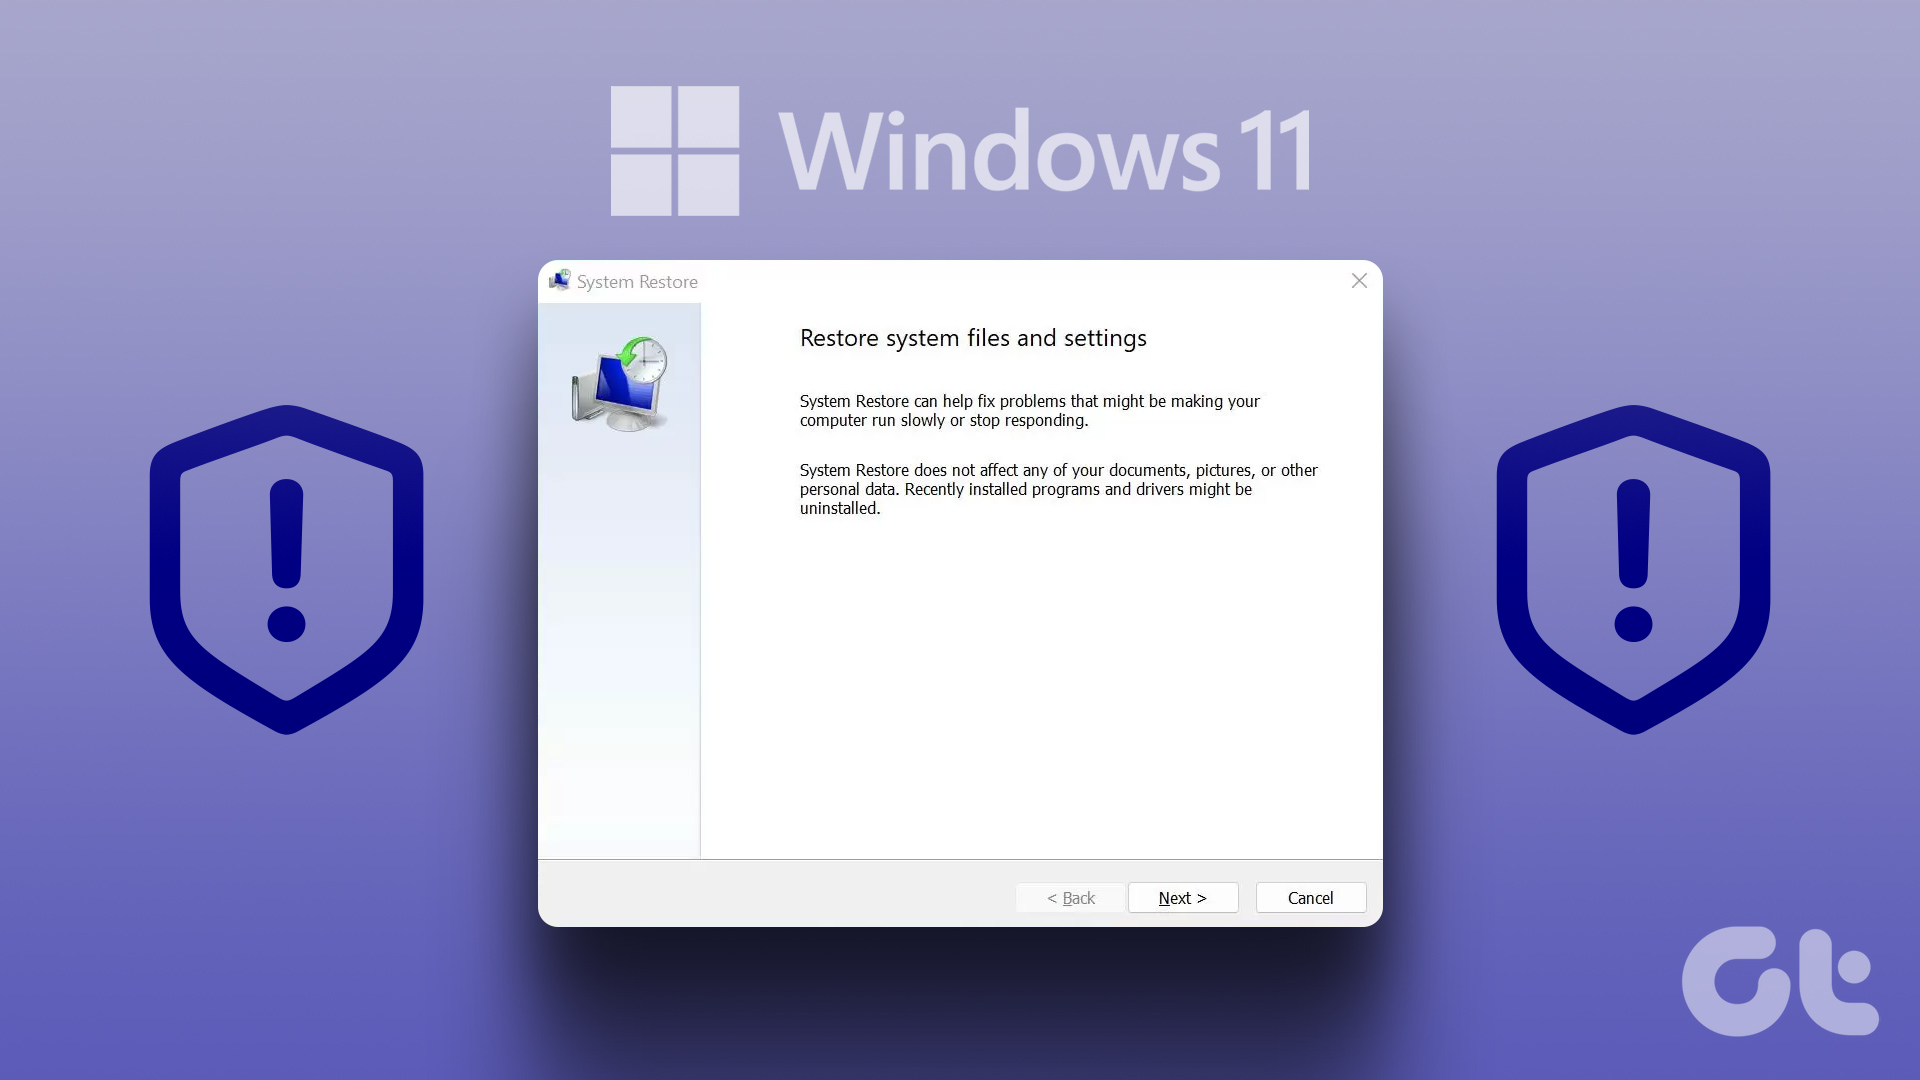
Delete old restore points in Windows 11 via System Protection, Disk Cleanup utility, or a command-line tool. In this post, we’ll walk you through these methods in detail. So, let’s get right to it.
1. How to Delete Old Restore Points via System Protection Settings
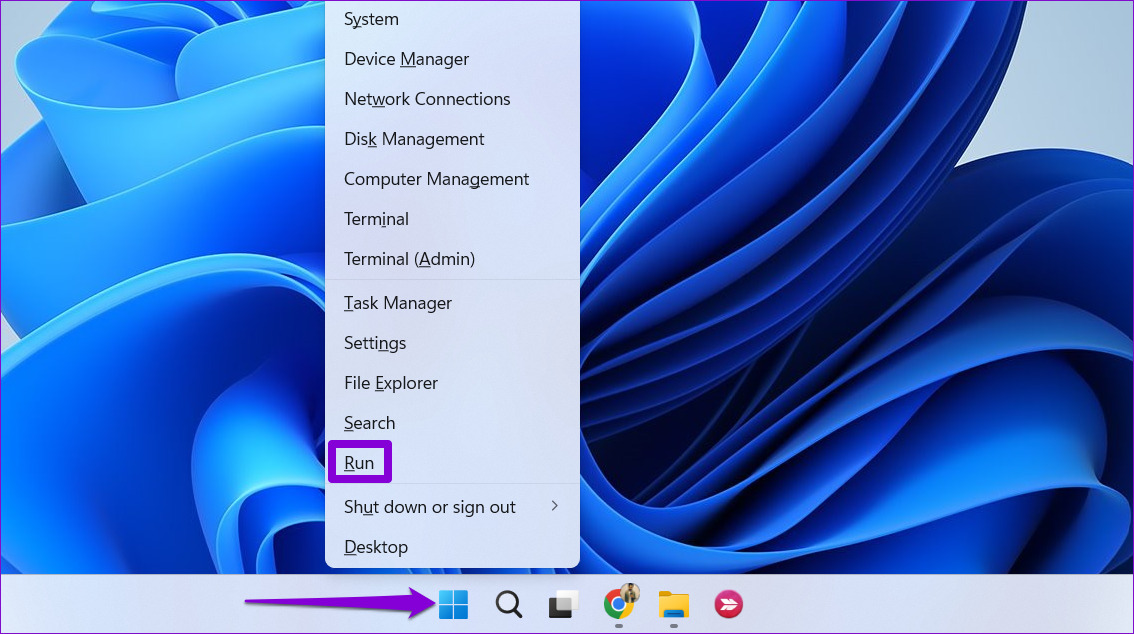
The quickest way to delete old restore points in Windows is via the System Protection settings. You can use this method to delete multiple restore points in Windows at once. Here are the steps for the same. Step 1: Right-click on the Start icon and select Run from the list.
Step 2: Type sysdm.cpl in the box and press Enter.
Step 3: In the System Properties dialog that opens, switch to the System Protection tab.
Step 4: Under Protection Settings, select the drive you want to delete system restore points. Then, click the Configure button.
Step 5: Click the Delete button to remove all the restore points.
Step 6: Select Continue to confirm the action.
Optionally, you can use the slider next to Max Usage to increase or decrease the storage space allocated for storing the System Restore Points on Windows. Then, hit Apply to save the changes.
2. How to Delete Old Restore Points With Disk Cleanup
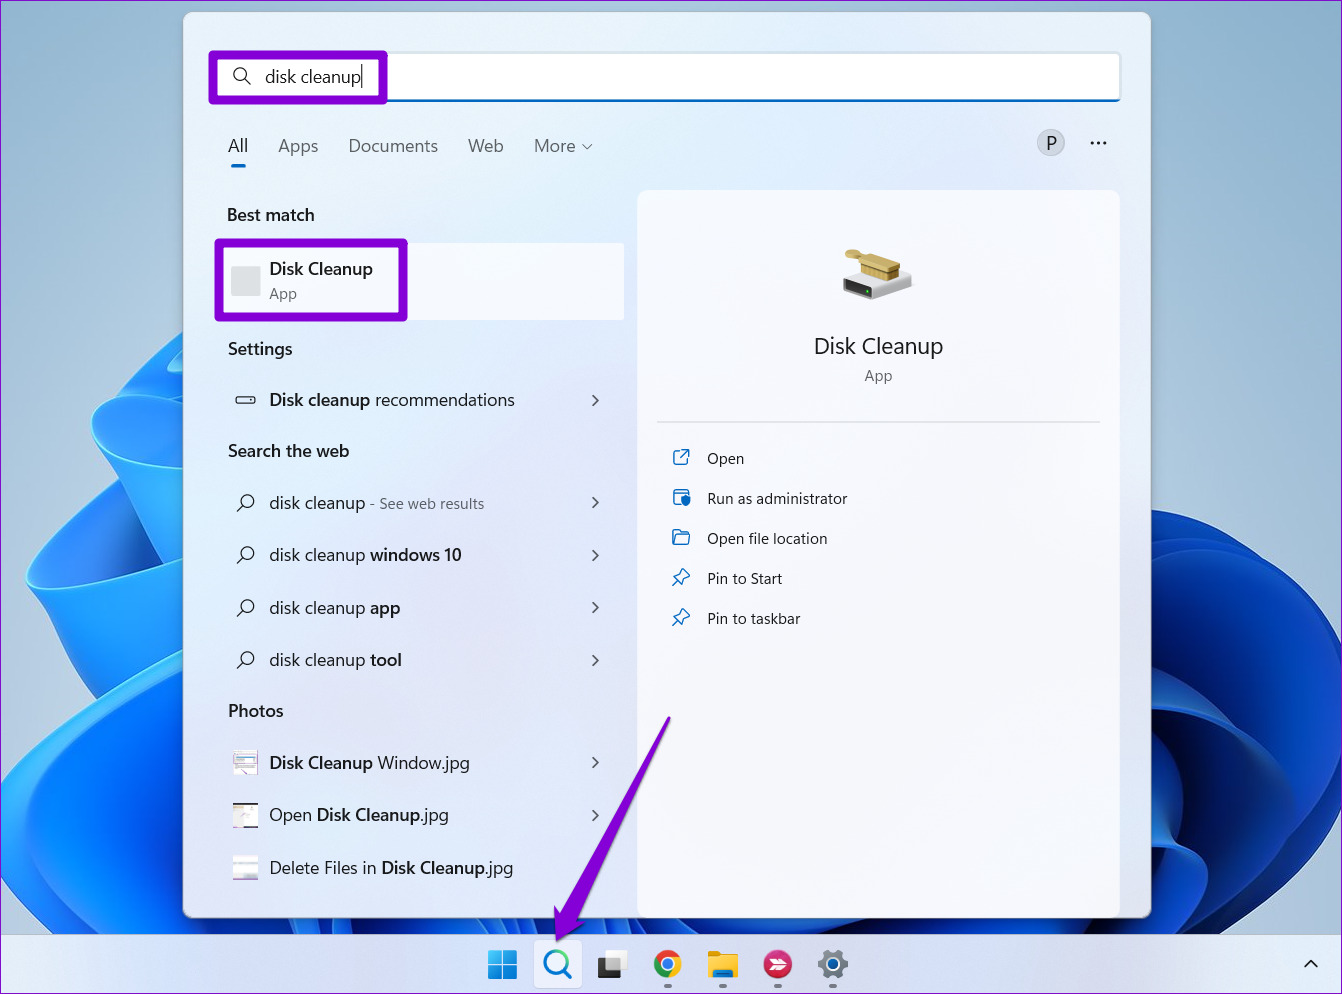
Disk Cleanup is a useful Windows tool that lets you free up storage space by deleting temporary files. With Disk Cleanup, you can keep the most recent restore point in Windows 11 and delete all the others. If you are interested in doing that, follow these steps: Step 1: Click the search icon on the Taskbar, type disk cleanup in the box, and select the first result that appears.
Step 2: Use the drop-down menu to select a drive from which you want to delete old restore points. Then, click OK.
Step 3: Click the ‘Clean up system files’ button.
Step 4: Select Yes when the User Account Control (UAC) prompt appears.
Step 5: Select your drive again and click OK.
Step 6: Switch to the More Options tab and click the Clean up button under ‘System Restore and Shadow Copies.’
Step 7: Click the Delete button to confirm the action.
3. How to Delete Old Restore Points Using Command Prompt or PowerShell
Command Prompt and PowerShell are built-in command-line tools in Windows that are useful for performing advanced administrative tasks and troubleshooting various error messages. You can also use these tools to remove temporary files, old Windows update files, or restore points. Unlike the above methods, using Command Prompt or PowerShell allows you to select and delete specific restore points on your computer. To delete old restore points using Command Prompt or PowerShell, follow these steps: Step 1: Click the search icon on the taskbar or press the Windows key + S keyboard shortcut to open the search menu. Type cmd or PowerShell in the search box and select Run as administrator.
Step 2: Select Yes when the User Account Control (UAC) prompt appears.
Step 3: Type the following command in the console and press Enter to view a list of restore points stored on your system:
Step 4: Note down the Shadow Copy ID of the restore point you want to delete.
Step 5: Paste the following command and press Enter to delete the restore point. Ensure you replace Shadow Copy ID in the following command with the actual ID noted in the previous step. Step 6: Enter Y to confirm.
Once you run the above command, Windows will delete the specified restore point. Alternatively, if you want to delete all the existing restore points on Windows, run this command instead:
Clear the Clutter
While deleting restore points can help you reclaim disk space on your system, it’s important to be cautious, as you will lose the ability to restore your system to a previous state if something goes wrong. Deleting old restore points in Windows 11 should not take long, regardless of your method. While we only talked about Windows 11 in this guide, you can also use the above methods to delete old restore points in Windows 10. The above article may contain affiliate links which help support Guiding Tech. However, it does not affect our editorial integrity. The content remains unbiased and authentic.

