If you are using Microsoft Word for creating a variety of documents, then you might want to fix that error if it occurs often. Here’s how to find and delete these extra spaces in Microsoft Word.
Find and Delete Extra Spaces in Microsoft Word Using Find and Replace
The first obvious way is to do it manually since you wouldn’t want automation causing any errors. But, to fix those spacing errors, you’ll need the Word to locate them first. After identifying the locations, you can update the spacing using the replace function. Step 1: Click the Start button and type word to search for the app.
Step 2: From the results, click on open option under the Microsoft Word app to open it.
Step 3: Click on the drop-down beside Find in the top-right corner of the ribbon in the Microsoft Word.
Step 4: Select Advanced Find from the options displayed to launch the Find and Replace box.
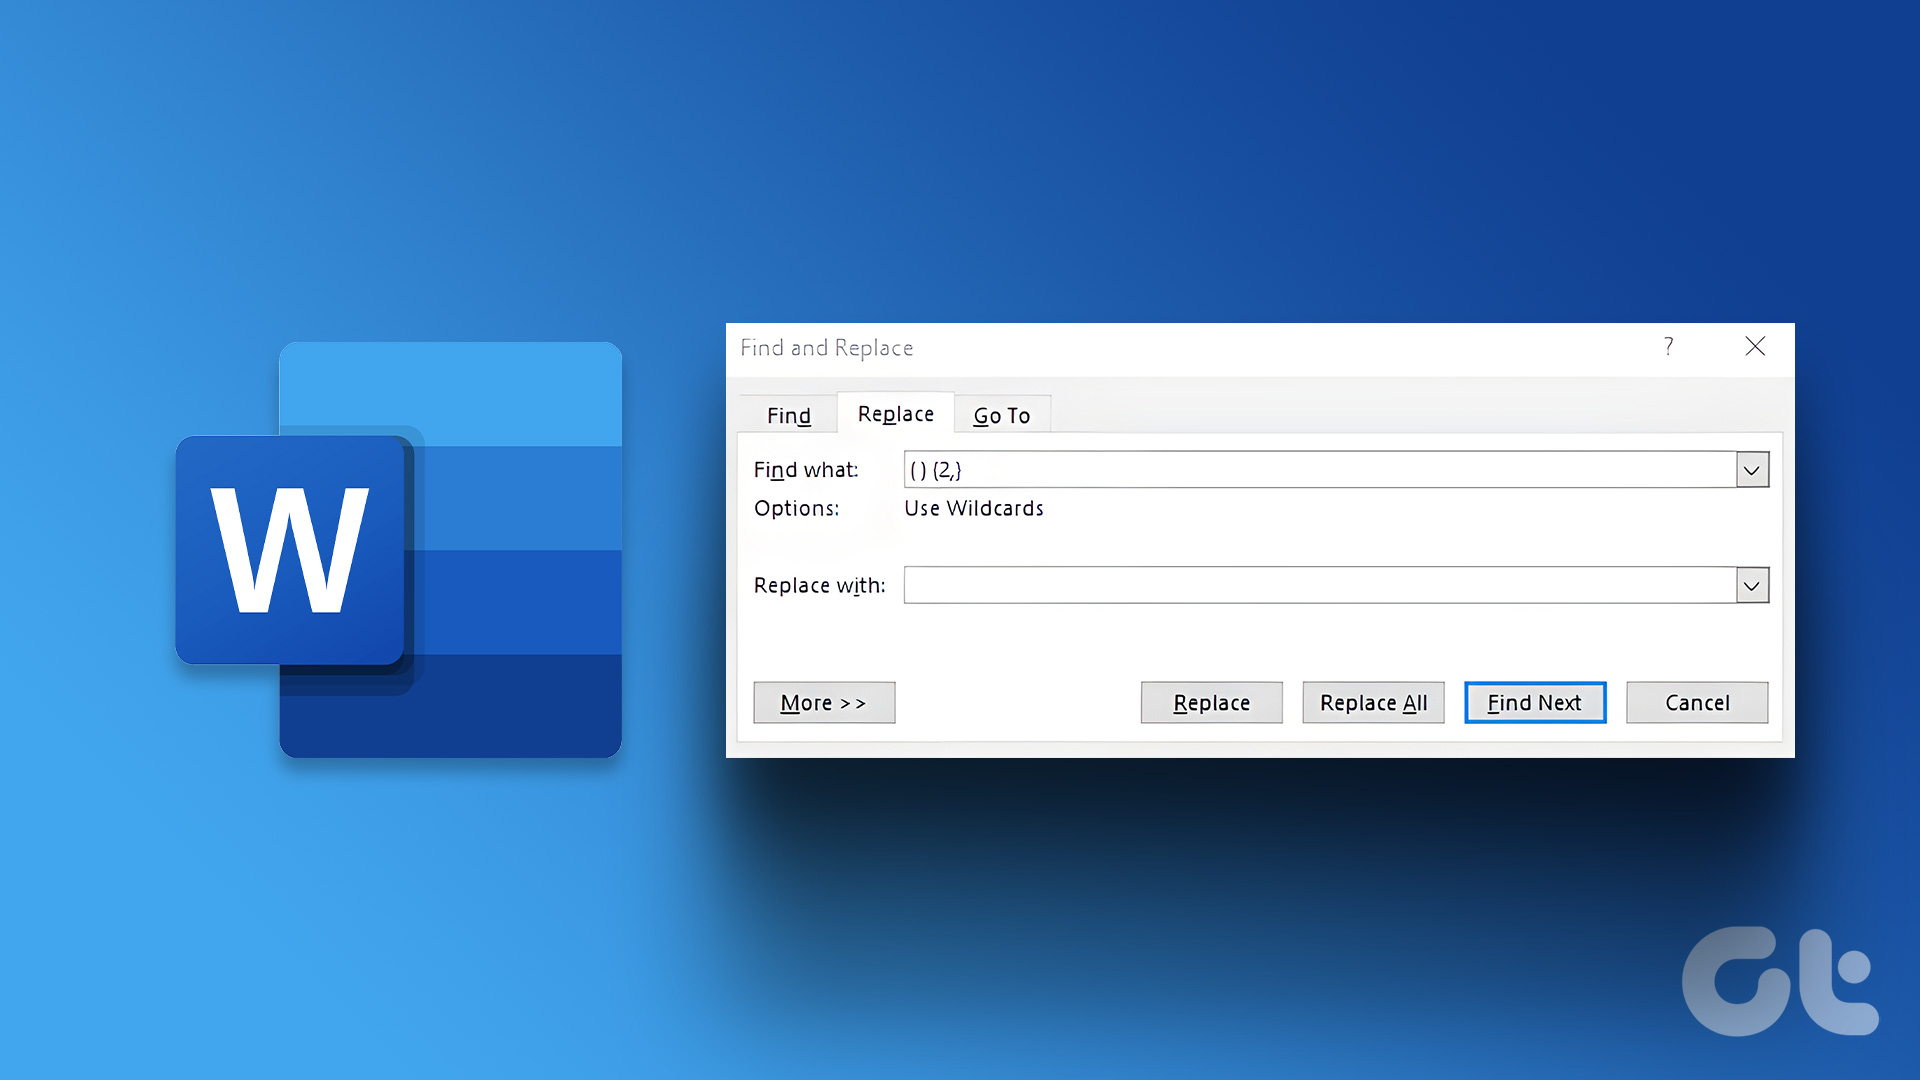
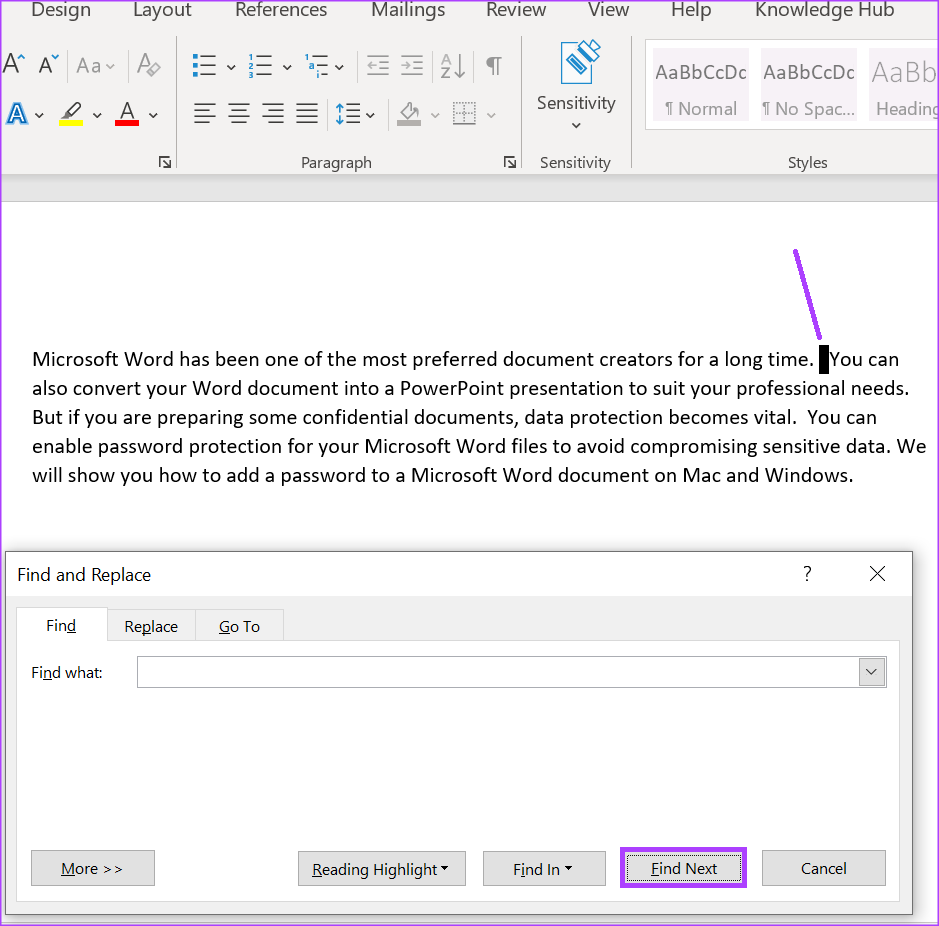
Step 5: On the Find and Replace box, click on the Find tab.
Step 6: Place your cursor within the Find what field, and tap your spacebar twice to add two spaces.
Note the Find what field would still appear blank. But, you will obviously see the space in the box. Step 7: Click the Find Next button to identify the extra spaces within your Word document.
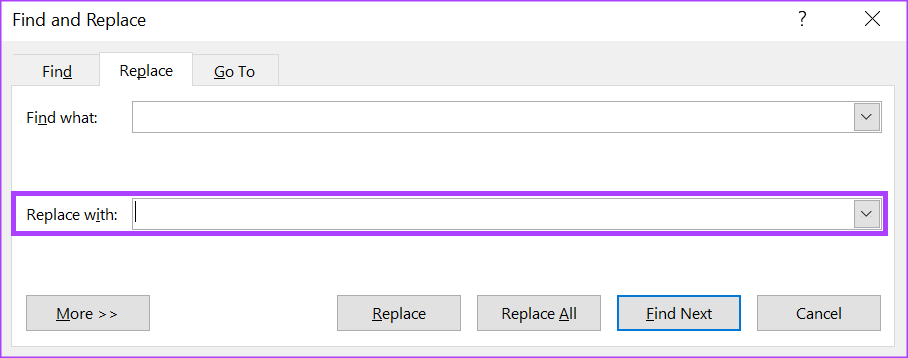
The Word cursor will highlight where the spaces appear more than once in the document. Step 8: At the top of the Find and Replace, click the Replace tab.
Step 9: Place your cursor within the Replace with field, and tap your spacebar once to signify a single space.
Step 10: At the bottom of the Find and Replace box, click either Replace or Replace All to change the spacing from double to single in the document.
Step 11: Close the dialog box after Word prompts you that the replacements have been done. This method requires you to consciously perform a check on the document. But if you want Word to automatically take care of that, then here’s what you’ll need to do.
How to Find and Delete Extra Spaces in Microsoft Word Using Proofing Settings
You can update the proofing settings to lock in the type of spacing on your Word document. So any time you make an error, Word’s spell check will automatically flag it. As such, you can make updates to the Word document as you type instead of retrospectively like in the Find and Replace method. Step 1: Click the Start button and type word to search for the app.
Step 2: From the results, click on the Microsoft Word app or document to open it.
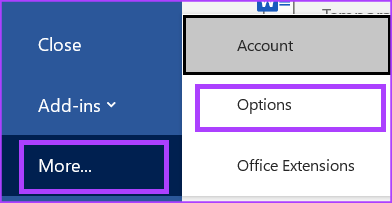
Step 3: At the top left of the Microsoft Office Ribbon, click on the File tab.
Step 4: Scroll to the bottom of the File menu and click on More Options to reveal a collapsed menu.
Step 5: Click Options from the menu.
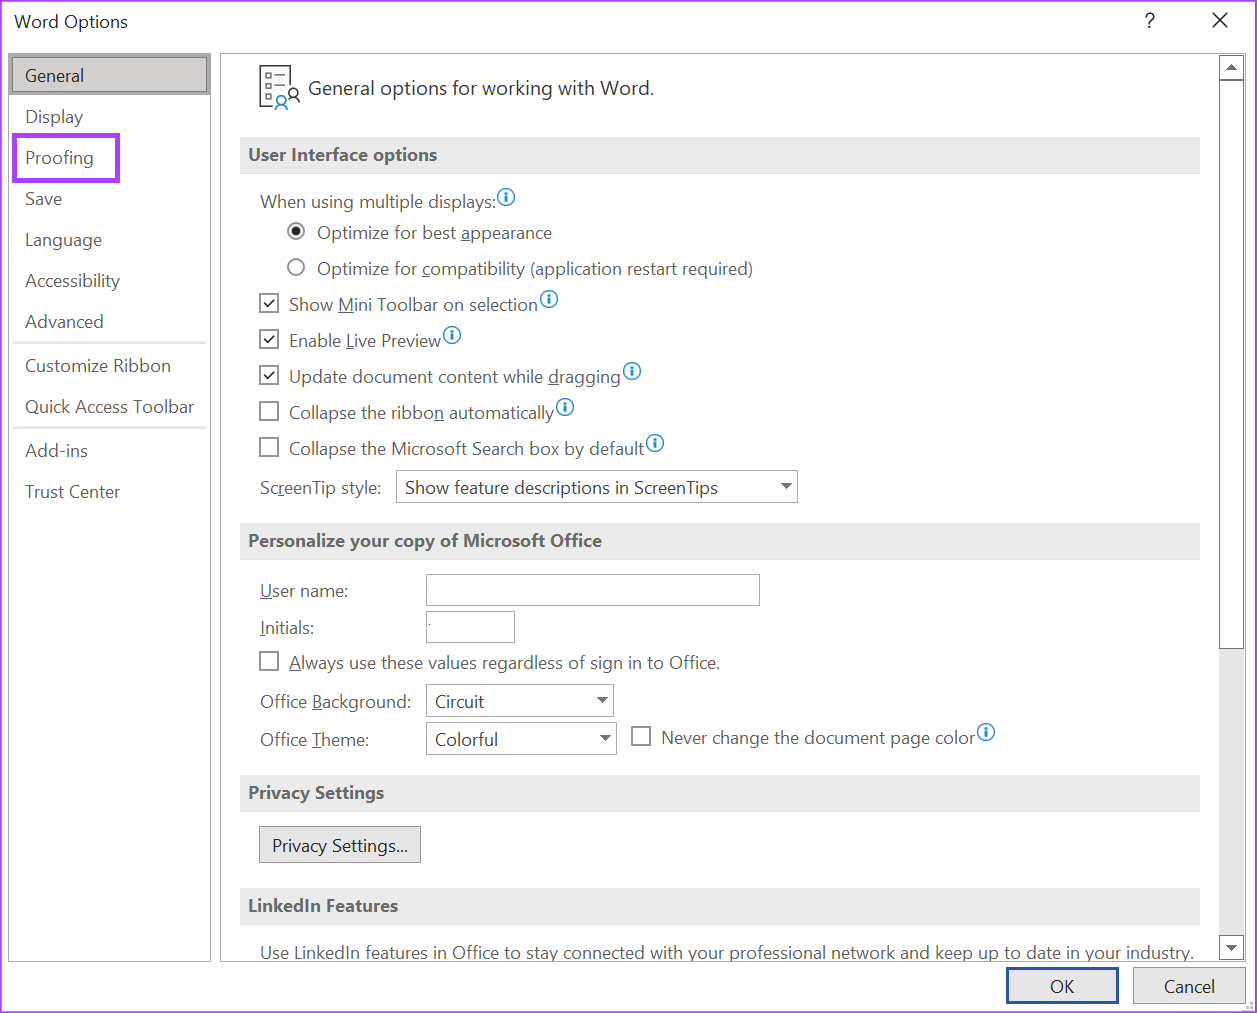
Step 6: On the left of the Word Options pop-up, click the Proofing tab.
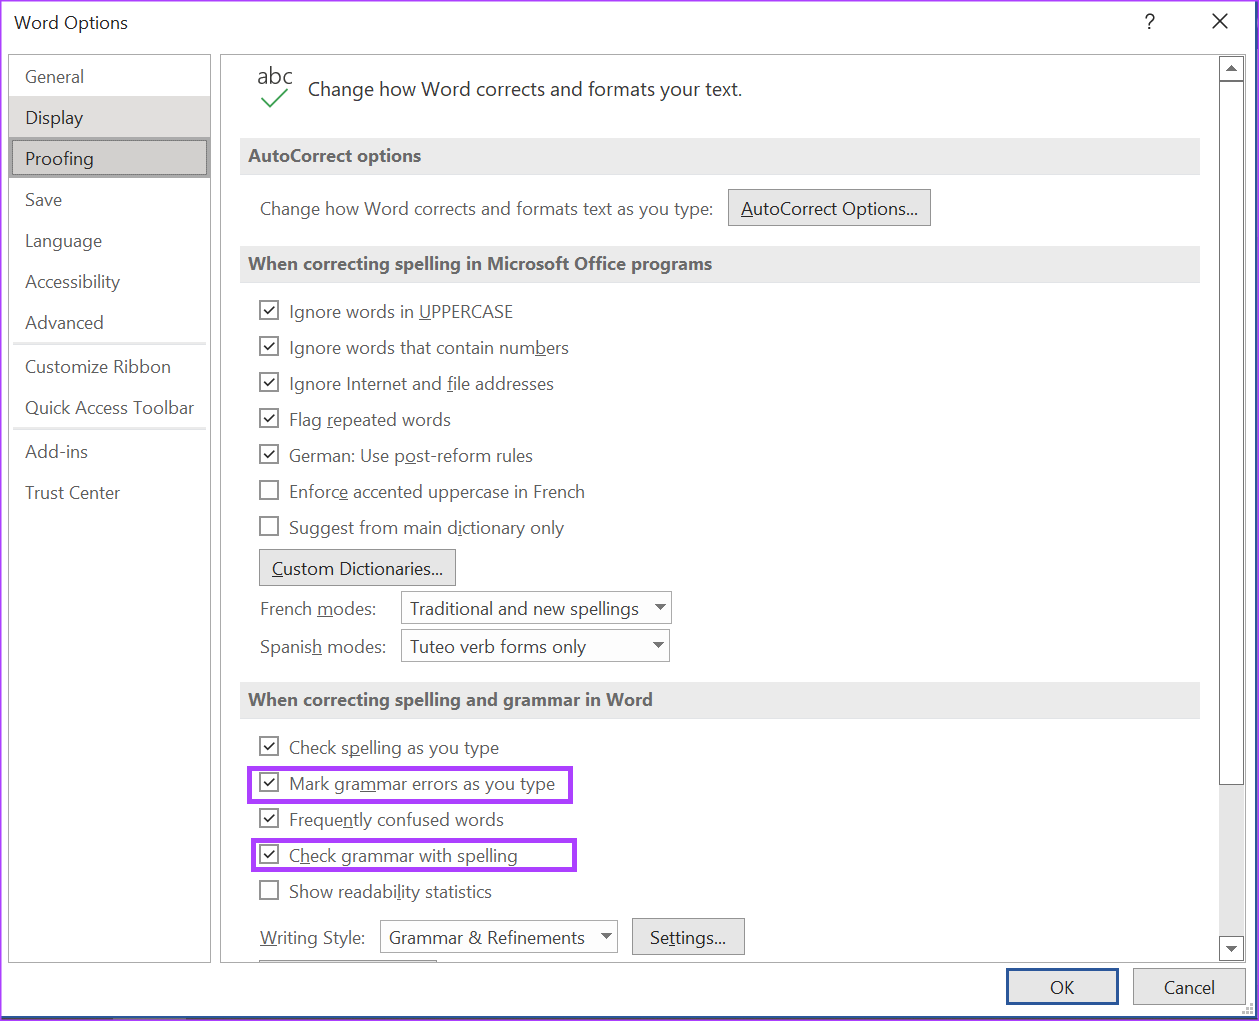
Step 7: From the Proofing settings, scroll to the ‘When correcting spelling and grammar in Word’ section.
Step 8: Tick the boxes beside ‘Mark grammar errors as you type’ and ‘Check grammar with spelling.’
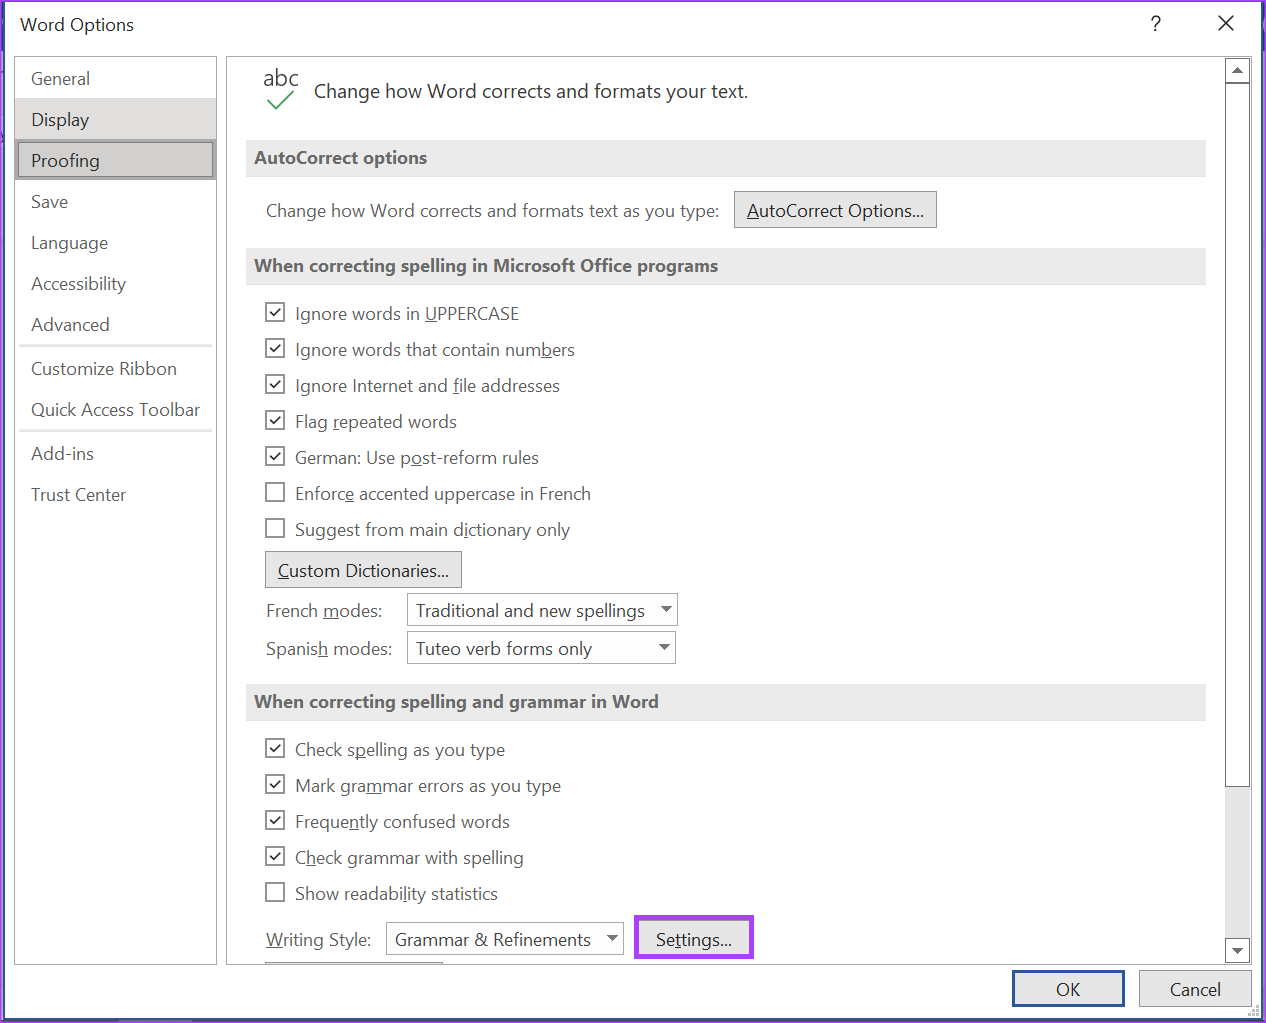
Step 9: Click the Settings button beside Writing Style to launch the Grammar Settings box.
Step 10: Scroll down the options in the Grammar Settings box until you arrive at Spacing. Uncheck the box next to Spacing.
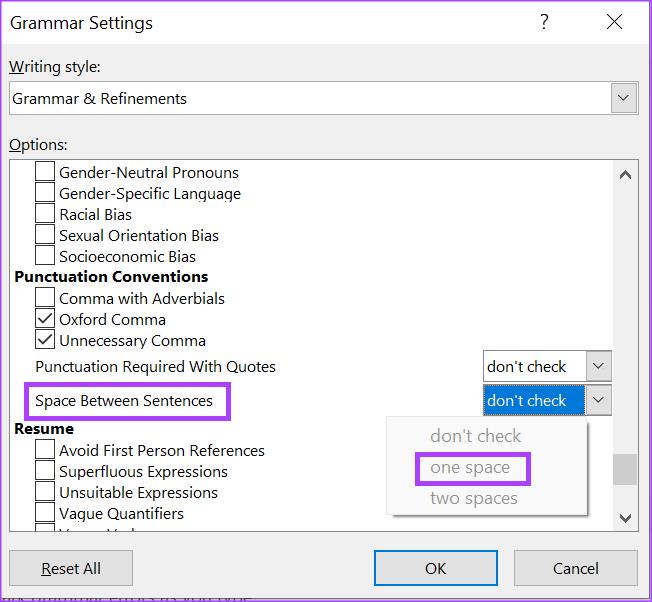
Step 11: Scroll down till the Punctuation Conventions section.
Step 12: Check the drop-down beside ‘Space between sentences.’
Step 13: Choose your preferred spacing between sentences and click OK at the bottom of the window to save your changes.
Fixing the Autocorrect Setting in Word
Whenever you deviate from your spacing setting, Word should automatically flag this on the document to let you know. This is almost similar to the autocorrect setting wherein Word automatically makes a correction to your text when you deviate from the dictionary. The above article may contain affiliate links which help support Guiding Tech. However, it does not affect our editorial integrity. The content remains unbiased and authentic.