This is also helpful especially in today’s day and age when your router is connected to multiple devices at the same time. So in this post, we will share the steps to find the best Wi-Fi channel on your Mac for the best internet speeds and the most stable connectivity.
2.4GHz vs 5GHz Frequency Bands
Before showing you the steps, let us quickly understand the two most popular Wi-Fi channels denoted more commonly with frequency bands – 2.4GHz and 5GHz. These are used by almost every consumer-grade Wi-Fi router. But they differ in terms of speed and coverage range. The 2.4GHz frequency band supports 11 channels and a maximum bandwidth of up to 450Mbps. On the other hand, the 5GHz frequency band supports 25 channels and a maximum bandwidth of up to 1300Mbps. Do note that the number of Wi-Fi channels also depends on your region. For example, the 2.4GHz frequency band only has 11 channels in North America. However, in Asia and Europe, you have access to 13 channels on the 2.4GHz frequency band. But the biggest difference between the two is in terms of coverage. The 5GHz frequency band can provide more channels but less coverage for all your device. The 2.4GHz frequency band can provide less number of channels but more coverage for your devices. That’s why you’ll need to sit close to the router if you plan to use 5GHz channel on your computer and mobiles.
Choose the Optimal Wi-Fi Channel for Your Mac
With macOS Ventura, Apple baked a built-in Wireless Diagnostics tool to help you choose an appropriate Wi-Fi channel. Whenever you face web browsing issues after connecting your Mac with your router, you can scan for the best Wi-Fi channels available around you using this built-in tool. Here’s how to use it. Step 1: Click the Wi-Fi icon at the top-right corner while pressing the Option key on your Mac. Step 2: Click on Open Wireless Diagnostics. Step 3: Click on Window at the top Menu Bar. Step 4: Select Scan from the list of options. You will see a list of all the available Wi-Fi networks and their respective configurations. Under the Summary section, you’ll see the recommendation for the best 2.4GHz and 5GHz channels.
Change the Wi-Fi Channel of Your Router
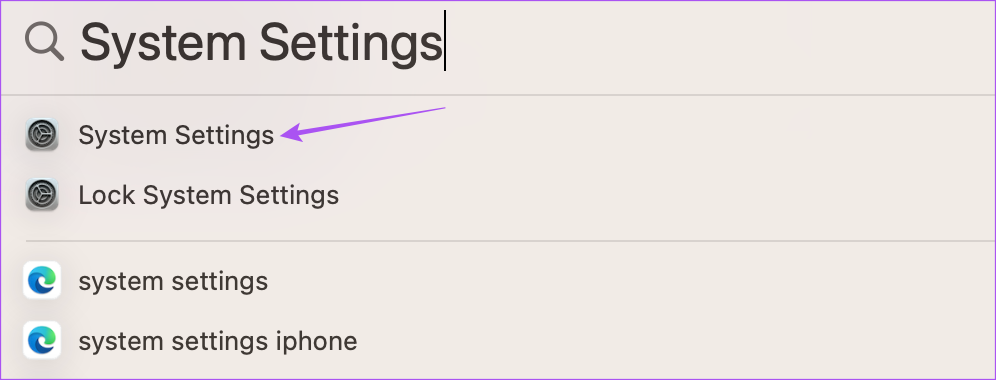
After deciding the Wi-Fi channel you plan use, you’ll need to configure the settings of your router on your Mac. If your MacBook or iMac supports it, we recommend connecting your Mac to your router using an Ethernet cable. But using the wireless network will also work. But first, let us show you how to find your router’s IP address on your Mac. Step 1: Press Command + Spacebar keyboard shortcut to open Spotlight Search, type System Settings, and press Return. Step 2: Click on Wi-Fi from the top left side. Step 3: Click on Details next to your connected Wi-Fi network. Step 4: Select TCP/IP from the left menu. Step 5: Press Command + C keyboard shortcut to copy the router’s IP address. Then, click on Ok at the bottom right side. Step 6: Open the browser on your Mac, enter your router’s IP address, and press Return. Step 7: Log in using your admin credentials. You can contact your Internet Service Provider if you don’t know the same. Step 8: Open the Wi-Fi channel settings and that may be different as per routers. Next, you can choose an appropriate 2.4GHz and 5GHz channels. Save the settings and restart your router to apply the new channel settings.
Enjoy the Best Internet Speeds
Choosing the best Wi-Fi channel is a great way to ensure optimum internet speeds on your Mac. If you have a Windows PC, here’s how you can find the best Wi-Fi channel on your Windows PC. The above article may contain affiliate links which help support Guiding Tech. However, it does not affect our editorial integrity. The content remains unbiased and authentic.

![]()


