Updating your Windows 11 operating system is crucial for several reasons. Firstly, updates contain essential security patches and bug fixes that protect your device from vulnerabilities and performance issues. Secondly, they provide you with access to the latest features and enhancements. By fixing the 0x80248007 error, you can ensure your device is up-to-date and secure. Let’s show you how to do this.
1. Run the Windows Update Troubleshooter
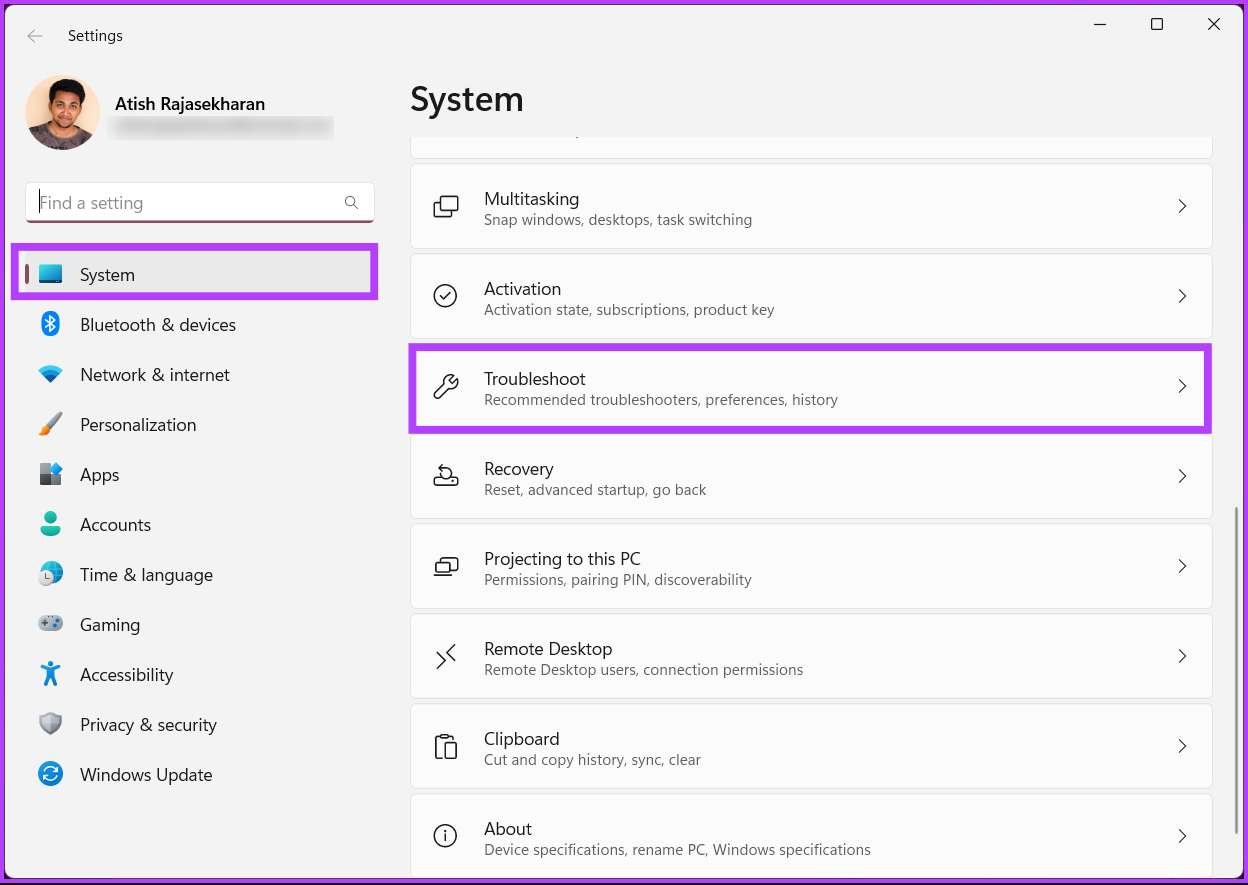
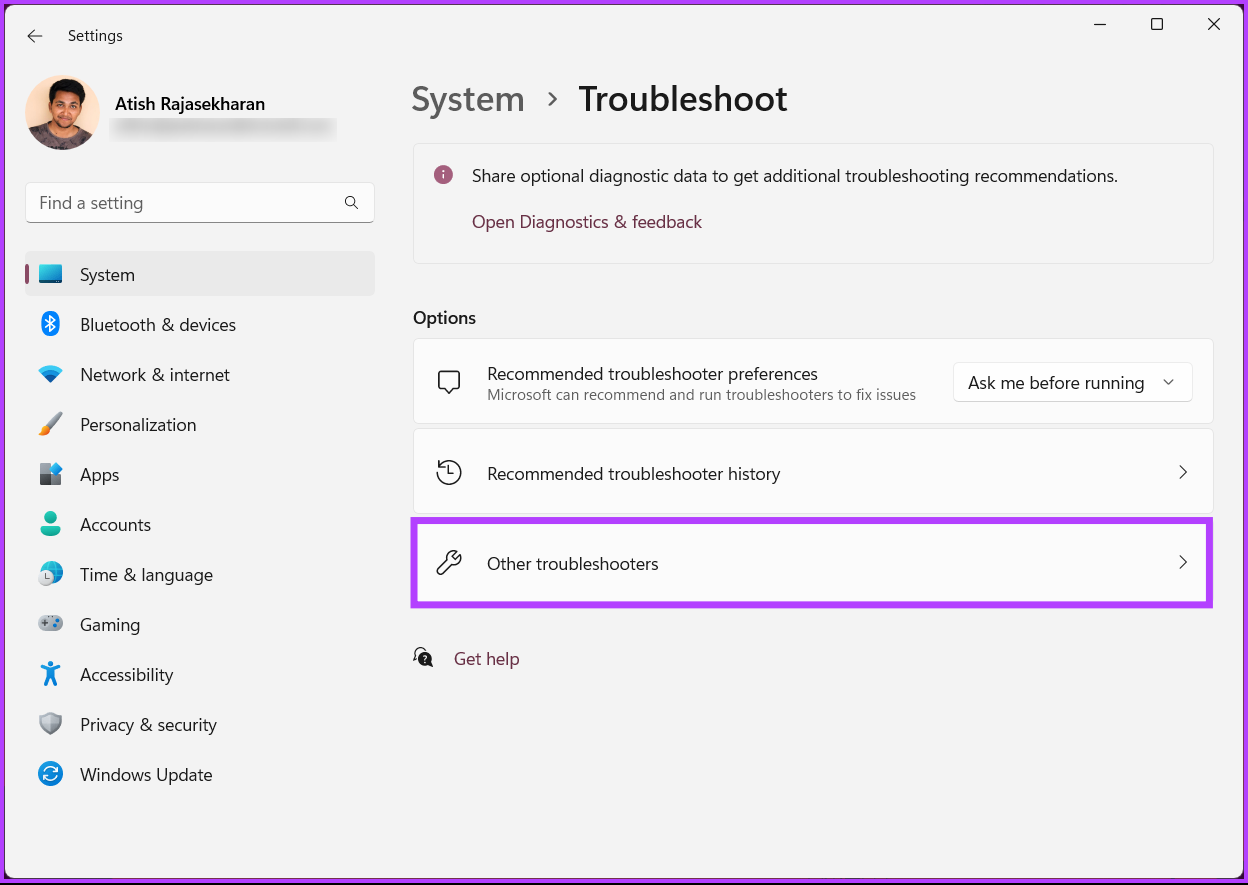
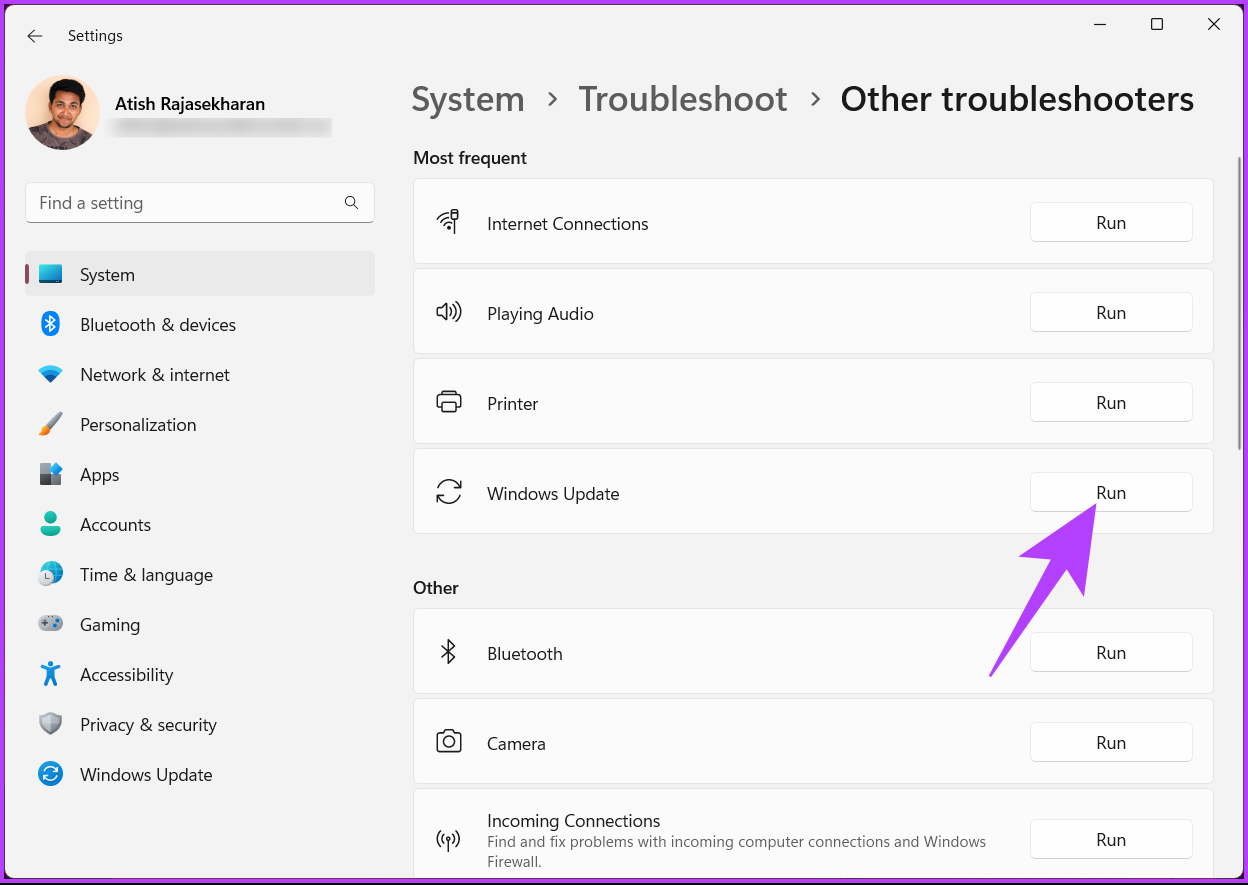
This method checks and helps you troubleshoot any Windows Update errors and reports them back to you. The steps are easy and straightforward to follow. Step 1: Press the Windows key on your keyboard, type Settings, and click Open. Step 2: Select System from the sidebar, scroll down, and click Troubleshoot. Step 3: Under Troubleshoot, select Other troubleshooters. Step 4: Click on the Run button next to Windows Update. The troubleshooter will run a few tests, review the errors, and fix them quickly. Once done, go ahead and check if the issue persists; if it does, move to the next method.
2. Disable Third-Party Antivirus
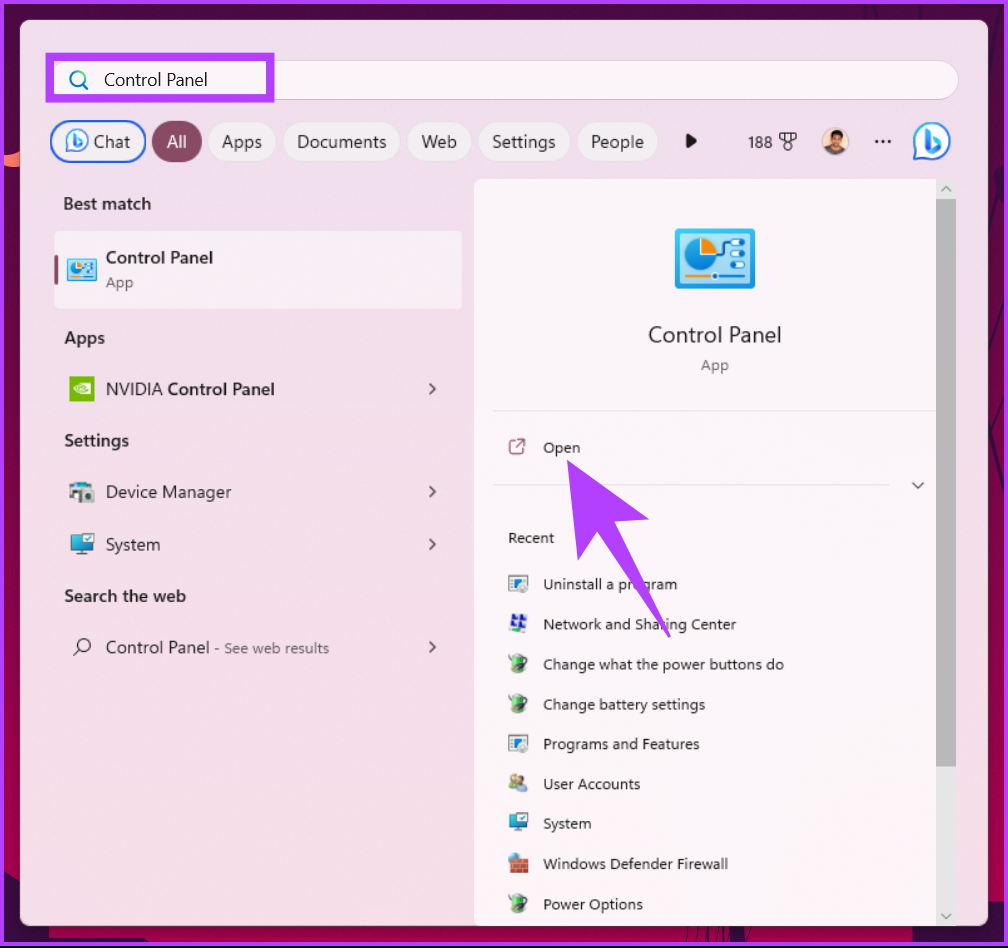
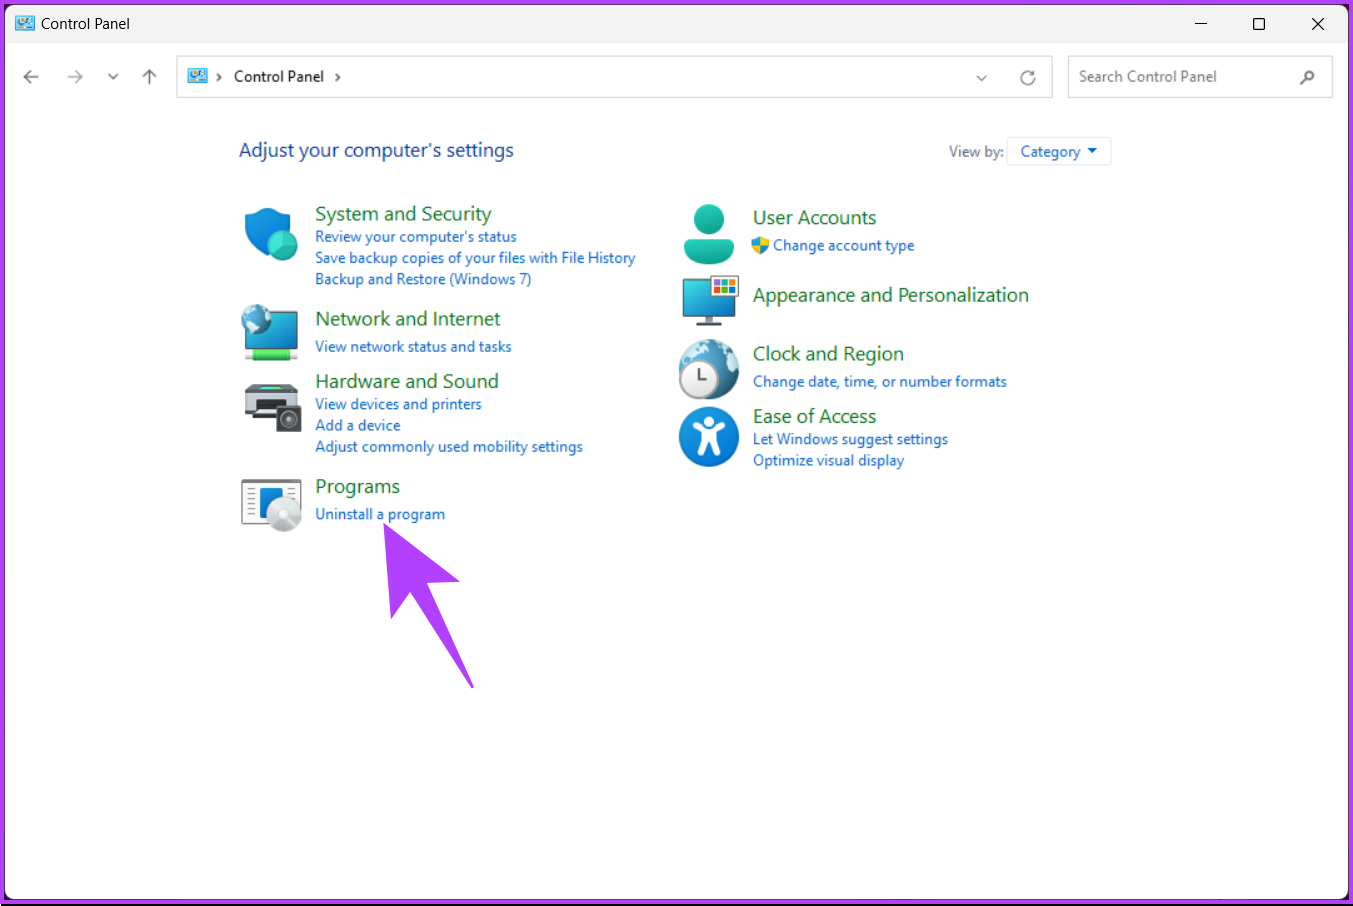
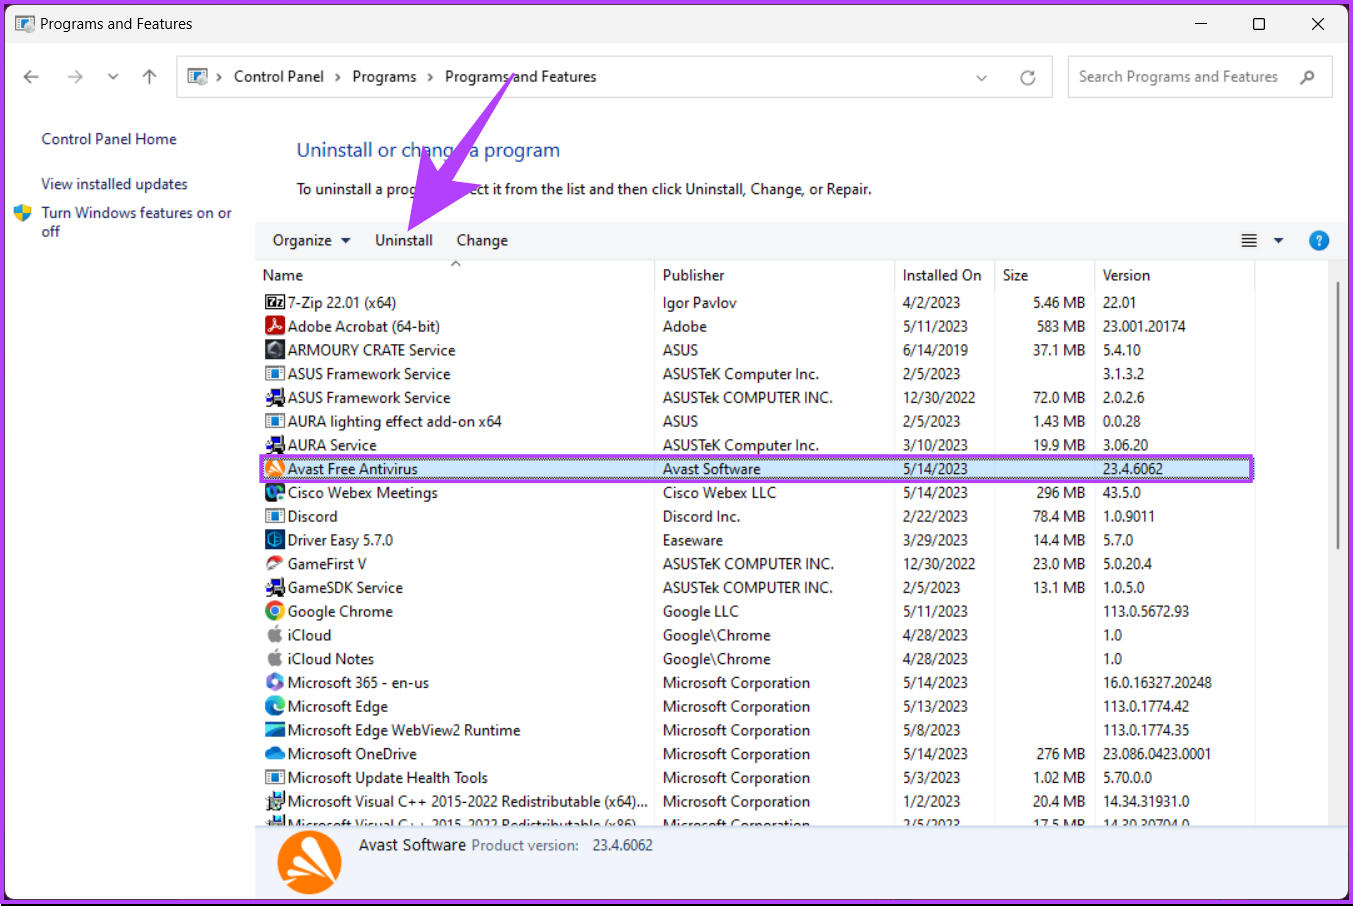
You may encounter issues installing updates using third-party antivirus software instead of Windows Defender. This can happen if the antivirus program incorrectly flags the update files as a threat or is incompatible with the update. To avoid this, it’s recommended to disable the antivirus temporarily during the update process. Sometimes, you may need to completely uninstall and reinstall the antivirus after the update is complete to ensure proper functioning. Note: We will demonstrate how to uninstall the third-party antivirus software from your PC. Step 1: Press the Windows key on your keyboard, type Control Panel, and click Open. Step 2: Under Programs, click on ‘Uninstall a program.’ Step 3: Select the Antivirus you want to remove from your computer and click Uninstall. Follow the instructions to remove the software and its associated files and folders from here. It is important to note that each program has a different flow of getting removed from a PC, so follow accordingly. Also Read: How to clear Windows Defender protection history on Windows
3. Start the Windows Installer Service
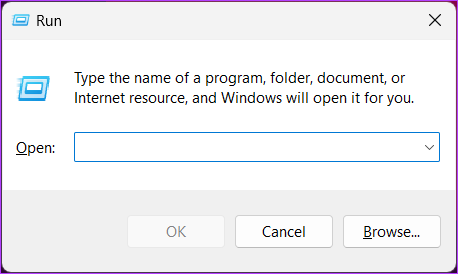
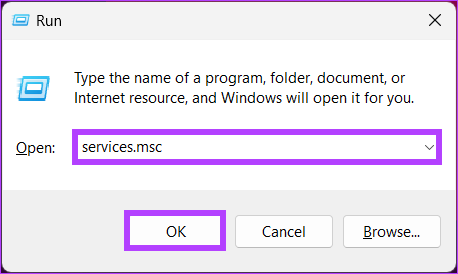
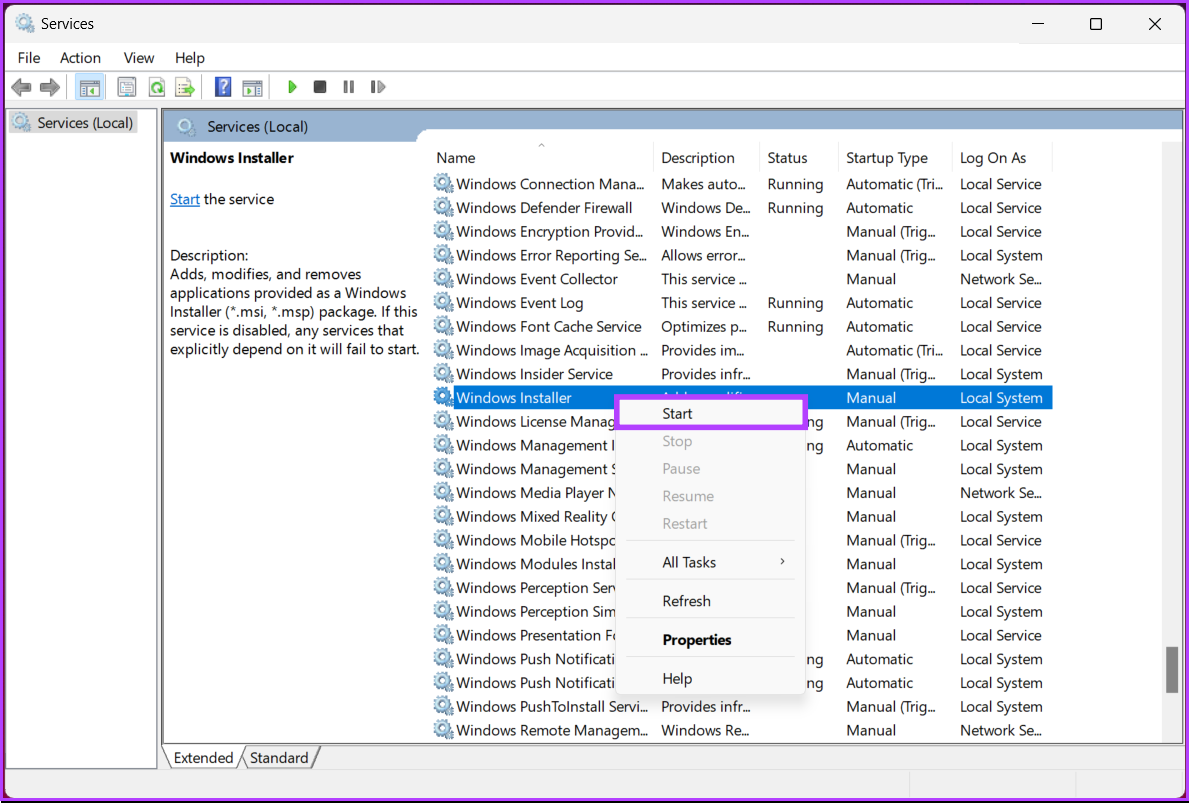
Windows installer service lets you manually fix the update issues. All you need to do is to get access to the Services console. Follow the below-mentioned steps. Step 1: Press the ‘Windows key + R’ on your keyboard to open the Run dialog box. Note: Alternatively, press the Windows key on your keyboard and type Run. Step 2: Type the below command in the text field and click OK. Step 3: From the list of services, scroll down and select Windows Installer and right-click on it. Step 4: From the context menu, select Start. Once the service restarts, go to Windows Update and run it to check if the problem has been resolved. If the issue persists, the next method may help.
4. Reboot the Windows Update Service
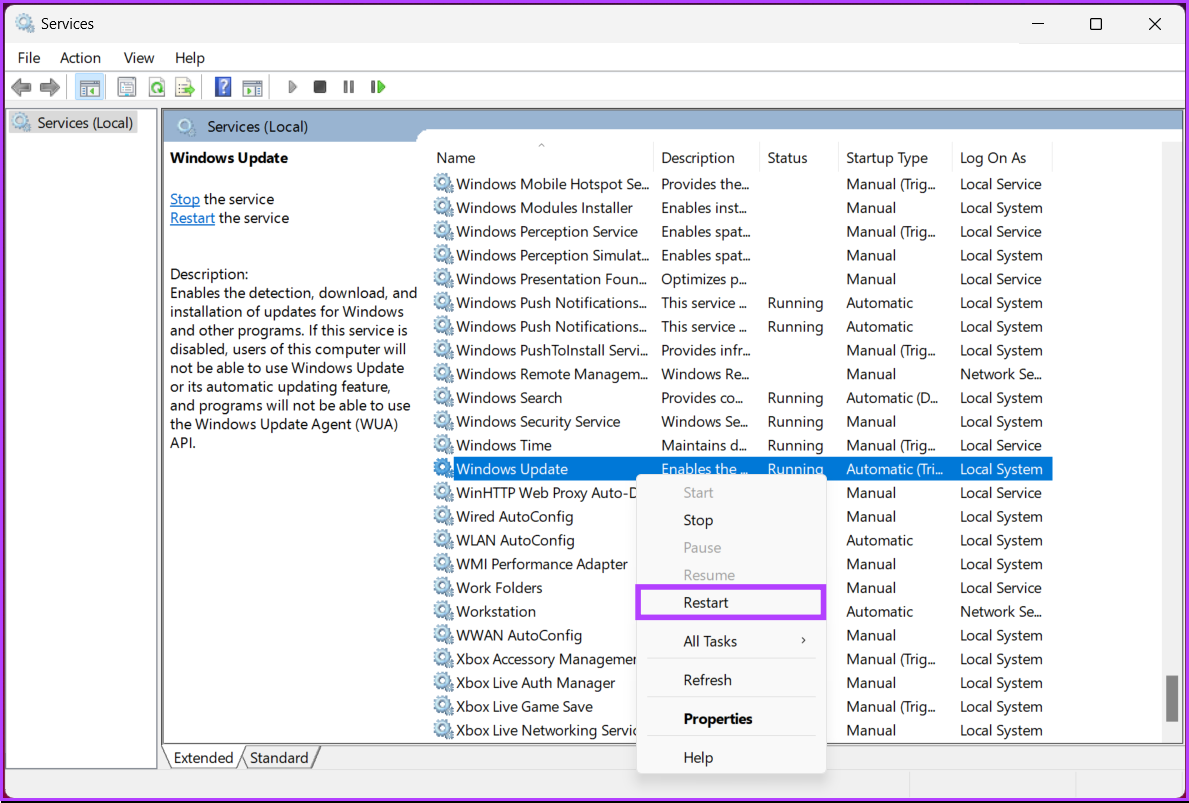
This method is the extension of the above method. Sometimes, the error 0x80248007 while downloading or installing updates on Windows 11 happens due to changes in the Service tool. Follow the steps below. Step 1: Press the ‘Windows key + R’ on your keyboard to open the Run dialog box. Note: Alternatively, press the Windows + X key on your keyboard and type Run. Step 2: Type the below command in the text field and click OK. Step 3: From the list of services, scroll down and select Windows Installer and right-click on it. Step 4: From the context menu, select Restart. That’s about it. Once the above steps are executed, return to the Windows Update page and try downloading or installing the update. It should work this time but if it doesn’t, move to the next method. Also Read: Quick ways to open Services on Windows 11
5. Clean the Software Distribution Folder
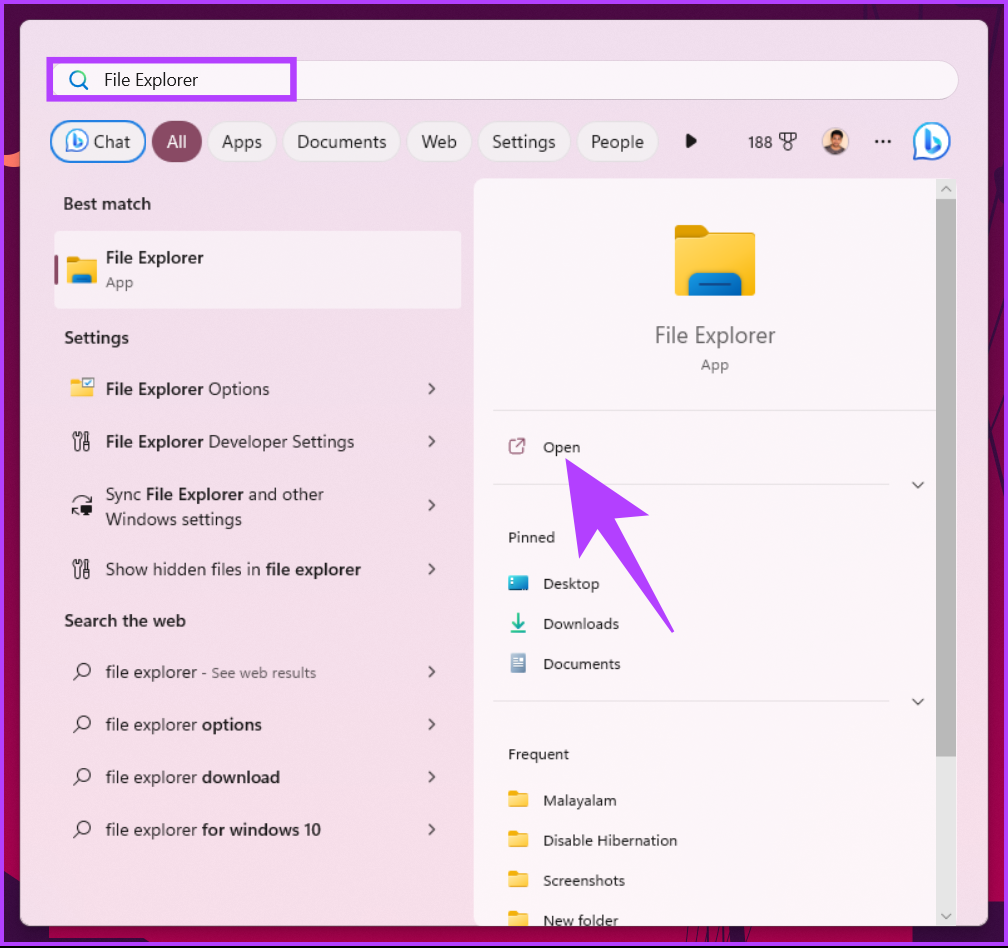
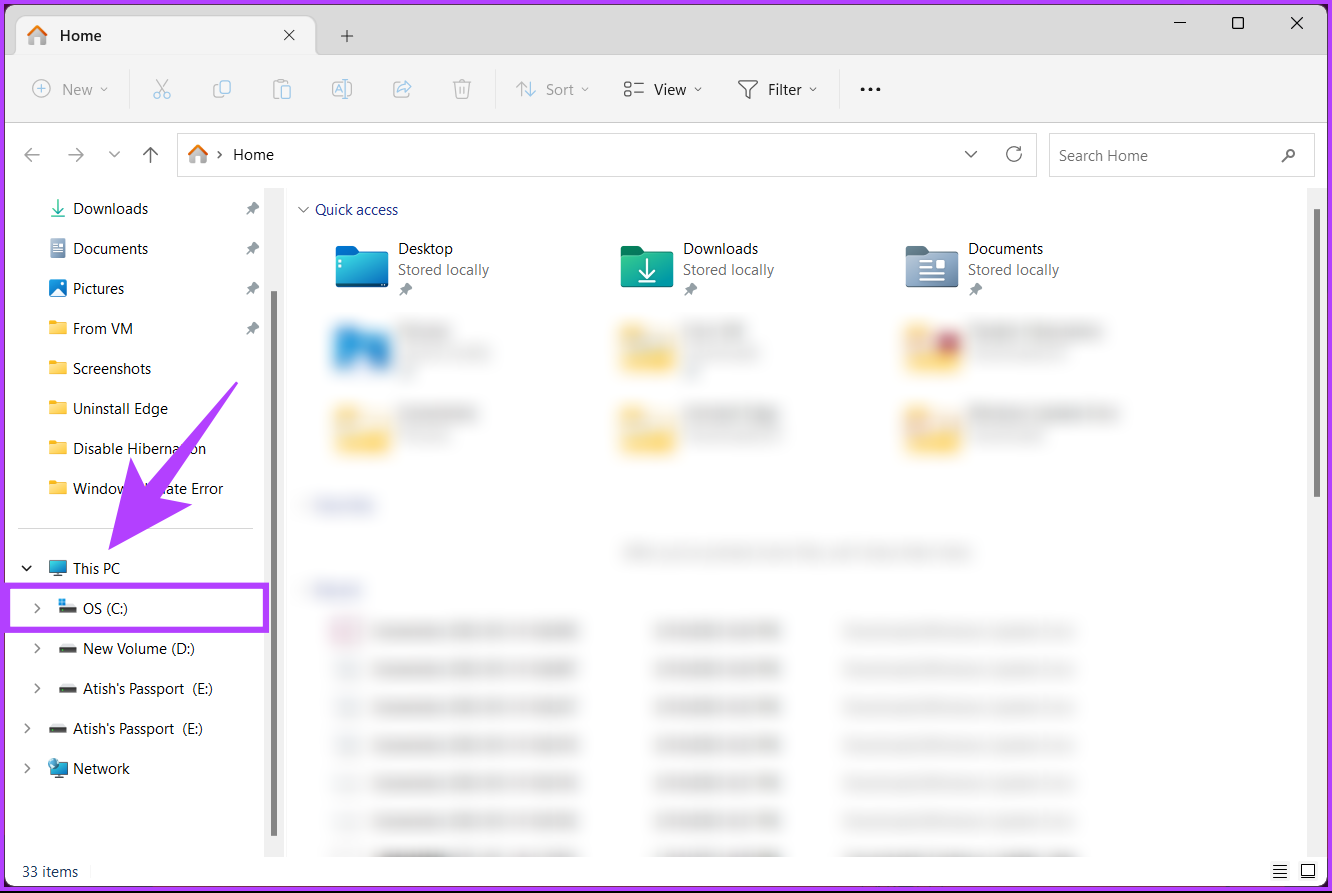
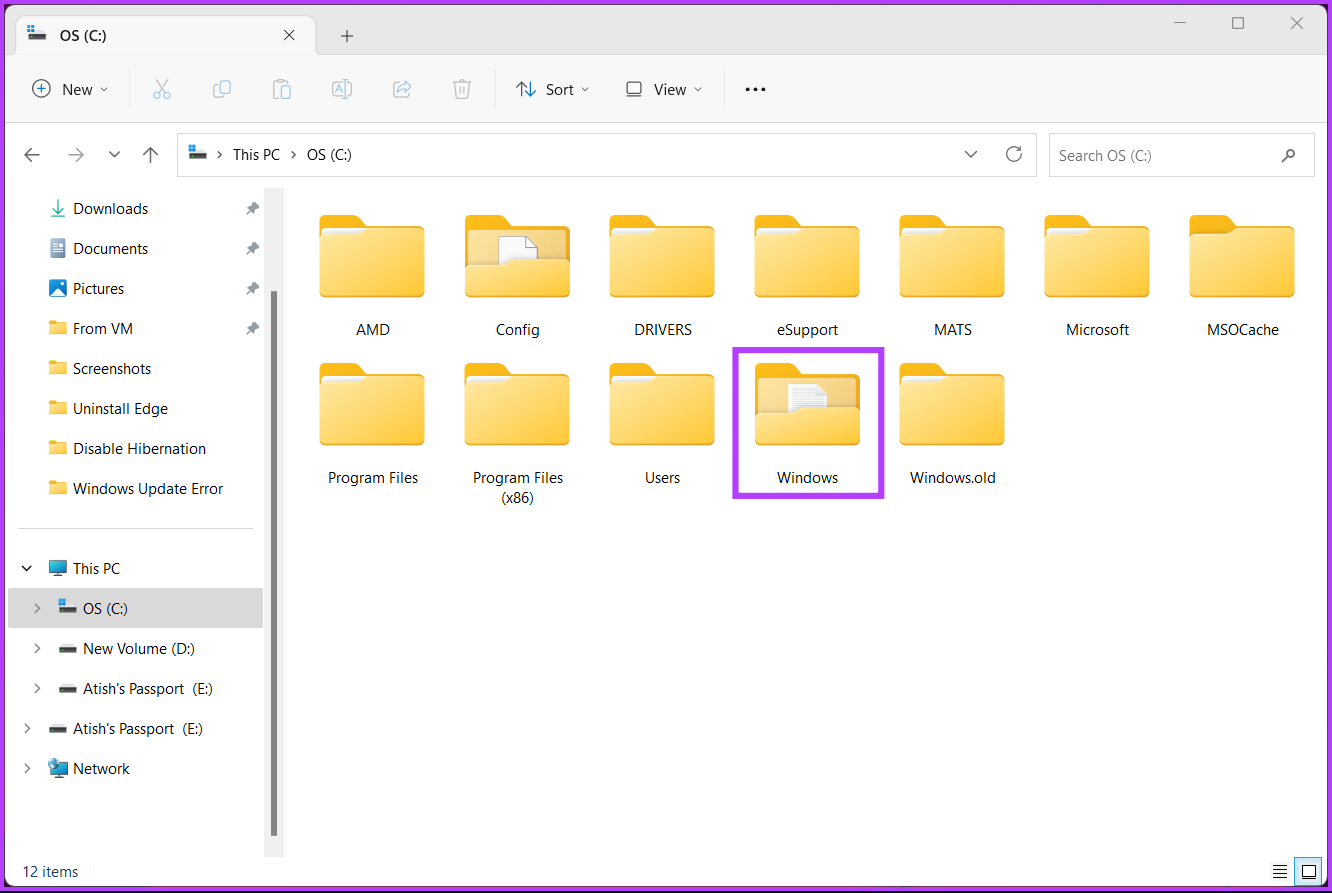
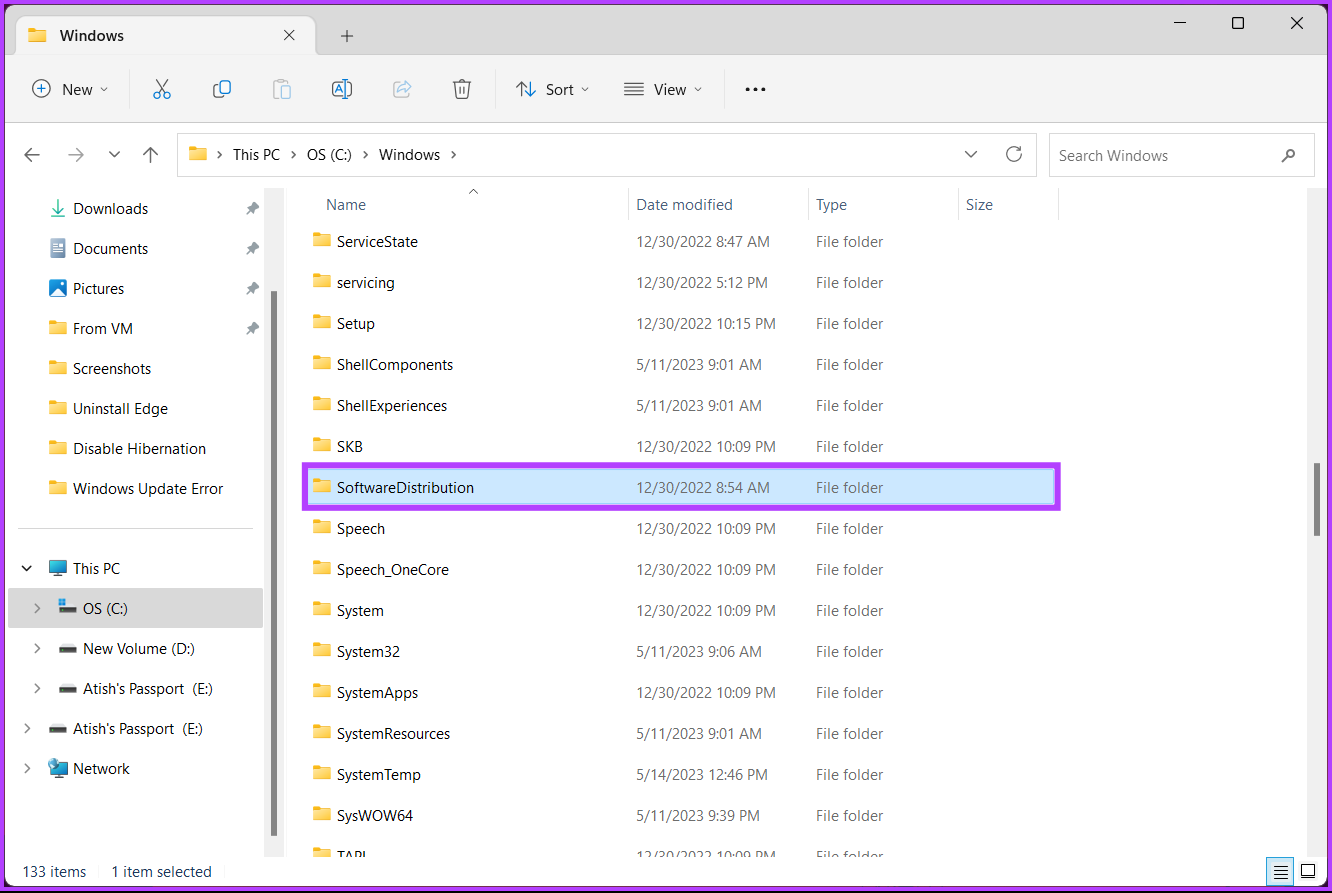
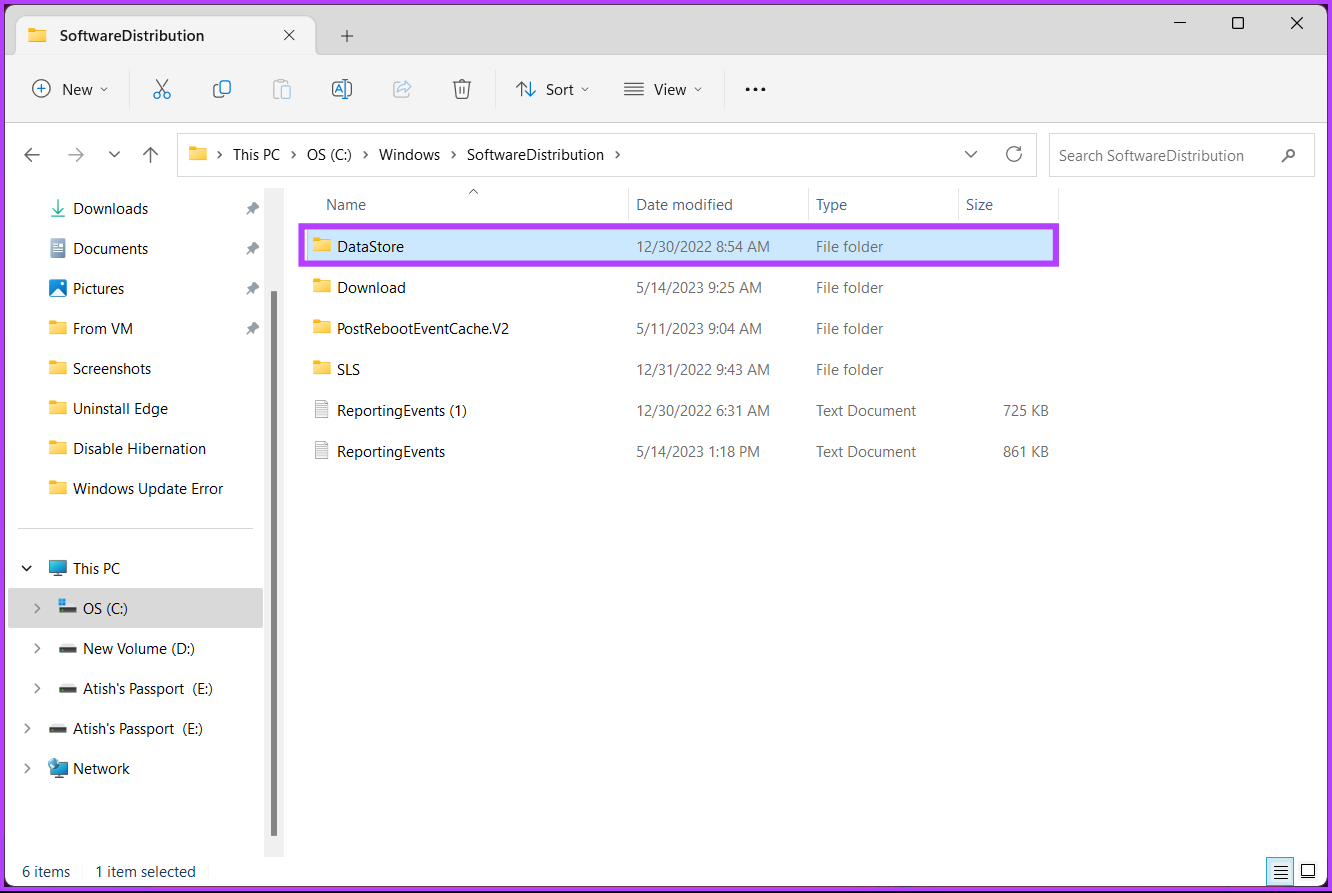
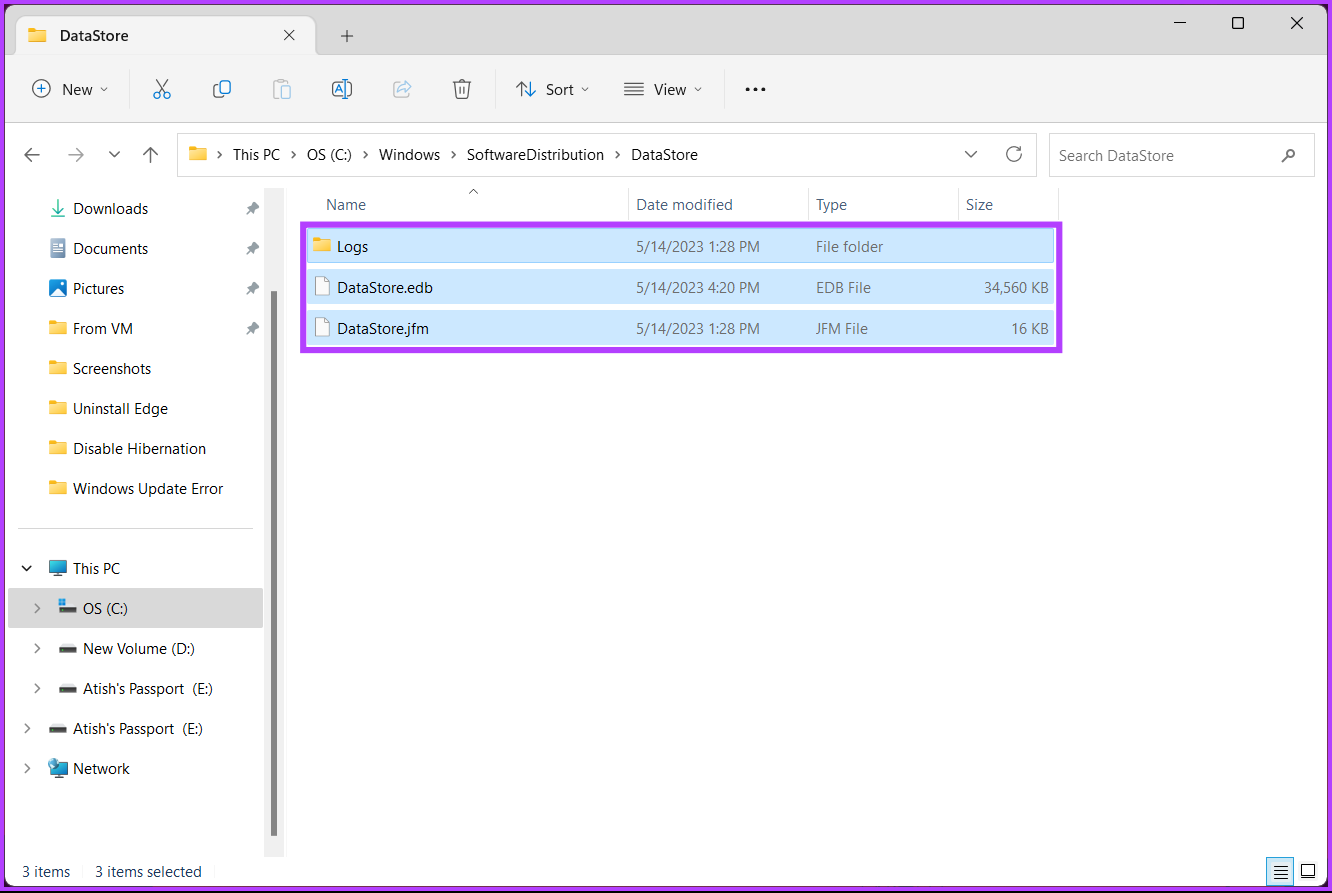
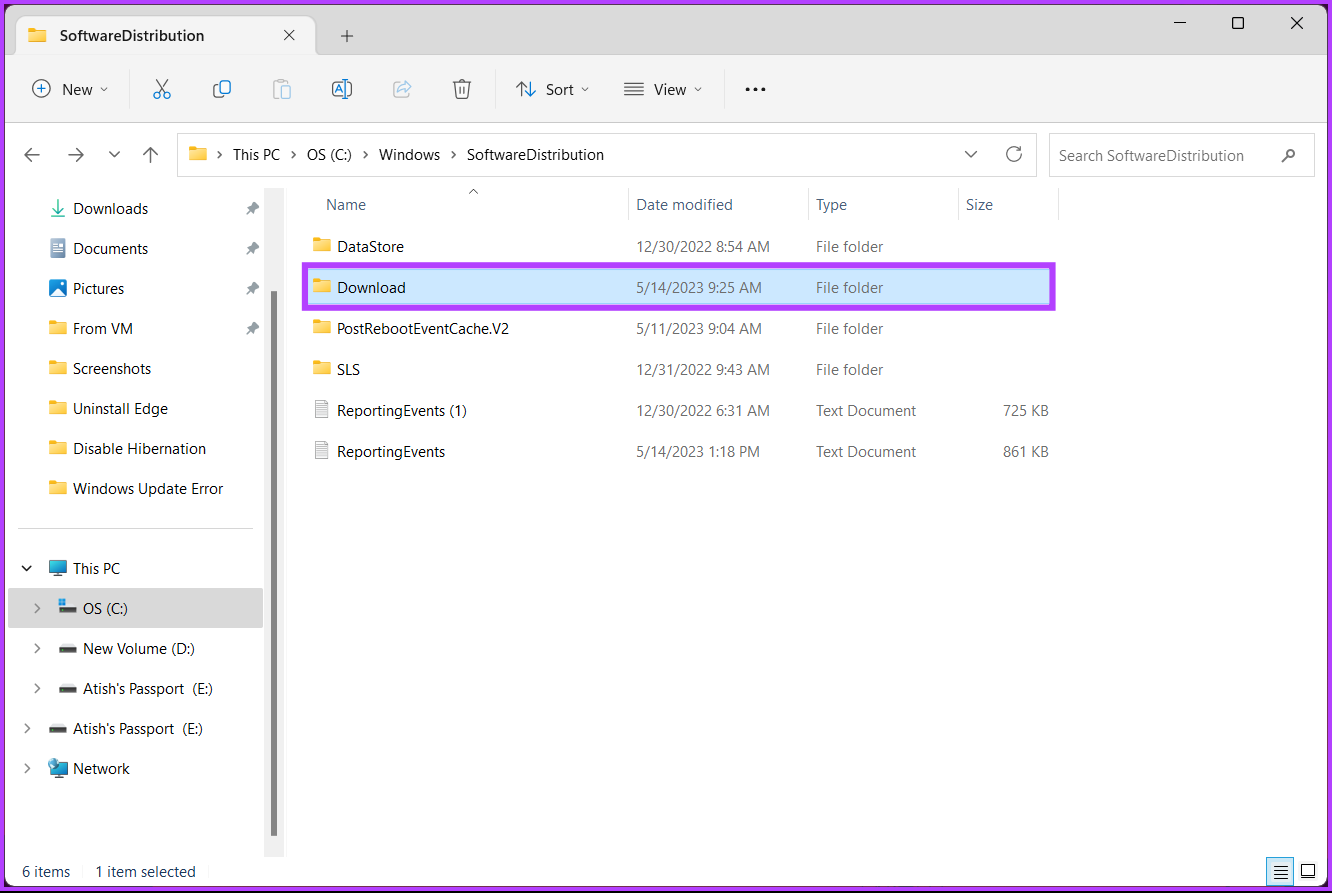
This is a critical folder that consists of multiple Windows Update files. If any of the files get damaged or modified, you will see an error that says, “There were problems installing some updates, but we’ll try again later” whenever you try updating your Windows machine. There’s a way to tackle this problem. Jump to the below steps. Step 1: Press the Windows key on your keyboard, type File Explorer, and click Open. Step 2: Go to This PC from the side pane and select OS (C:). Step 3: Select the Windows folder. Step 4: Scroll down and select the SoftwareDistribution folder. Step 5: Go to the DataStore folder. Step 6: Delete all the files and folders under the DataStore folder. Tip: To delete, press Ctrl + A to select all the files and press the Delete key on your keyboard. Step 7: Once done, go back to the SoftwareDistribution folder. Now, go to the Downloads folder. Step 8: Delete all the files and folders under the Download folder. Note: Press Ctrl + A to select all the files and press the Delete key on your keyboard. Once done, close the window and restart your computer. And that’s it! The Windows Update error should be gone when the system boots back up. If this method didn’t help, check out the next one.
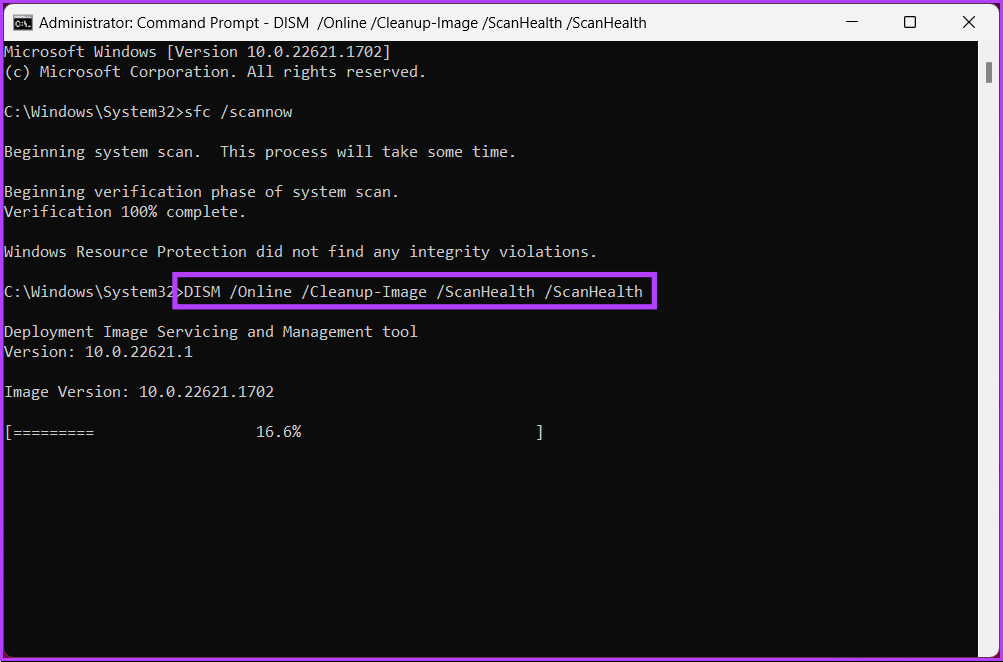
6. Run SFC and DISM Scan
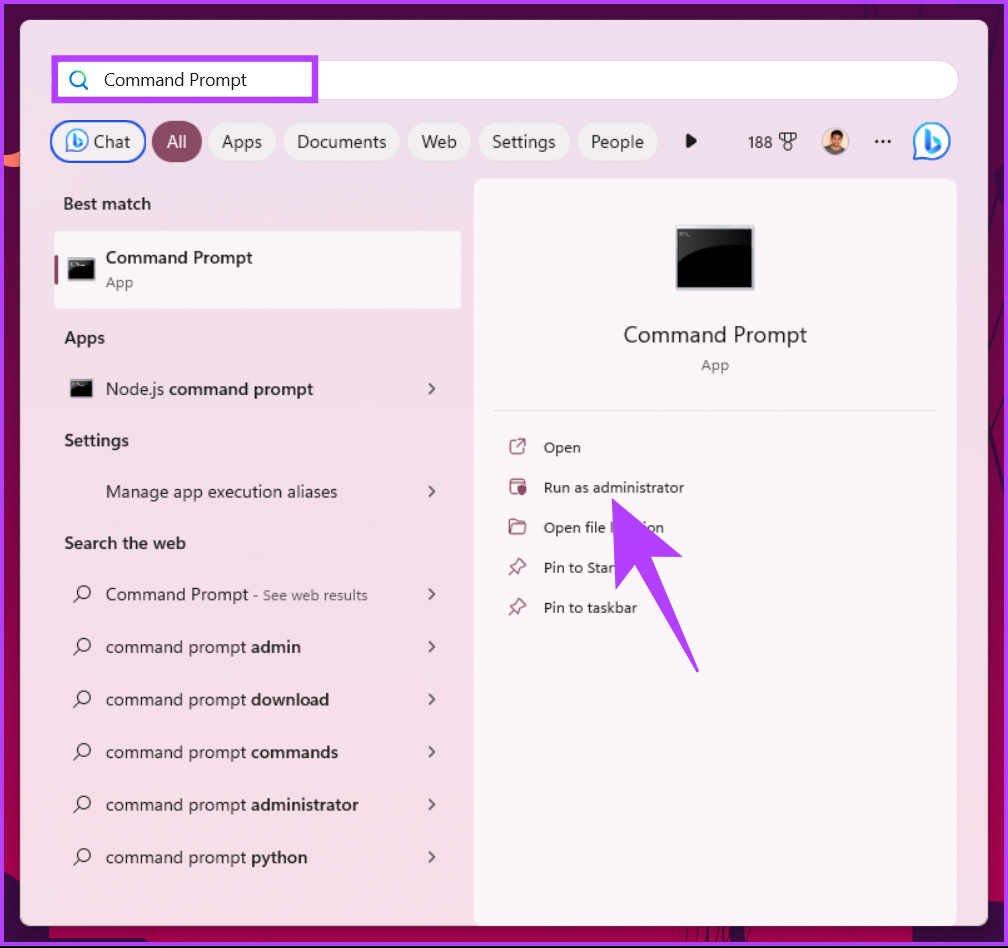
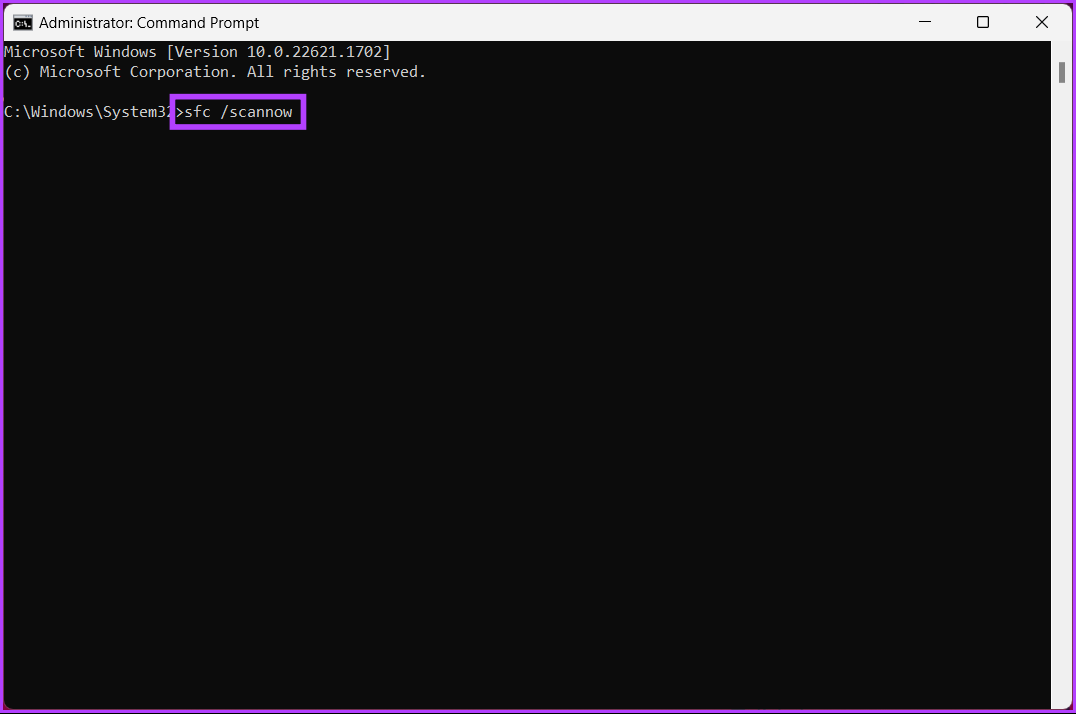
This method helps you scan for corrupted system files and fix any issues with Windows Updates. The functions mentioned in this method help you fix any files that are corrupted and help you resolve the Windows Update error. Follow the below-mentioned steps. Step 1: Open Command Prompt as an administrator using Windows search. Click on Yes in the prompt. Step 2: Type the below in the command line and press Enter. Allow the command to scan and repair the system files. Step 4: Now, type the below command and press Enter. The DISM utility scans for damaged files and remove your system image. Now, restart your computer and check if the error persists. If it does, maybe the next method will help you.
7. Restore Windows to an Earlier Date
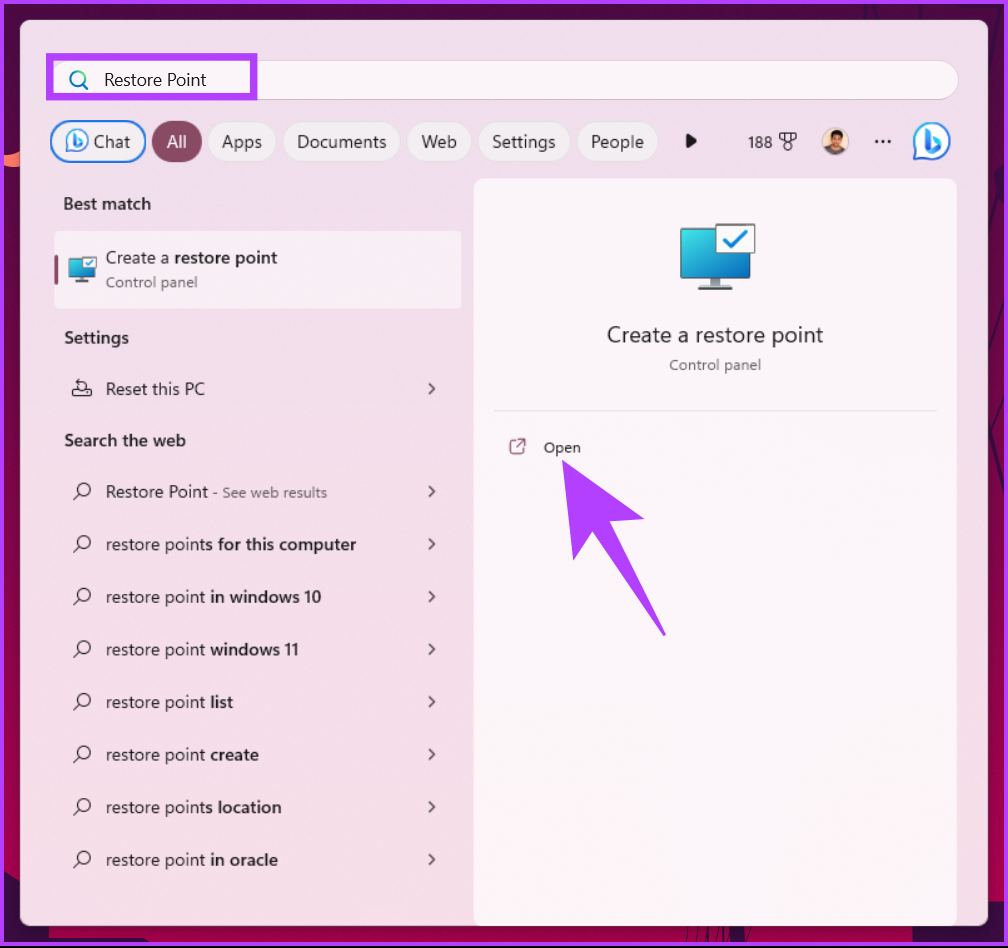
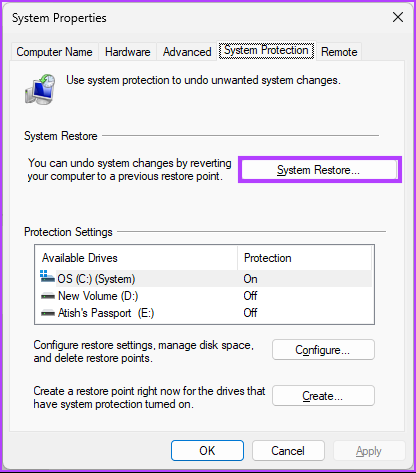
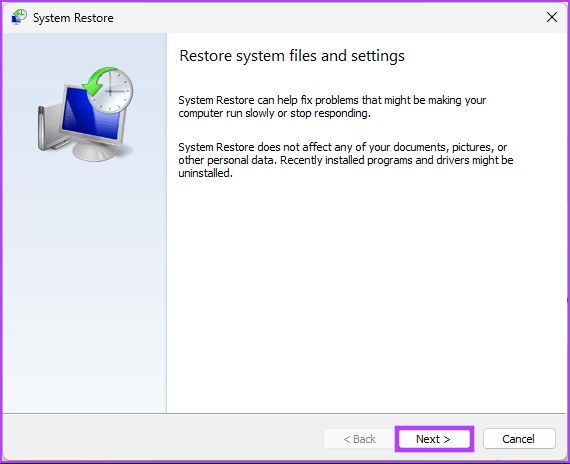
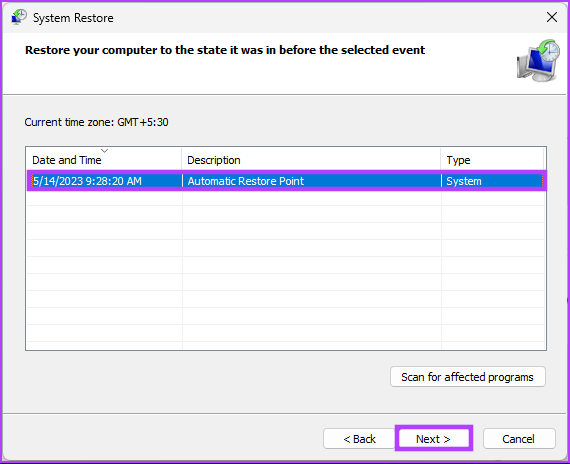
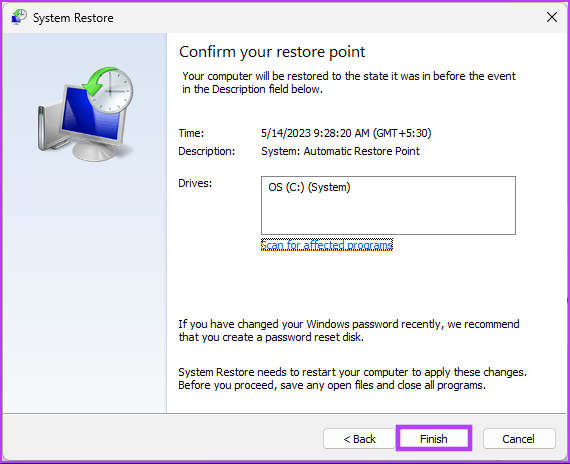
This is one of the most common ways to fix any Windows issue if all the method fails to fix it. However, you must have created a System Restore point for this method. If you have, follow the below instructions. Step 1: Press the Windows key on your keyboard, type Restore Point, and click Open. Step 2: In the ‘System Properties,’ click System Restore. Step 3: Under Restore system files and settings, click Next. Step 4: Select the Restore Point from the list and click Next. Step 5: Finally, click Finish. There you go. This should fix the Windows Update download error 0x80248007 on your machine. If this didn’t fix the issue, check out the next method.
8. Manually Install Windows Update
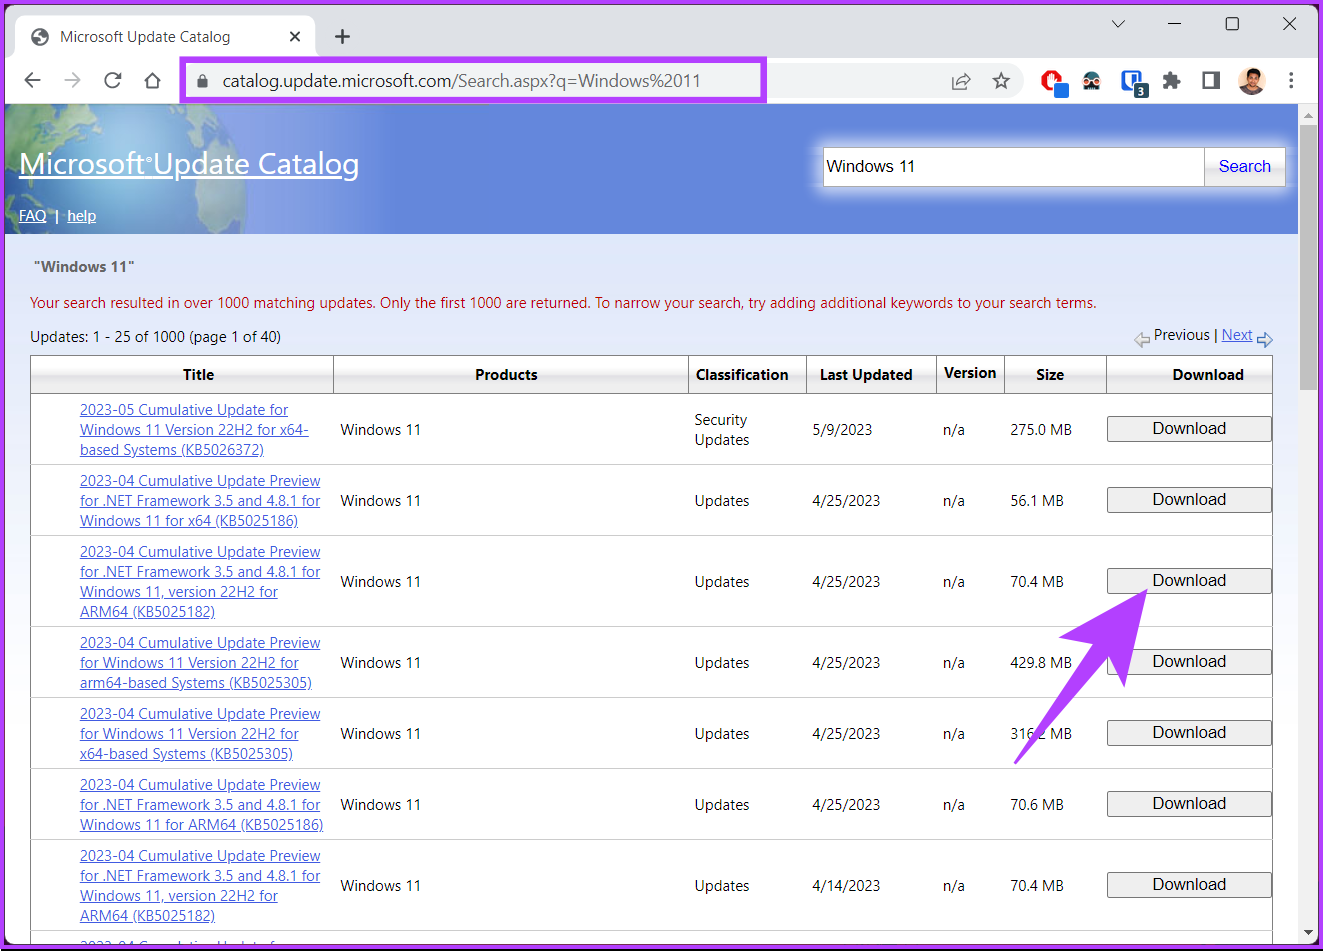
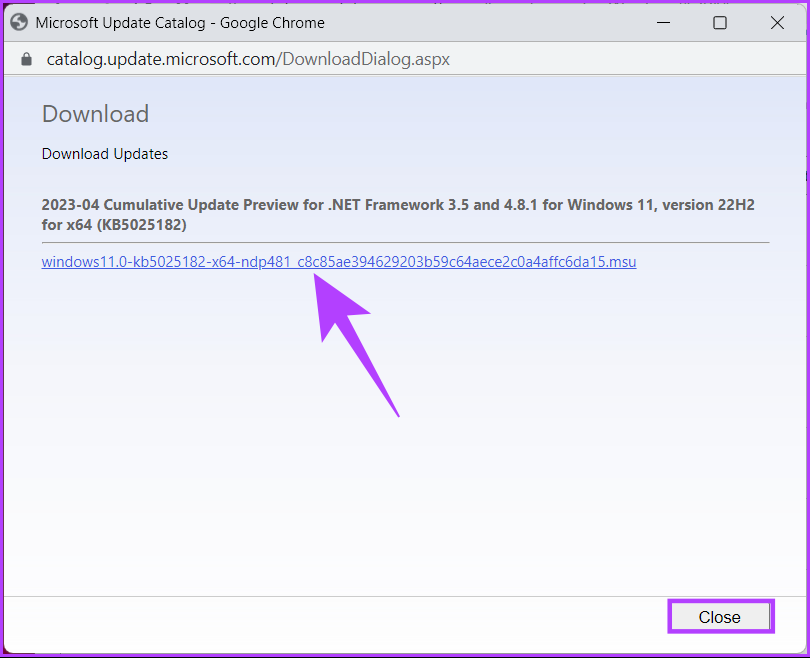
This method bypasses the Windows Update section and lets you download the update directly from the Microsoft website and install it without dealing with any error messages such as update error 0x80248007 in Windows 11 or 10. Follow the below steps. Step 1: Open the Microsoft Update catalog on your preferred browser on your Windows PC. Go to Microsoft Windows Catalogue Step 2: Choose the update you want to install from the list of updates. Step 3: Click on Download. Step 4: In a new Window, click on the hyperlink. Once you do, the update starts automatically downloading and gets saved. Double-click on the file and follow the instructions to install it effectively. Once installed, restart your PC if prompted. And there you go! Once your PC comeback, the Windows update download error 0x80248007 should be gone. If this method was not helpful to you, the next method will, for sure, help you fix the error; check it out.
9. Last Resort – Install a Clean Version of Windows
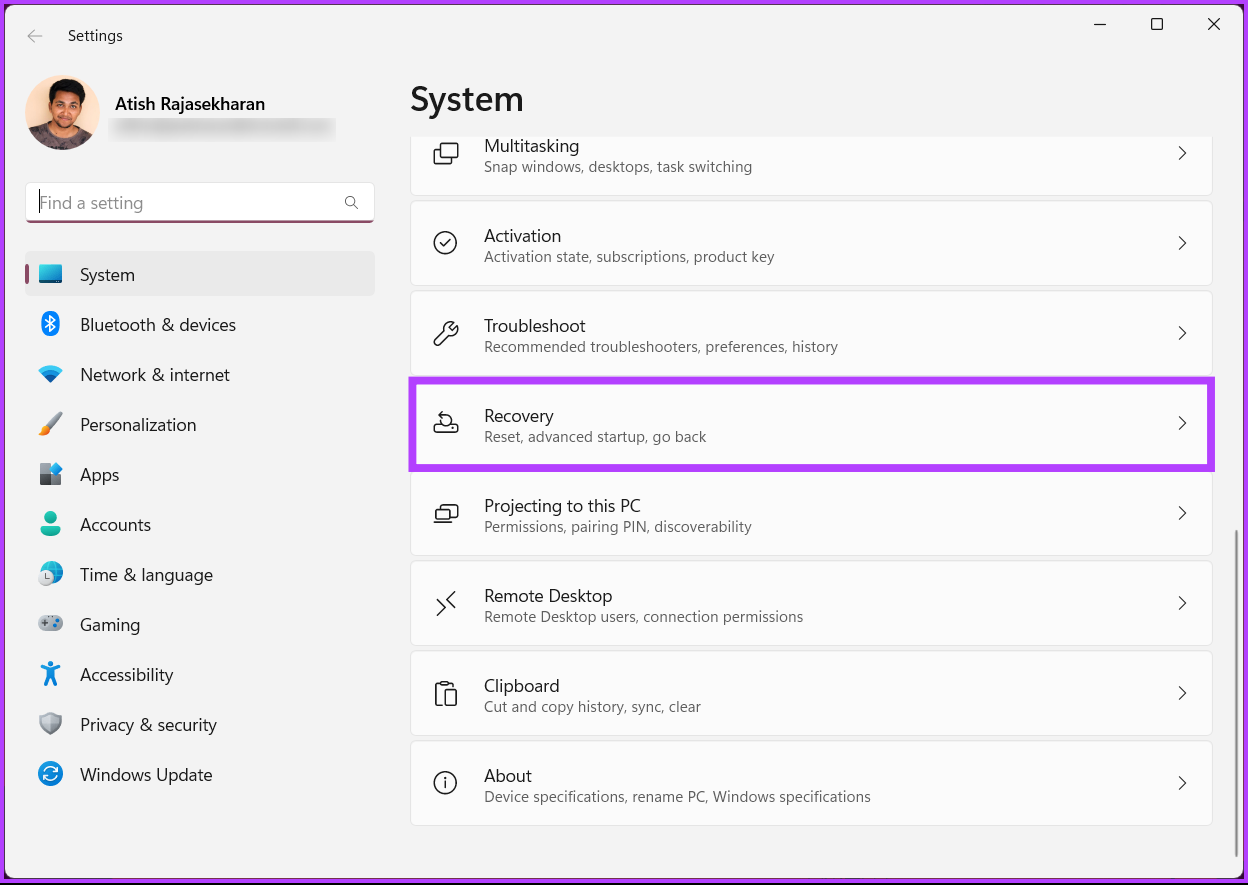
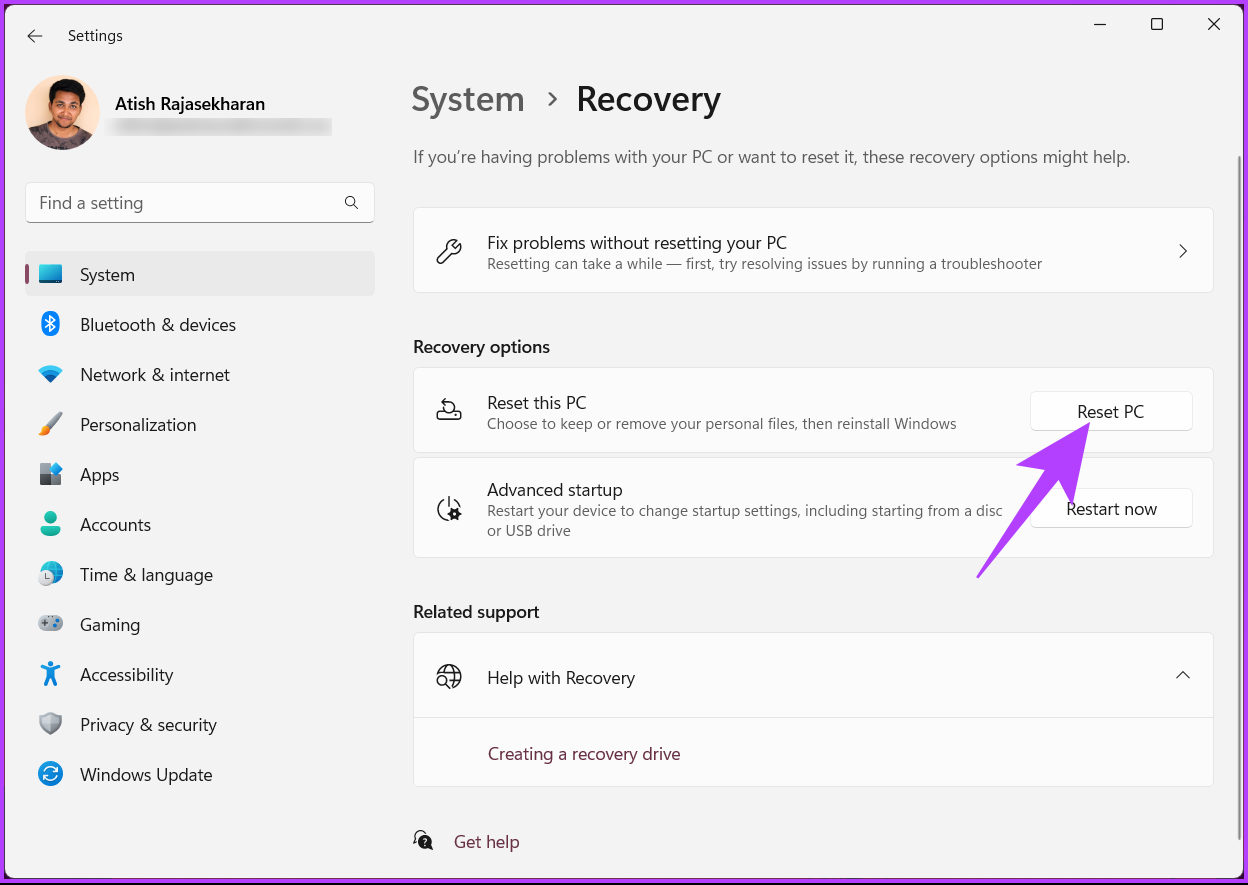
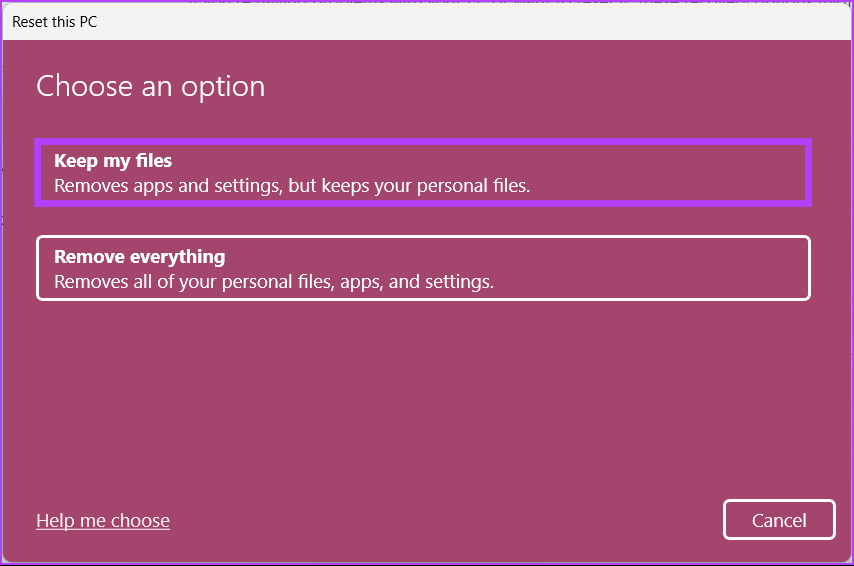
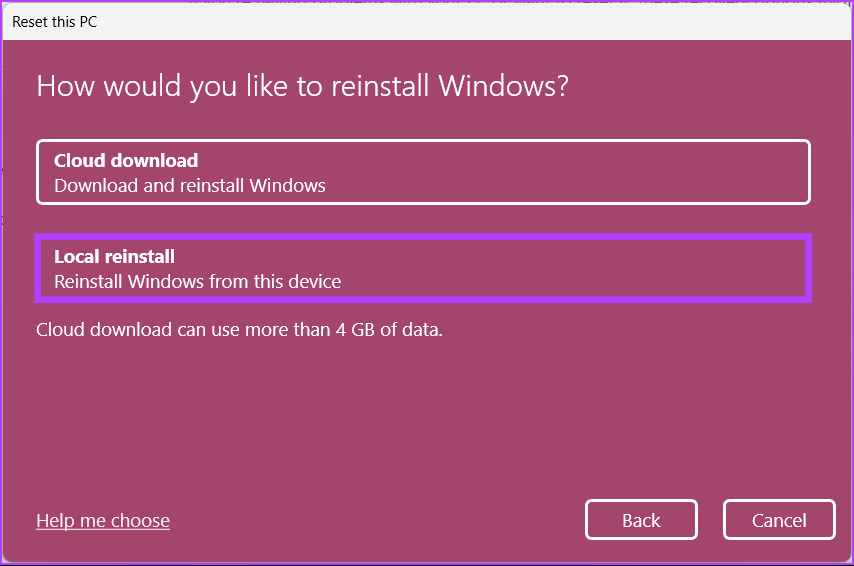
If all the methods mentioned above fail to work, installing a clean Windows version on your computer is the last resort. Follow the steps below carefully. Step 1: Open the Settings app using Windows Search or press Windows key + I. Step 2: Select System from the sidebar and click on Recovery. Step 3: Select ‘Reset this PC’ under the Recovery options. Step 4: In the ‘Reset this PC’ window, select ‘Keep my files’. Step 5: Now, select ‘Local reinstall.’
Rectify and Update
In conclusion, encountering update errors like 0x80248007 in Windows 11 can be frustrating, but it doesn’t have to be the end of the road. We hope following the steps outlined above fixed the update error 0x80248007. If the issue persists, seek further help from Microsoft support or a qualified technician. The above article may contain affiliate links which help support Guiding Tech. However, it does not affect our editorial integrity. The content remains unbiased and authentic.