This is also applicable to frequently used apps like Microsoft Word. In this post, we will show how you can force dark mode in Microsoft Word on your Windows PC and Mac to help you keep using it for longer durations.
How to Force Dark Mode in Microsoft Word on Windows 11
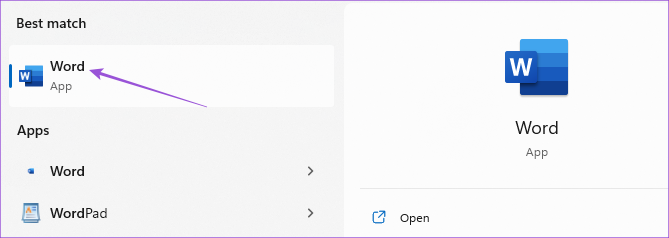
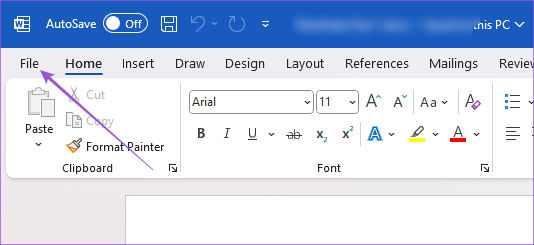
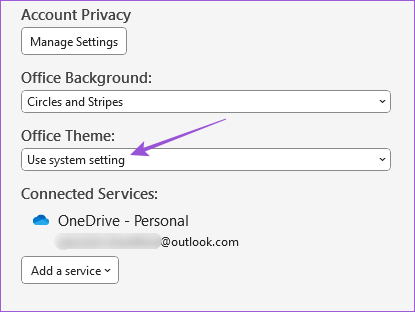
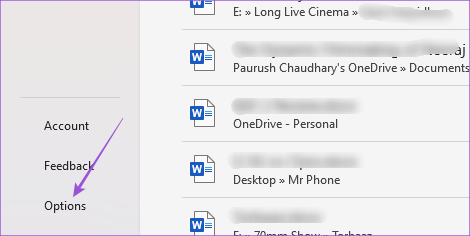
If you have a Microsoft 365 subscription, dark mode is enabled by default for Office apps on your Windows 11 PC. But if you prefer using Light Theme for other apps on Windows 11, here’s how to force dark mode for Microsoft Word. Step 1: Click the Start icon to open the Start menu, type Microsoft Word, and press Enter to open Microsoft Word. Step 2: Open any existing file or a new Blank document. Step 3: Click on File at the top-right corner. Step 4: Select Account from the bottom-left corner. Step 5: Click the drop-down menu next to Office Theme. Step 6: Select Dark from the list of themes. There’s another way to force dark mode in Microsoft Word on Windows 11. Step 1: Click the Start icon, type Microsoft Word, and press Enter to open Microsoft Word. Step 2: Open any existing file or a new Blank document. Step 3: Click on File at the top-right corner. Step 4: Select Options at the bottom-left corner. Step 5: In the General tab, scroll down and look for the drop-down menu next to Office Theme. Step 6: Select Dark and click on Ok at the bottom right side to confirm.
How to Force Dark Mode in Microsoft Word on Mac
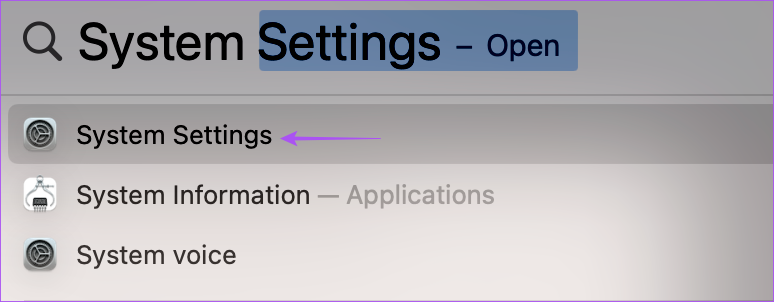
Microsoft Word follows the system theme on Mac. So to force dark mode, you need to select the Dark Appearance from the Settings on your Mac. Here’s how to do it. Step 1: Press Command + Spacebar keyboard shortcut to open Spotlight Search, type System Settings, and press Return. Step 2: Click on Appearance from the left menu. Step 3: Select Dark Appearance. After you close the window and open Microsoft Word, you can use the app only in Dark Mode. There is no option to use Dark Mode only in Microsoft Word while keeping Light Theme on Mac. You can also read our post if Dark Mode is not working in Microsoft Word on Mac.
How to Use White Page in Dark Mode on Microsoft Word
While using Dark Mode on Microsoft Word, you can switch to a white page layout. This can be done when your friends or family members use Microsoft Word on your Mac or Windows PC. Here’s how to make this change.
On Windows 11
Step 1: Click the Start icon to open the Start menu, type Microsoft Word, and press Enter to open Microsoft Word. Step 2: Open any existing file or a new Blank document. Step 3: Click on File at the top-right corner. Step 4: Select Options at the bottom-left corner. Step 5: In the General tab, scroll down and look for the dropdown menu next to Office Theme. Step 6: Select Dark Gray and click the checkbox next to Never Change The Document Page Color. Step 7: Click Ok at the bottom right side.
On Mac
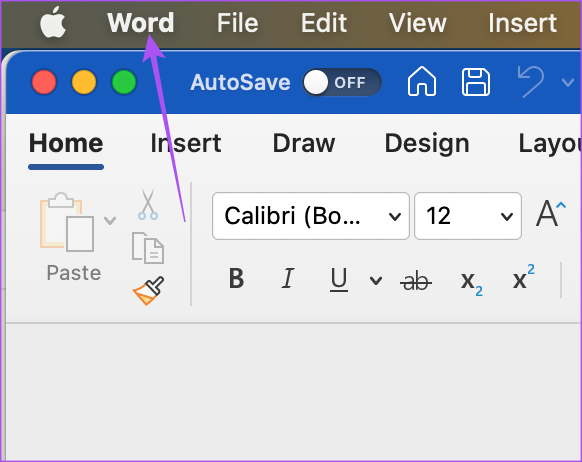
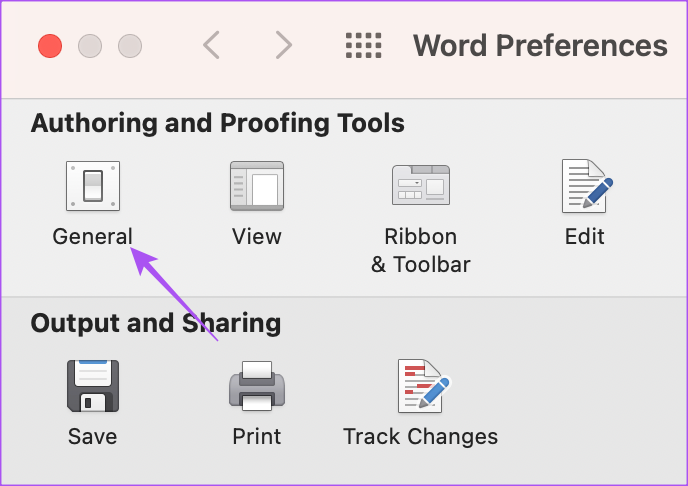
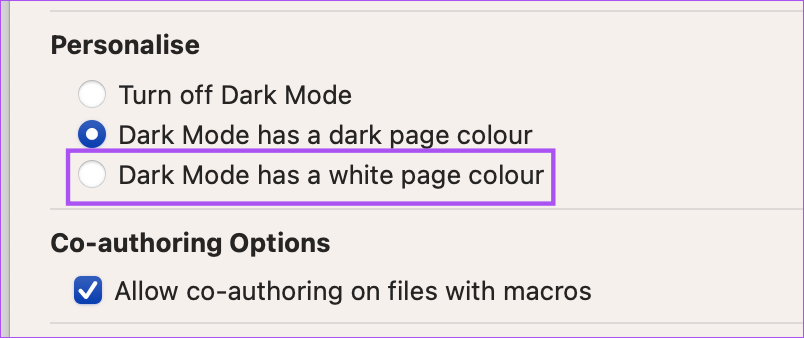
Step 1: Press Command + Spacebar keyboard shortcut to open Spotlight Search, type Microsoft Word, and press Return to open Microsoft Word. Step 2: Open an existing file or a new blank document. Step 3: Click on Word at the top-right corner. Step 4: Select Preferences from the context menu. Step 5: Click on General. Step 6: Under Personalize, select the checkbox next to ‘Dark Mode has a White Page Color.’ Close the window, and you will see a white page despite having Dark Mode applied in Microsoft Word.
Keep Using Dark Mode
Dark mode can help reduce strain from your eyes if you work with Microsoft Word a lot. If you preparing some confidential documents like company reports, sales figures, contracts, etc., you need to secure those documents to prevent unwanted access. Read our post on how to add a password to your Microsoft Word document on Mac and Windows. The above article may contain affiliate links which help support Guiding Tech. However, it does not affect our editorial integrity. The content remains unbiased and authentic.











![]()