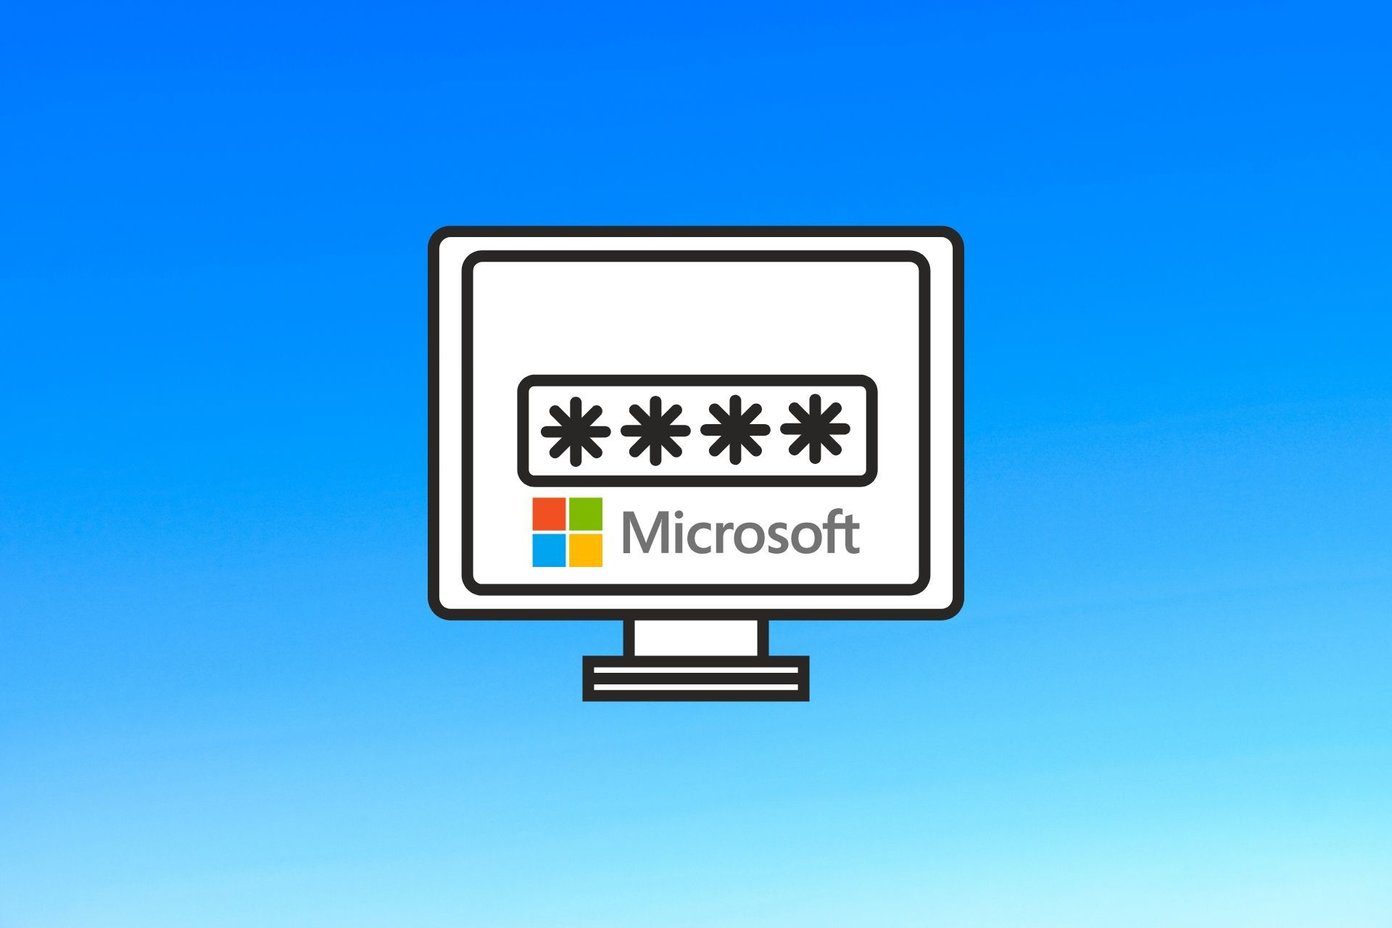
Disabling the authentication requirement on Windows streamlines the login process and allows you to get to work immediately. In this post, we will walk you through the steps for enabling the automatic login feature on Windows 11. So, let’s start.
Should You Enable Automatic Login on Your Computer
Although enabling automatic login on Windows appears to be a convenient option, it may not be a safe option for everyone. For instance, disabling the login requirement on a work computer can expose your data to anyone who has physical access to it. Also, if your device is ever lost or stolen, it may put your data at risk.
That said, enabling the automatic login feature isn’t a bad idea if it’s a personal computer and you’re the only one using it. If you’re interested in doing so, here’s how you can log in automatically on Windows 11.
How to Enable Automatic Login on Windows 11
Enabling automatic login on Windows is a two-step process. First, you’ll need to disable the Windows Hello feature on your computer. After that, you can change the user account settings on your device to remove the authentication requirement at login. Here are the steps for the same.
Disable Windows Hello
Step 1: Open the Start menu and click the gear-shaped icon to launch the Settings app.
Step 2: Select Accounts from the left sidebar.
Step 3: Click on Sign-in options in the right pane.
Step 4: Scroll down to Additional settings. Then, disable the toggle next to ‘For improved security, only allow Windows Hello sign-in for Microsoft accounts on this device.’
Step 5: Click the drop-down menu next to ‘If you’ve been away, when should Windows require you to sign in again’ and select Never.
Step 6: Next, click on PIN (Windows Hello) to expand it and click the Remove button.
Step 7: Select Remove again to confirm.
Step 8: In the Windows Security dialog, enter the password for your account and then click OK.
Modify User Account Settings to Enable Automatic Login
After you’ve disabled the Windows Hello feature on your device, you can use the following steps to disable the authentication requirement at login. Step 1: Right-click on the Start icon and select Run from the list.
Step 2: Type netplwiz in the Open field and press Enter.
Step 3: Select Yes when the User Account Control (UAC) prompt appears.
Step 4: In the User Accounts window, uncheck the ‘Users must enter a user name and password to use this computer’ option and click Apply.
Step 5: Enter your username and password in the ‘Automatically sign in’ window and hit OK.
When you restart your computer, Windows will no longer prompt you for a password or PIN and will sign you in automatically.
What to Do if the ‘Users Must Enter a User Name and Password’ Option Is Missing
If the ‘Users must enter a user name and password to use this computer’ option does not appear in the User Accounts window, you’ll have to worry about altering a few registry files. As you may be aware, registry files on your PC contain critical settings for Windows and its apps. Hence, it’s a good idea to back up all the registry files or create a restore point before proceeding with the changes below. Step 1: Click the search icon on the Taskbar, type registry editor in the box, and select Run as administrator.
Step 2: Select Yes when the User Account Control (UAC) prompt appears.
Step 3: In the Registry Editor window, paste the following path in the address bar and press Enter.
Step 4: Double-click the DevicePasswordLessBuildVersion DWORD in the right pane and enter 0 in the Value data field. Then, click OK.
After completing the above steps, open the user account settings again and uncheck the ‘Users must enter a user name and password to use this computer’ option (refer to the steps above). After that, you should be able to bypass the login screen in Windows 11.
Say Goodbye to Typing Passwords
Once you enable the automatic login feature, you should be able to skip the login screen on your Windows computer. Again, you should only do this if your device is in a secure location and unauthorized individuals cannot access it. The above article may contain affiliate links which help support Guiding Tech. However, it does not affect our editorial integrity. The content remains unbiased and authentic.