Besides making a slideshow, if you want to let it play automatically and continuously, Keynote enables you to play your presentation in a loop. This post will show you how to loop a slideshow in Keynote on iPhone and Mac.
Loop a Slideshow in Keynote on iPhone
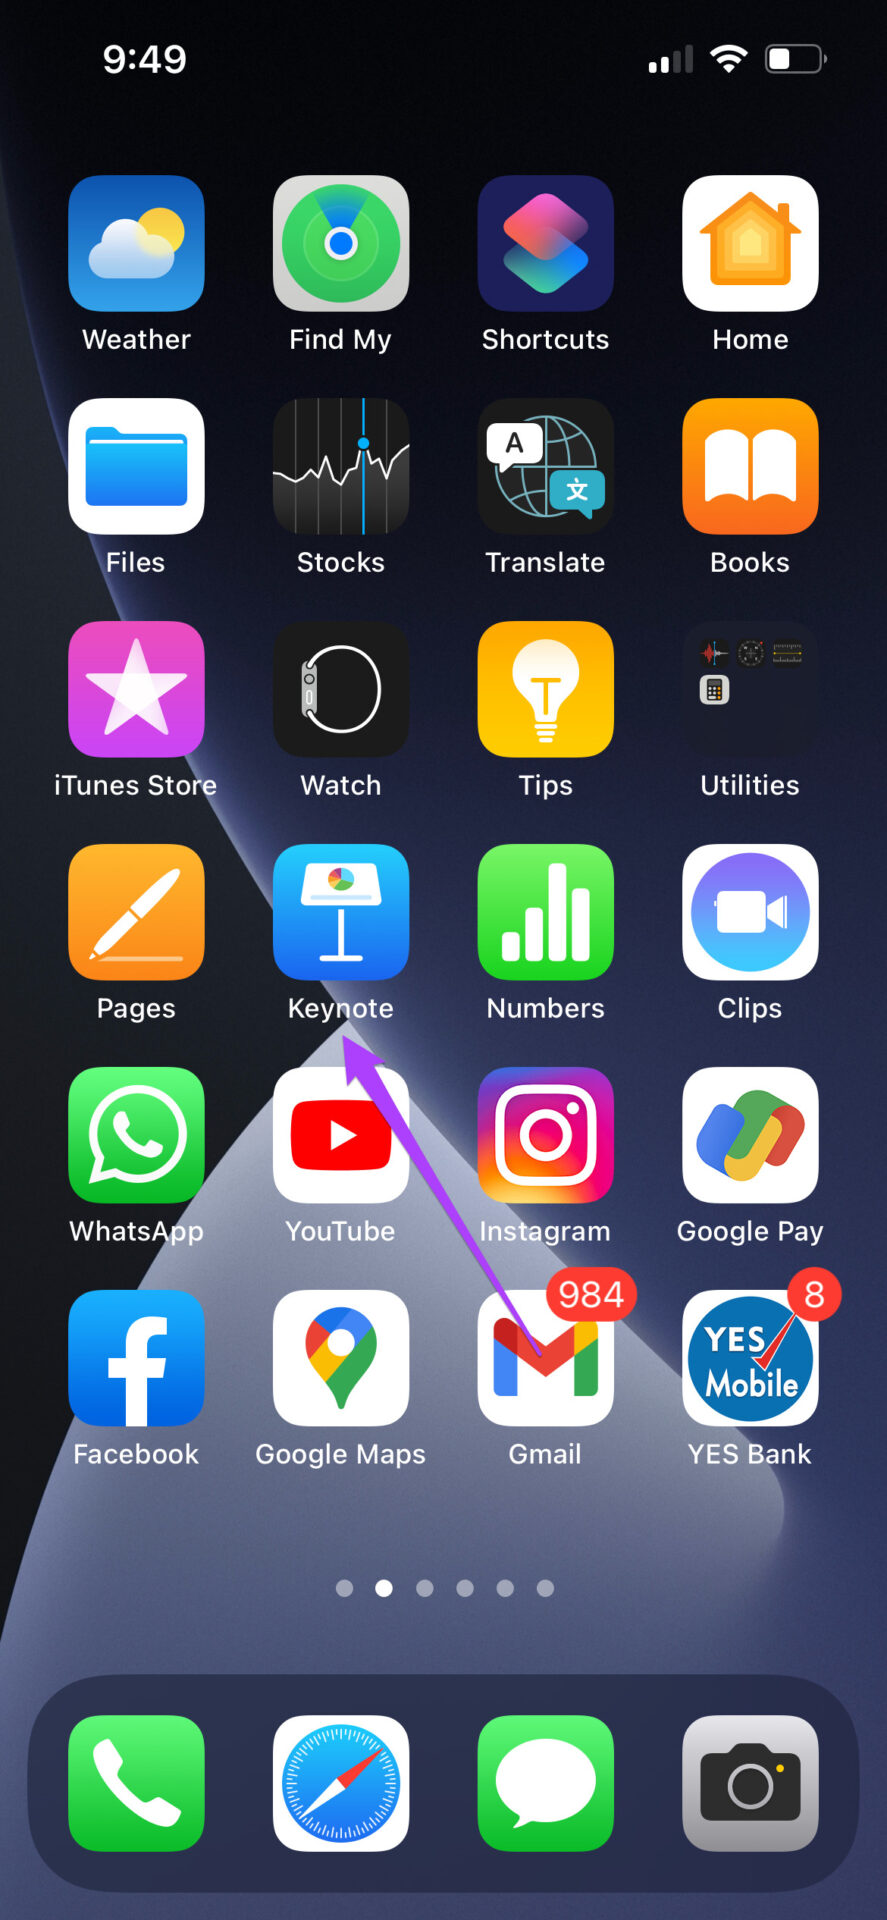
First, let us show you how to loop a slideshow with the Keynote app on your iPhone. This feature is helpful for occasions when you want to play a slideshow continuously at an event. It might be a new product showcase or a new fashion line launch. The looping feature will take care of your stunning presentations. Before we begin, please ensure that you have updated the Keynote app to its latest version. Download Keynote for iPhone Follow these steps, which are also applicable for iPad users. Step 1: Open the Keynote app.
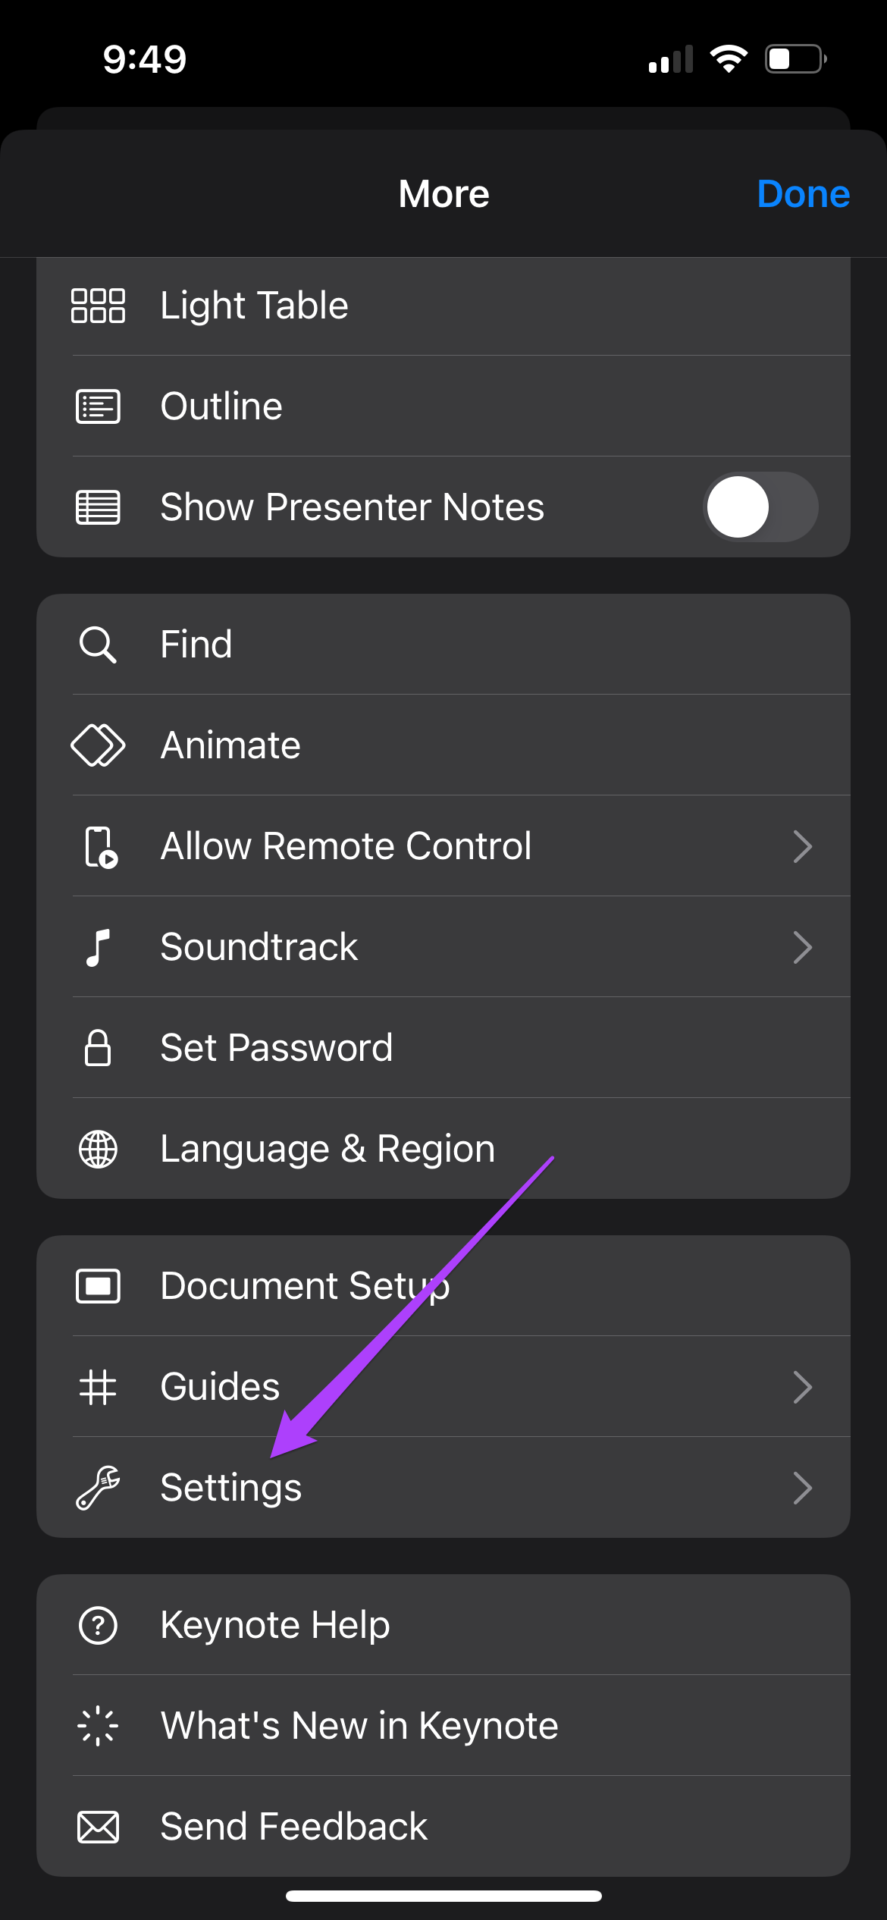
Step 2: Select the presentation that you want to loop. Step 3: Tap on the three dots at the top menu bar.
Step 4: Scroll down a bit and select Settings.
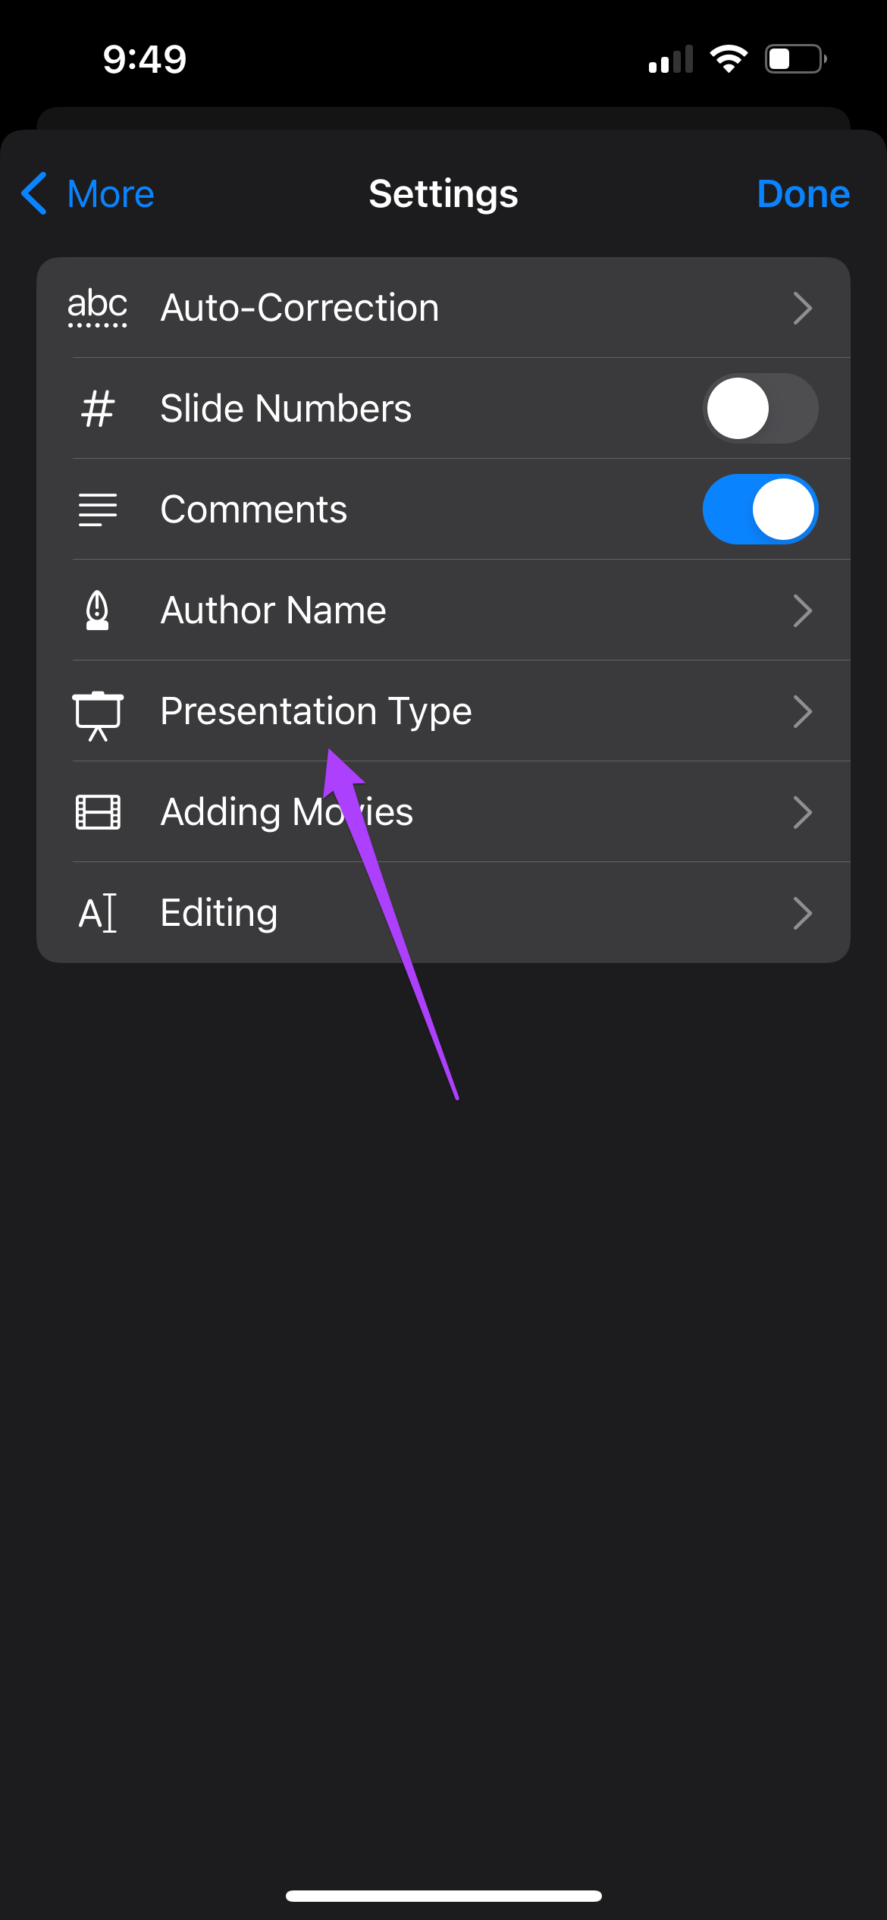
Step 5: Tap on Presentation Type from the Settings menu.
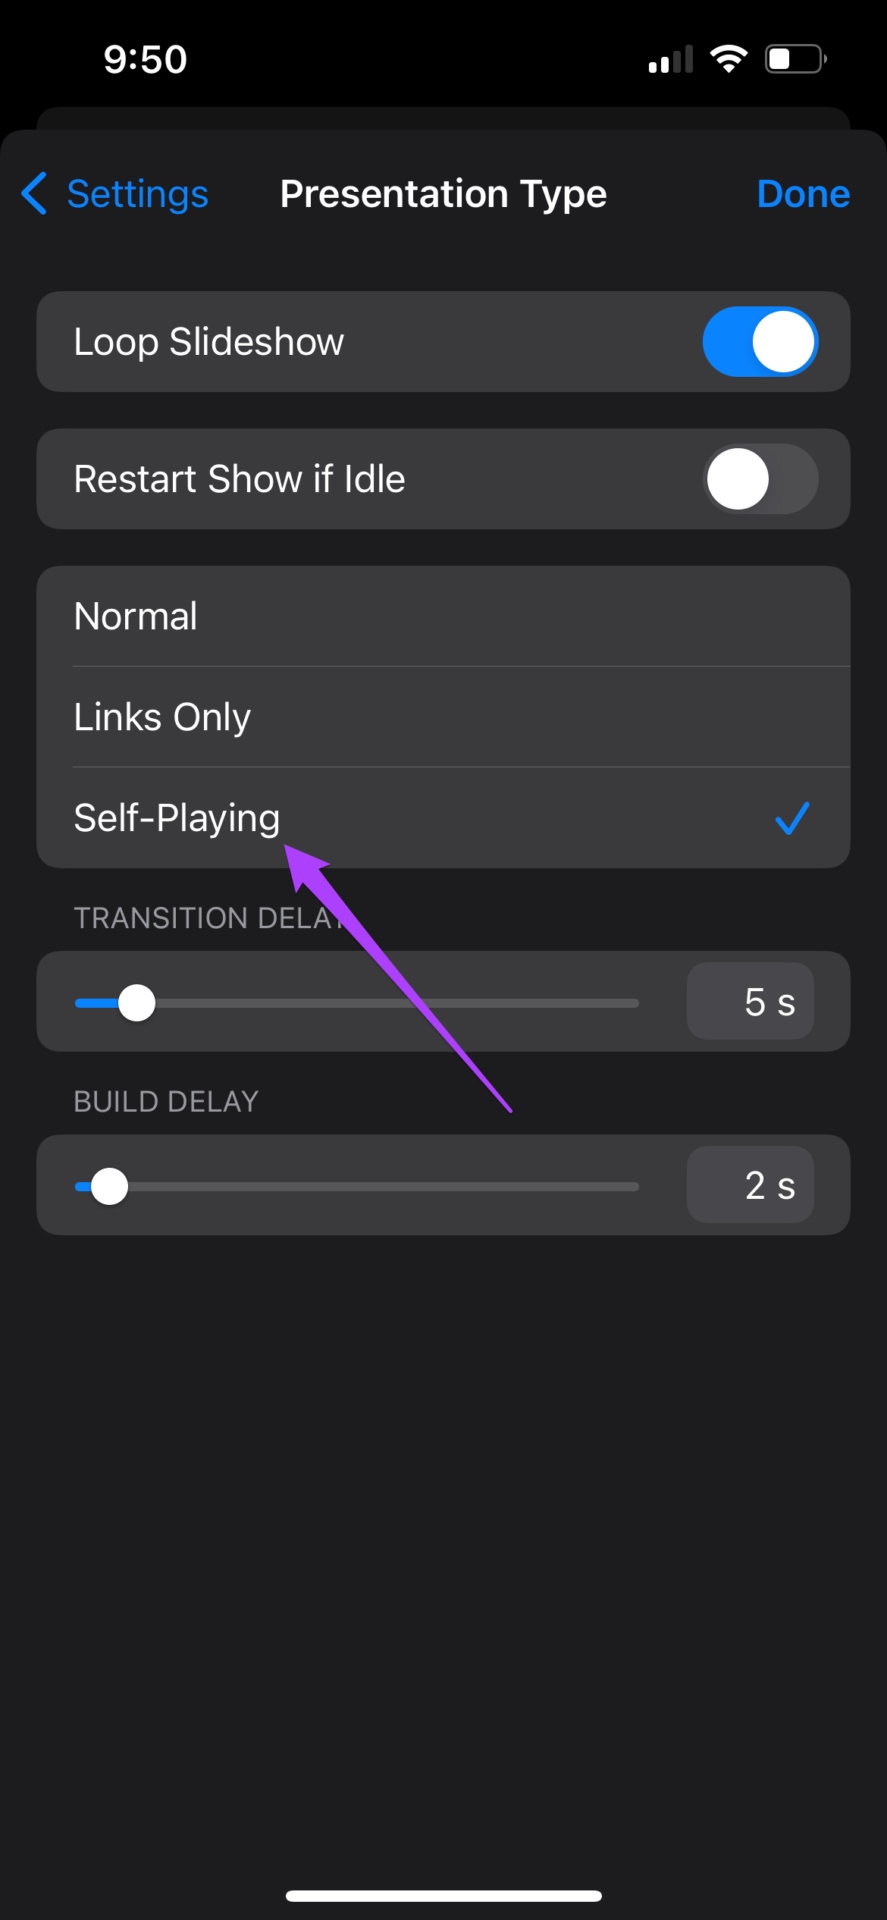
Step 6: Tap the toggle alongside Loop Slideshow.
Step 7: Select Self Playing.
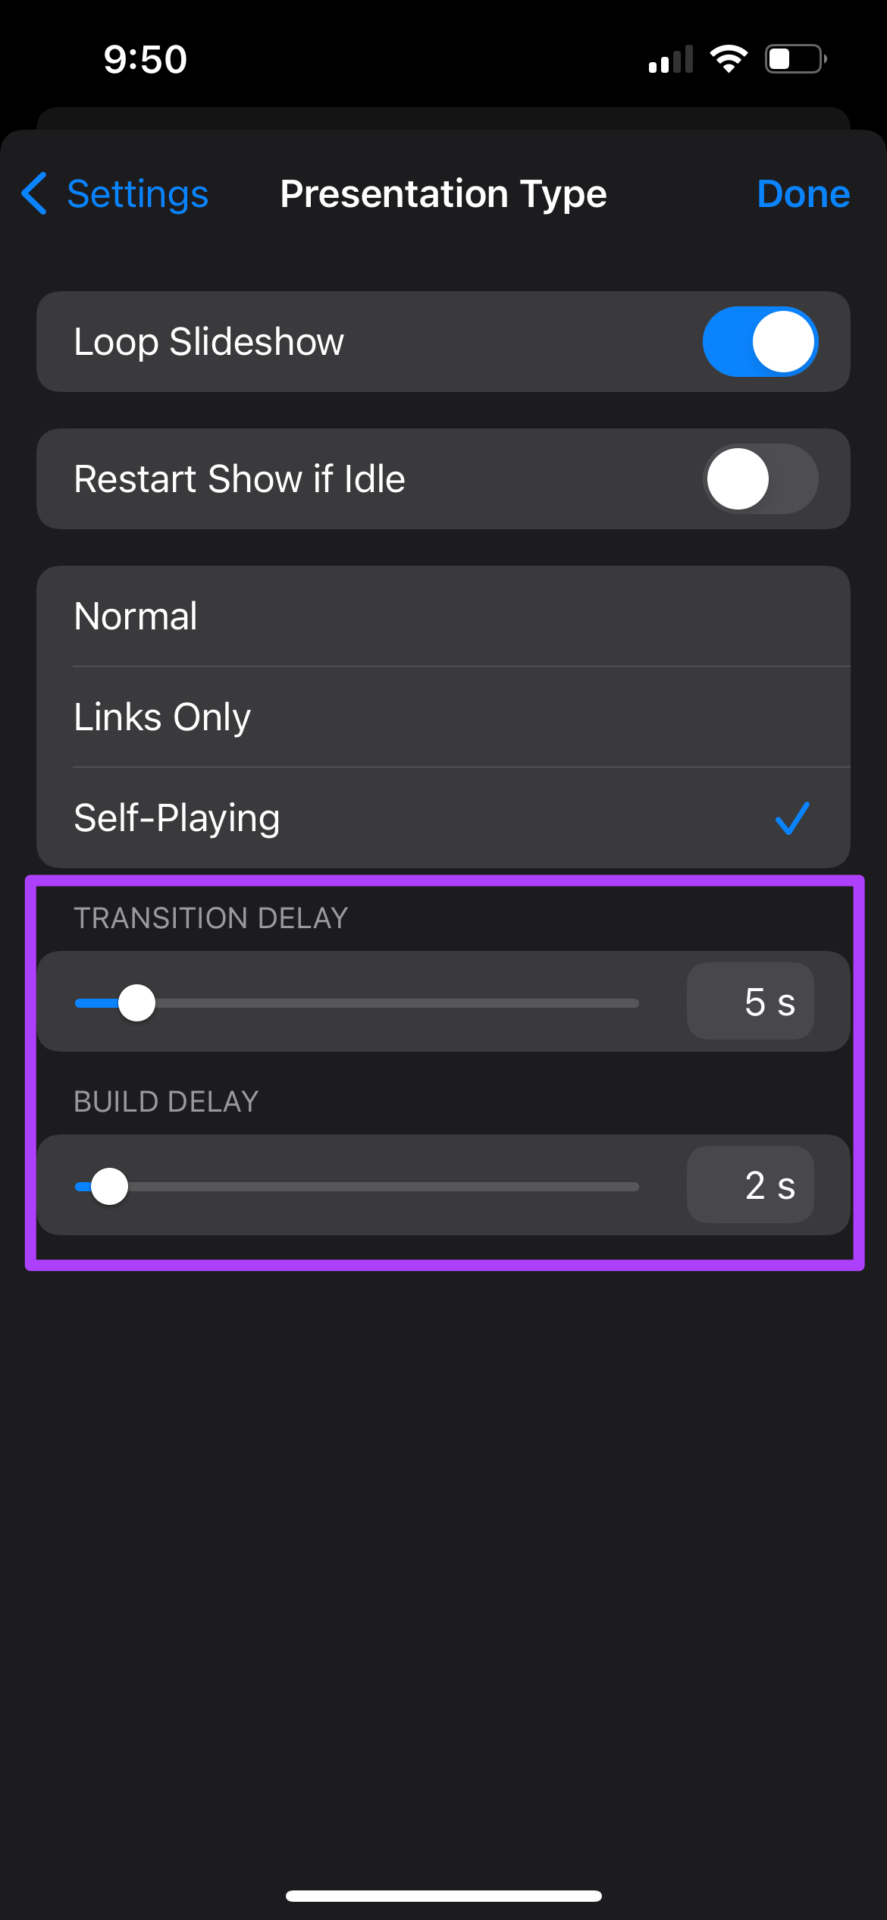
After you select Self Playing, the app will offer an option to set Transition Delay and Build Delay.
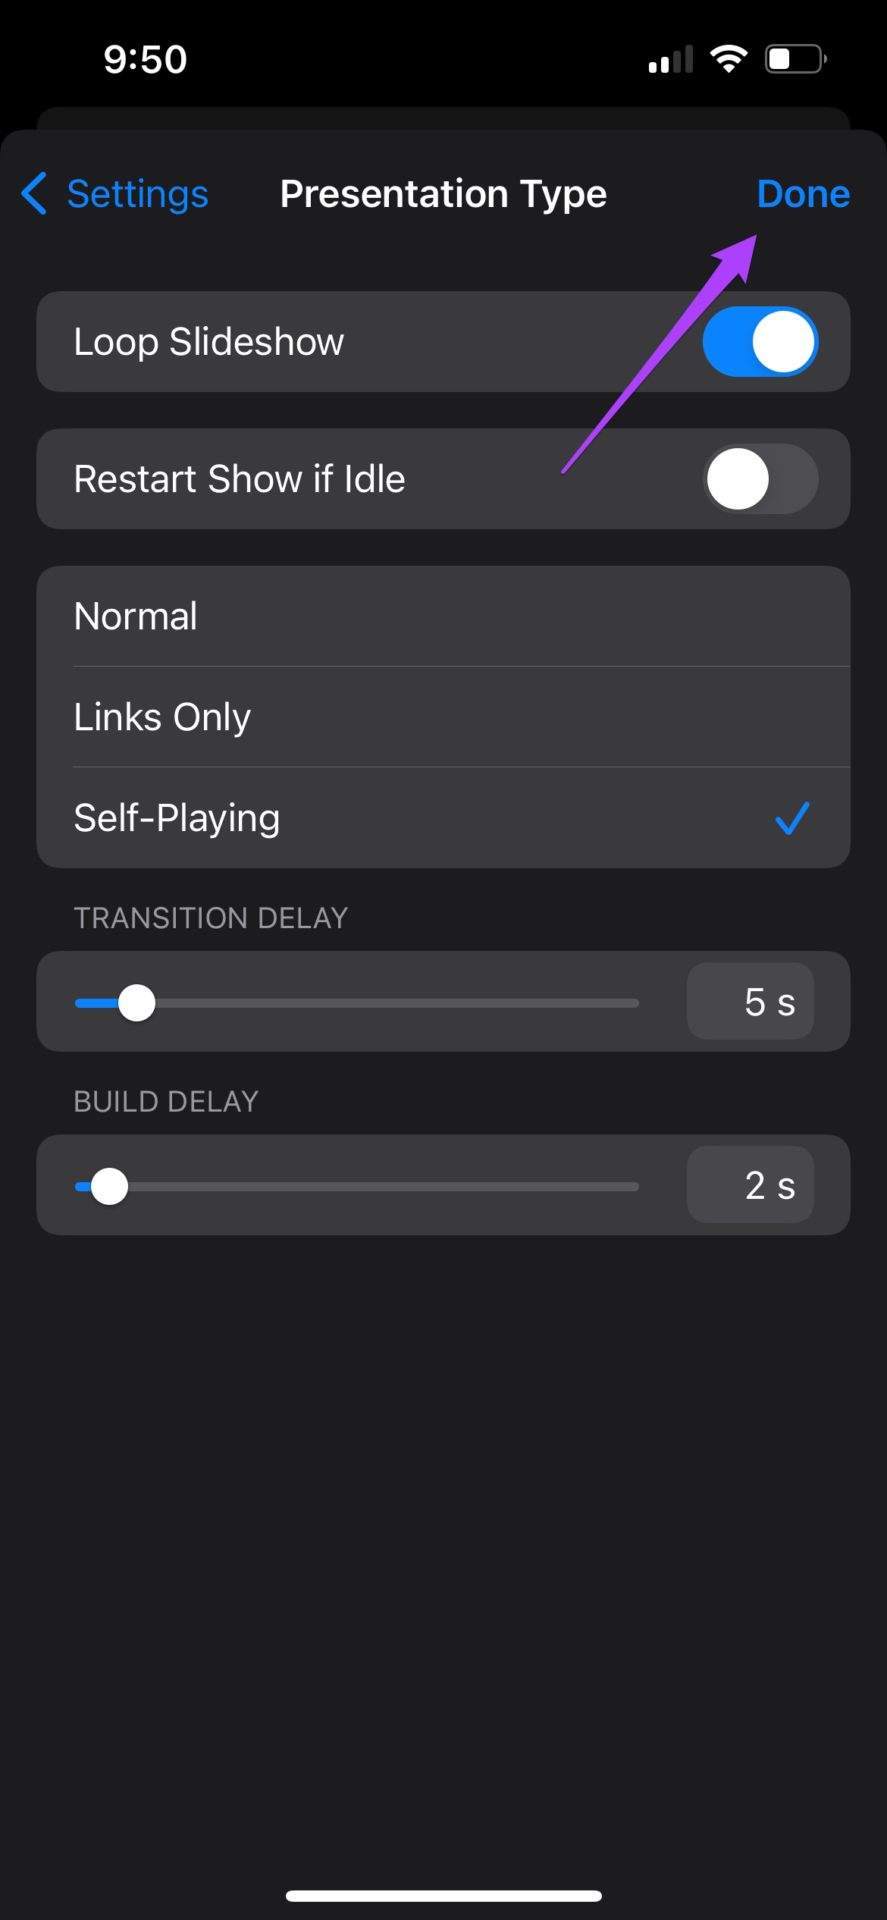
You can choose the duration for both these aspects of your slideshow. Step 8: Tap on Done to save changes.
When you share the slideshow with your iPhone for playback, it will start looping itself. If you use a Mac for the slideshow playback using the same Microsoft account, the changes will get synced automatically.
Loop a Slideshow in Keynote on Mac
Let us move to the Mac and show you how to loop a slideshow in Keynote. This feature can be used by teachers using a keynote presentation to teach their students. They can easily repeat what they have taught to the class using the loop feature to revise the concepts. If you are conducting an online lecture, this feature is useful for that scenario. Follow these steps. Step 1: Press Command + Spacebar to open Spotlight Search, type Keynote, and press Return.
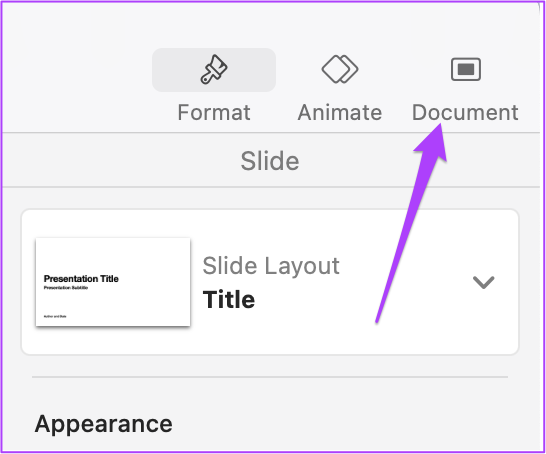
Step 2: Open your presentation. Step 3: Click on the Document tab in the top-right corner.
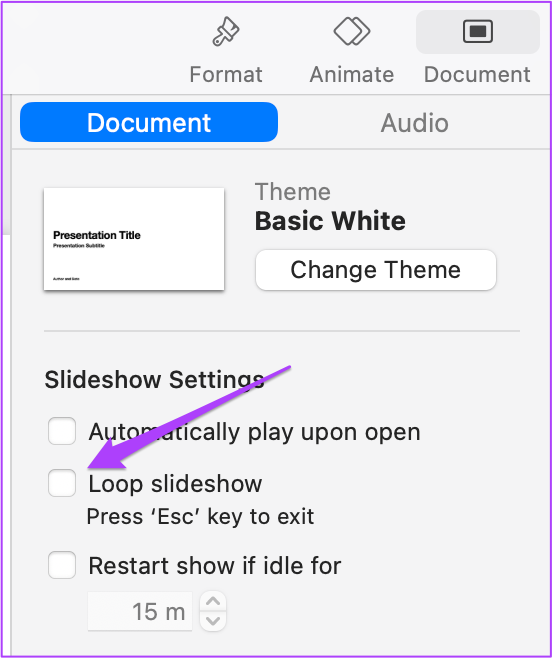
Step 4: Under Slideshow Settings, select Loop Slideshow.
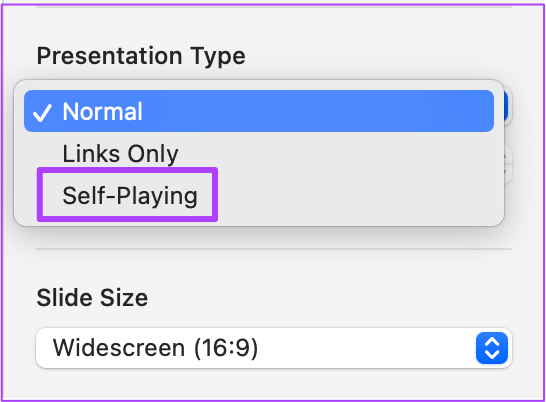
Step 5: Select Self-Playing as the Presentation Type.
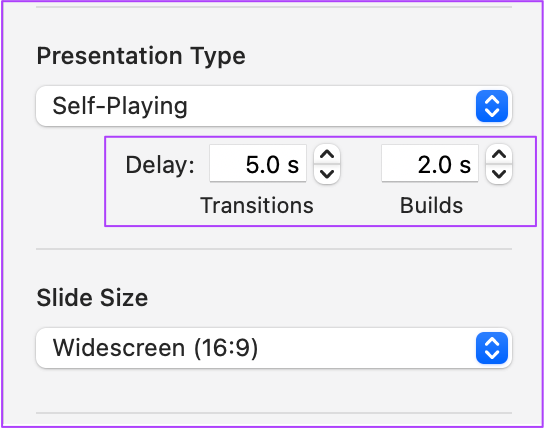
Step 6: Select the Transition and Build delay as per your choice.
Step 7: Press Command + S to save your preferences.
Bonus Tip: How to Loop a Specific Portion of the Slideshow in Keynote
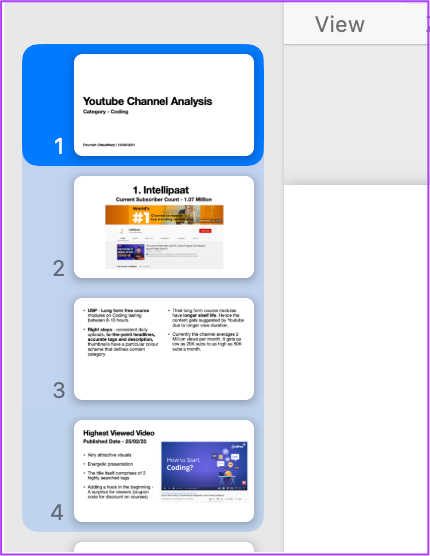
When you want to emphasize on select slides or want to repeat information when new attendees join the meet, you can loop select slides. Meanwhile, you can continue to present and the new attendees can catchup with the slideshow. Follow these steps. Step 1: Open your presentation in the Keynote app and select the first slide of your presentation on Mac. Step 2: Press and hold Shift + Down Arrow key to select a couple of your initial slides that do not reveal your presentation’s major data points.
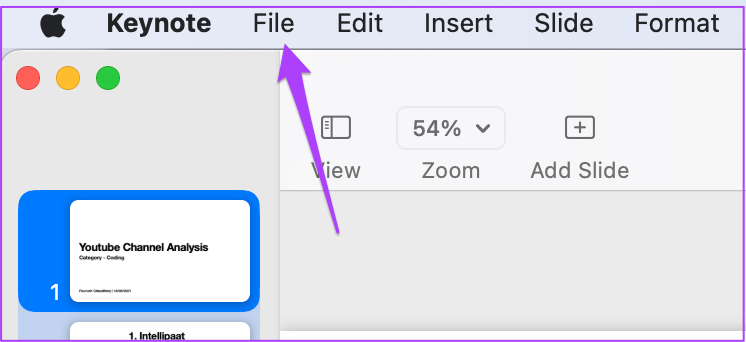
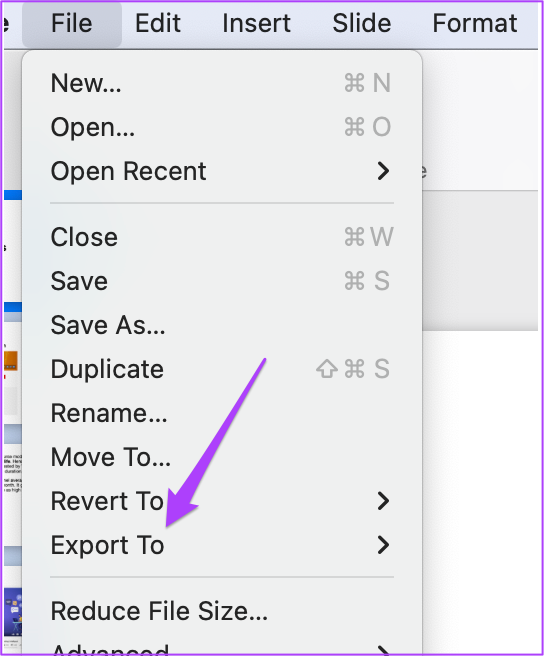
Step 3: Once selected, click on File.
Step 4: Select Export To.
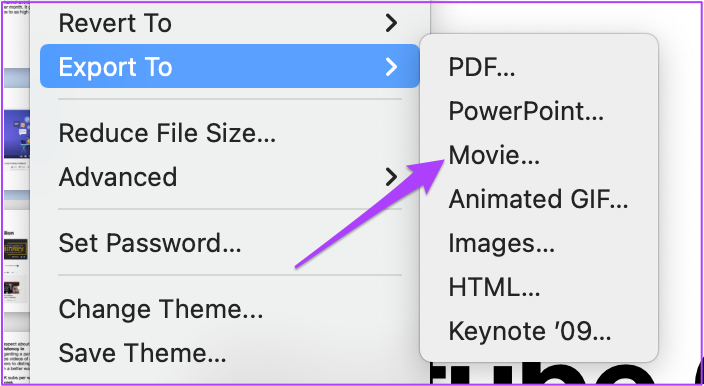
Step 5: Click on Movie.
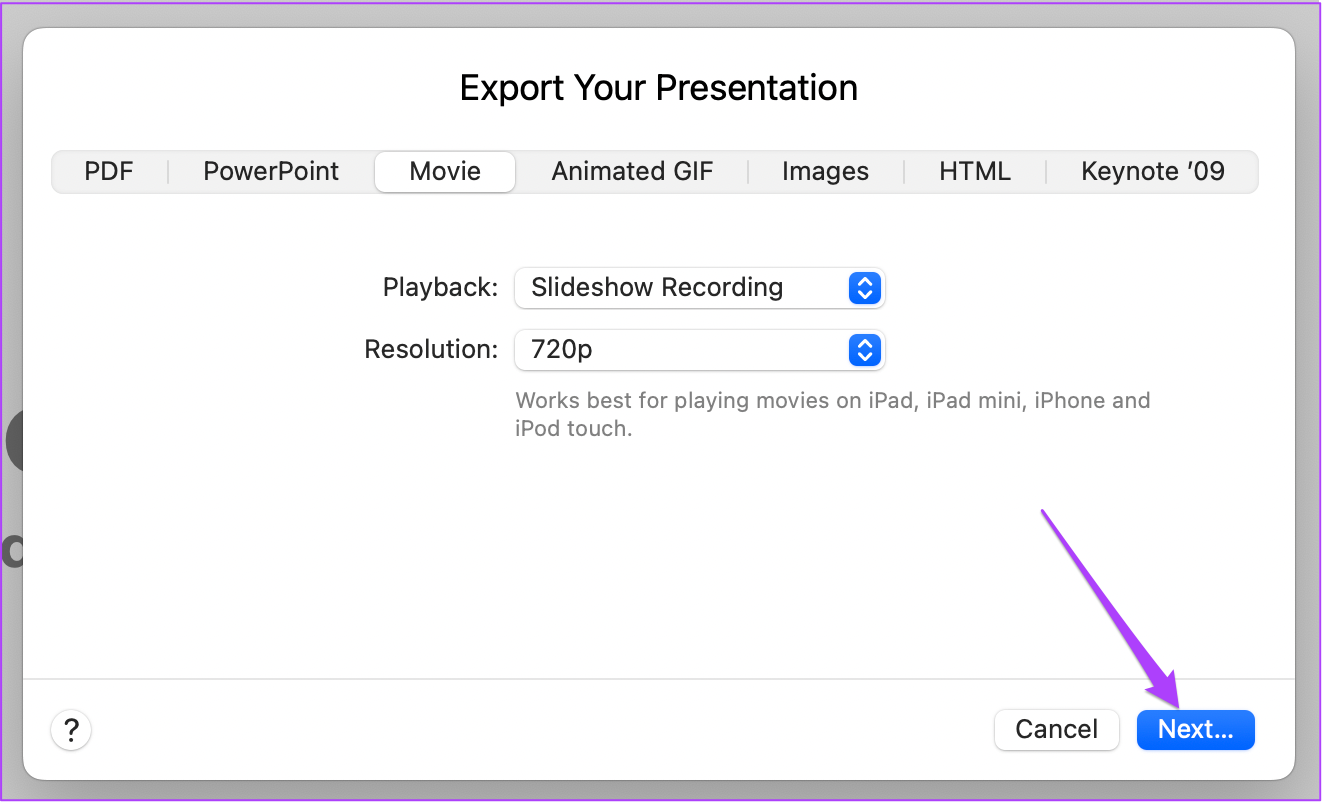
Step 6: Select the resolution of the video file and click on Next.
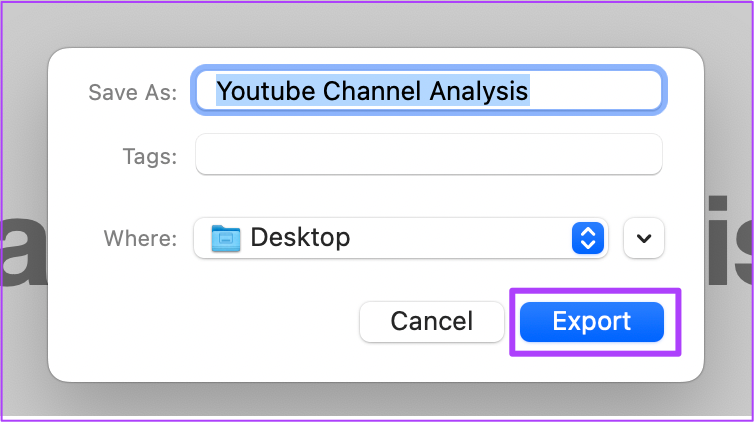
Step 7: Rename the file, choose the file location and click Export.
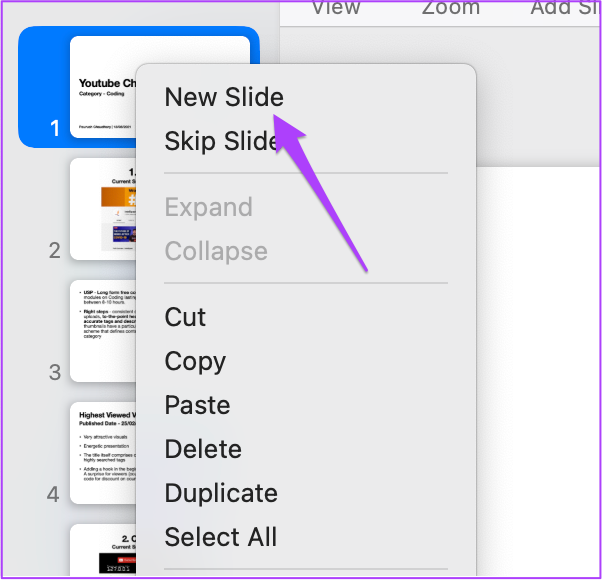
You now have a video clip of your initial slides. Let us integrate this in our presentation. Step 8: Right-click the first slide and select New Slide.
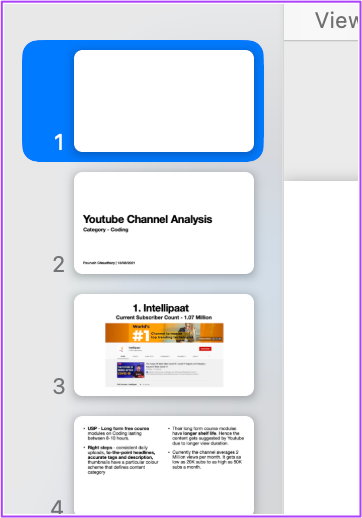
Step 9: Click on the new slide to select it and drag it to the top.
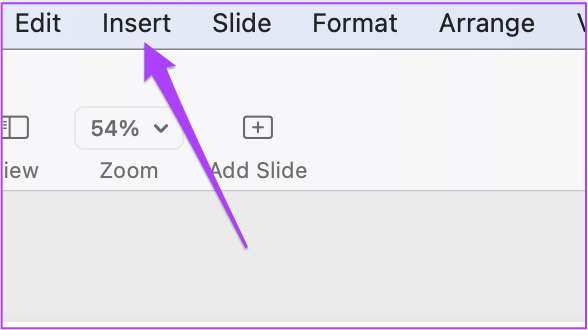
Step 10: Select the new slide and click Insert.
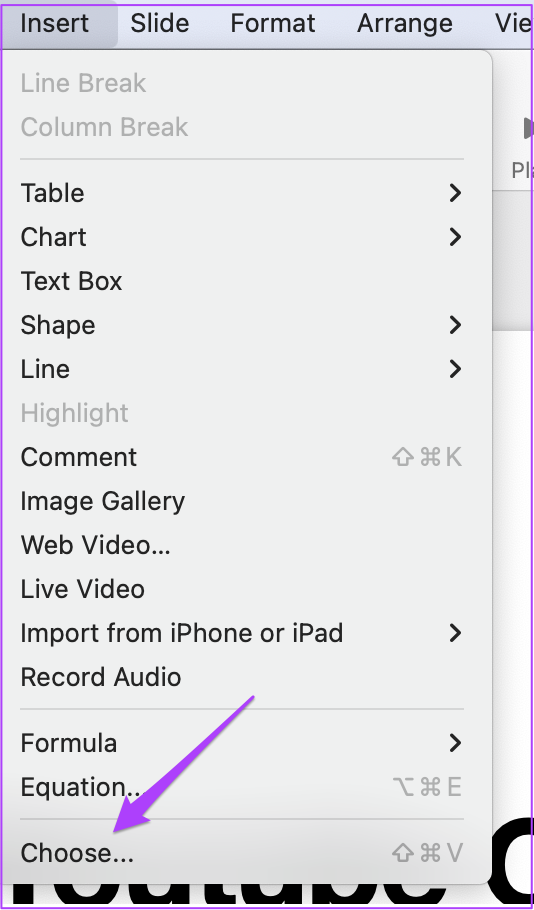
Step 11: Click on Choose.
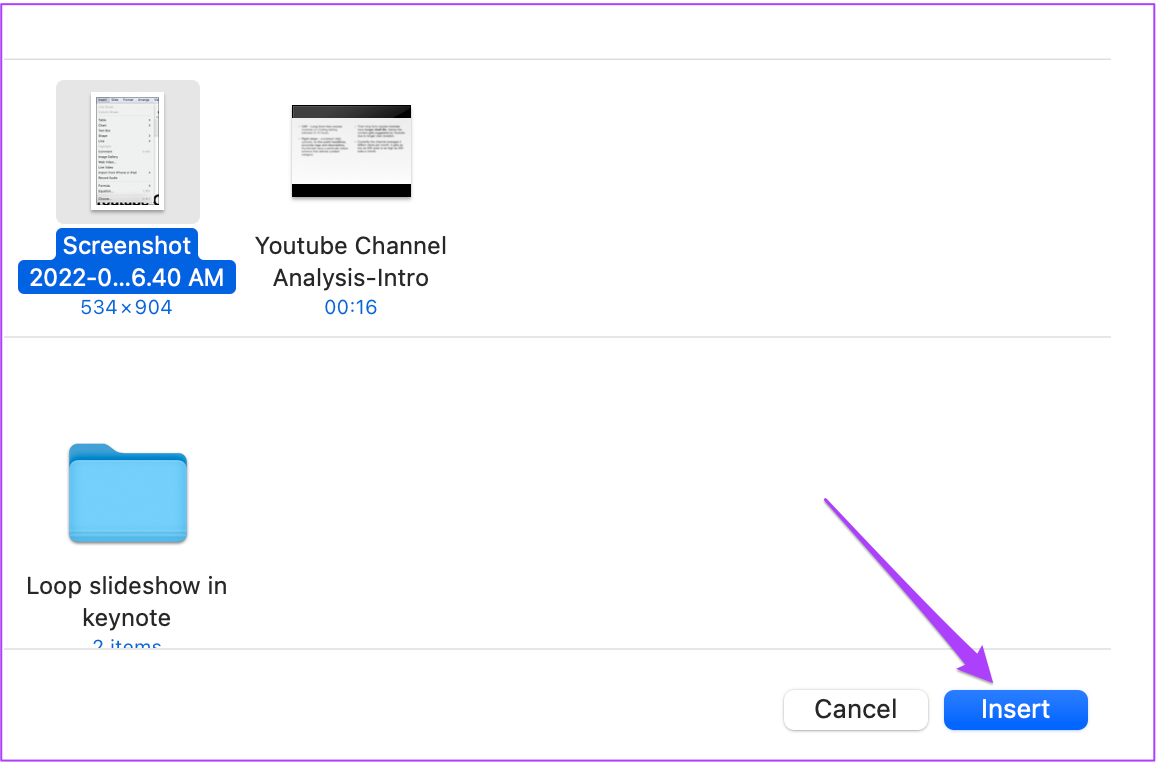
Step 12: Select the newly created file and click Insert button in the bottom-right corner.
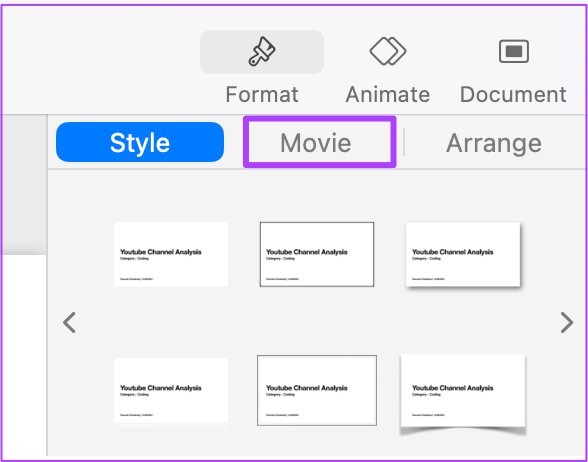
Step 13: After Keynote inserts the video, click on Format at the top-right corner.
Step 14: Select the Movie tab.
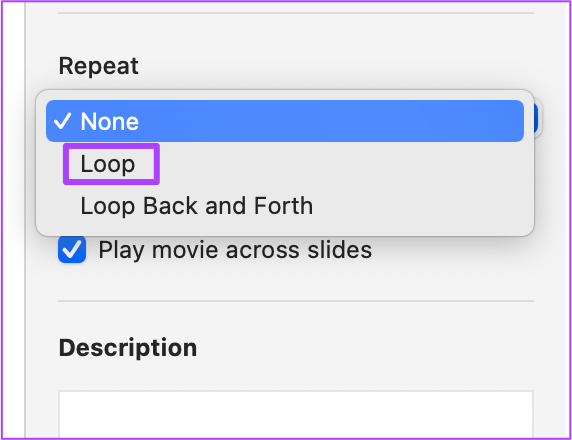
Step 15: Under Repeat, select Loop from the drop-down menu.
Step 16: Press Command + S to save your preferences. The video will play in a loop until you click on it to stop playback and begin your presentation.
Loop Slideshow in Keynote
Using these steps, you can play the entire Keynote presentation in a loop or a couple of slides. That way, you can captivate the audience so that they don’t feel bored and also helps while taking questions during or after the slideshow. The above article may contain affiliate links which help support Guiding Tech. However, it does not affect our editorial integrity. The content remains unbiased and authentic.

