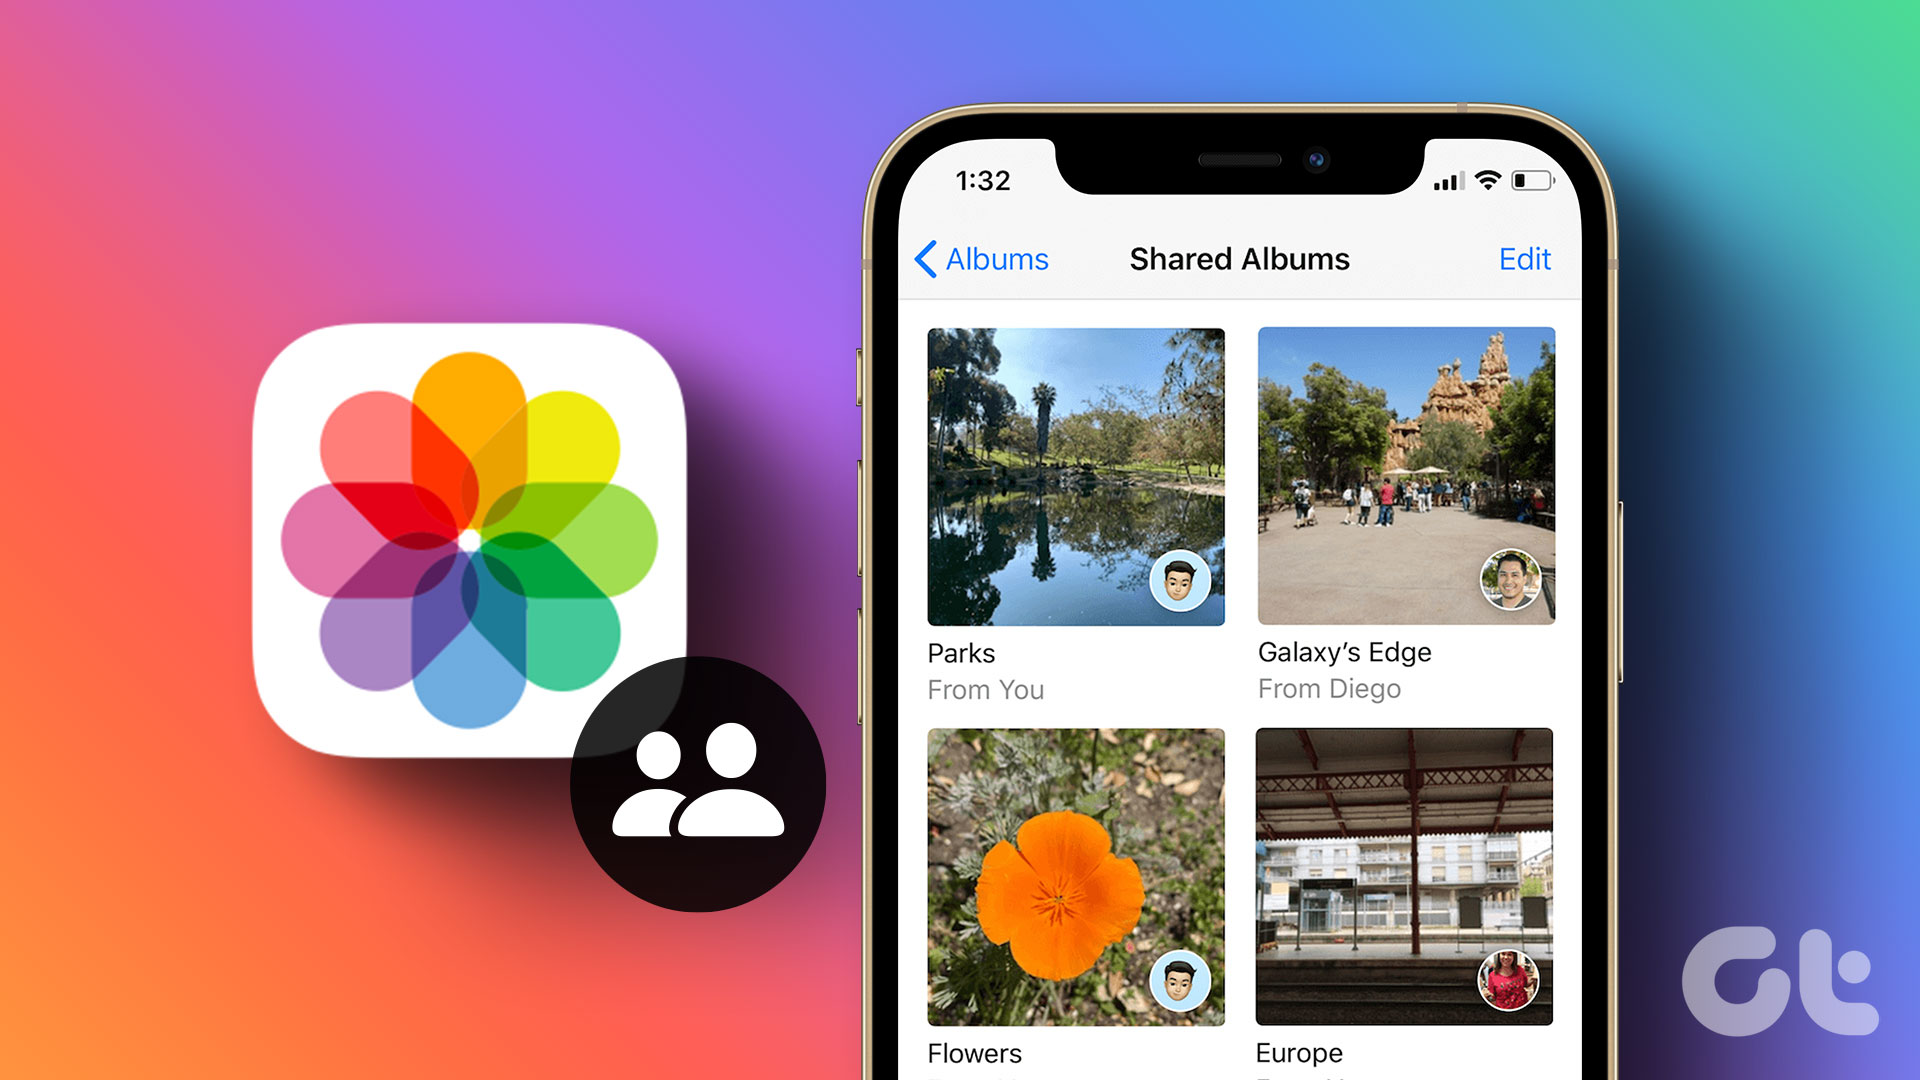
Shared Photo Albums are a more convenient option for sharing your pictures. You can create a Shared Album if you have an iOS device (iPhone, iPad, or Mac). After creating the album, you can add or invite people to view its content. Here’s how you can create a Shared Album.
How to Create a Shared Album on Your iPhone
To create a Shared Album on your iPhone, it’ll need to run the latest version of iOS for iPhone, iPadOS for iPad, or macOS for Mac. You also need to set up and sign in to iCloud on your iPhone. The Shared Album is hosted on iCloud, making it easy to share with others. After meeting all these requirements, use the steps below to create your Shared Album. Step 1: Tap the Photos app on your iPhone to launch it.
Step 2: On the Photos app, tap the + sign at the top-left corner of the app.
Step 3: From the options, tap New Shared Album.
Step 4: Enter a name for your Shared Album and tap the Next button.
Step 5: Choose people to invite from your contact or enter the email address and iMessage phone number of those you would like to share the album with.
Step 6: Tap Create to save all your changes and create the album folder.
Step 7: In your Shared Albums catalog, tap the newly created album folder.
Step 8: Tap the + sign to open your Photos Gallery.
Step 9: Select all the relevant images you would like to include in the Shared Album.
Step 10: After selecting the images, tap Add at the top-right corner of the screen.
Step 11: On the iCloud dialog box, provide a comment/note for your photo selection.
Step 12: Tap Post to save your changes.
All iMessage phone numbers and emails will receive a notification of their addition to your Shared albums. The recipiencts can access the album using a web browser.
How to Add People to a Shared Album on Your iPhone
When you first create a Shared Album, you can provide the details (iMessage phone numbers and emails) of the recipients. Subsequently, you can also add more people. Here’s how to do so: Step 1: Tap the Photos app on your iPhone to launch it.
Step 2: Tap the Albums tab at the bottom of the screen.
Step 3: In the Albums folder, Scroll down to Shared Albums.
Step 4: Tap the Shared Album you would like to add people to.
Step 5: At the top of the Album page, tap the People icon to launch Edit Settings.
Step 6: On the Edit Shared Album page, tap Invite People.
Step 7: Enter the email addresses and iMessage phone numbers of those you want to add.
Step 8: Tap Add to save your selection.
Step 9: Tap Done on the Edit Shared Album page to save your changes.
How to Delete People From a Shared Album on Your iPhone
If you no longer want to grant certain individuals access to your Shared Album, here’s what you should do: Step 1: Tap the Photos app on your iPhone to launch it.
Step 2: Tap the Albums tab at the bottom of the screen.
Step 3: In the Albums folder, Scroll down to Shared Albums.
Step 4: Tap the Shared Album you would like to delete people from.
Step 5: At the top of the Album page, tap the People icon to launch Edit Settings.
Step 6: On the Edit Shared Album page, tap the email or phone number of the person you want to remove. Step 7: From the options displayed, tap Remove Subscriber.
Step 8: Tap Remove at the bottom of the page to confirm your action.
Step 9: Tap Done on the Edit Shared Album page to save your changes.
How to Delete a Shared Album on Your iPhone
Once you feel a Shared Album has lived its purpose, you can delete it from your iPhone. Here’s how to do so. Step 1: Tap the Photos app on your iPhone to launch it.
Step 2: Tap the Albums tab at the bottom of the screen.
Step 3: In the Albums folder, Scroll down to Shared Albums.
Step 4: Tap the Shared Album you would like to delete.
Step 5: Tap Delete Shared Album.
Step 6: Tap Delete at the bottom of the page to confirm your action.
Removing Duplicate Photos on Your iPhone
If you find that your Shared Albums have a lot of duplicate photos, you don’t have to set about deleting them manually. You can remove the duplicate photos by visiting your iPhone’s duplicate folder. You can also consider downloading a third-party app to remove duplicate images. The above article may contain affiliate links which help support Guiding Tech. However, it does not affect our editorial integrity. The content remains unbiased and authentic.


