This way, instead of them constantly reaching out to you to find out whether you are busy, a simple preview of your calendar should be enough to get an answer. If you also have a personal assistant, you can delegate access to your calendar to them. Read below for the steps to manage the sharing permission in your Microsoft Outlook calendar:
How to Share Your Microsoft Outlook Calendar
To share your Microsoft Outlook calendar, you must have a Microsoft 365 or Exchange account. With these accounts, you can send a sharing invitation to other users so they can view your calendar. Here’s how to share your Microsoft Outlook calendar: Step 1: Click the Start button on the Taskbar and type Outlook to search for the app.
Step 2: From the results, click on the Microsoft Outlook app to open it.
Step 3: On the Outlook page, click on the Calendar icon to view your calendar settings.
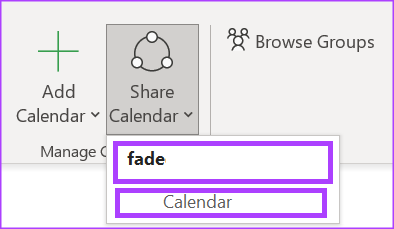
Step 4: On the Ribbon, select the Share Calendar icon within the Manage Calendars group.
Step 5: Choose the calendar you want to share from the drop-down menu.
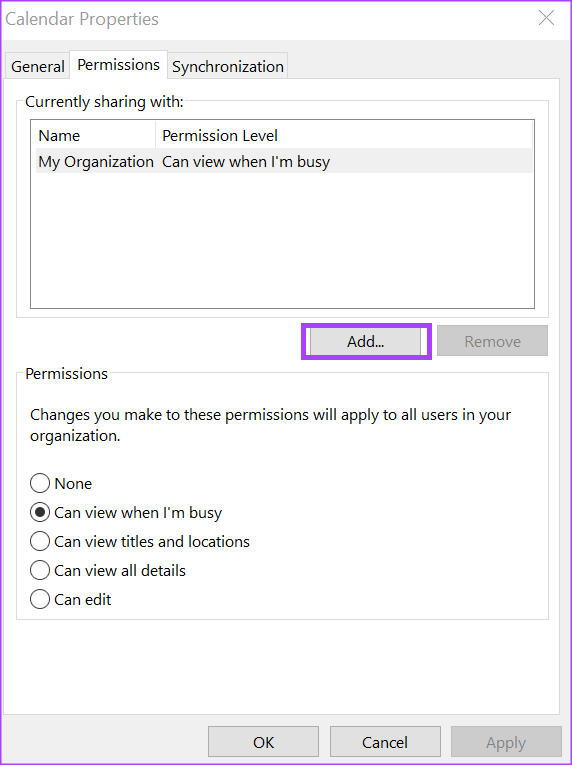
Step 6: From the Calendar Properties dialog box, click Add to launch your Address Book.
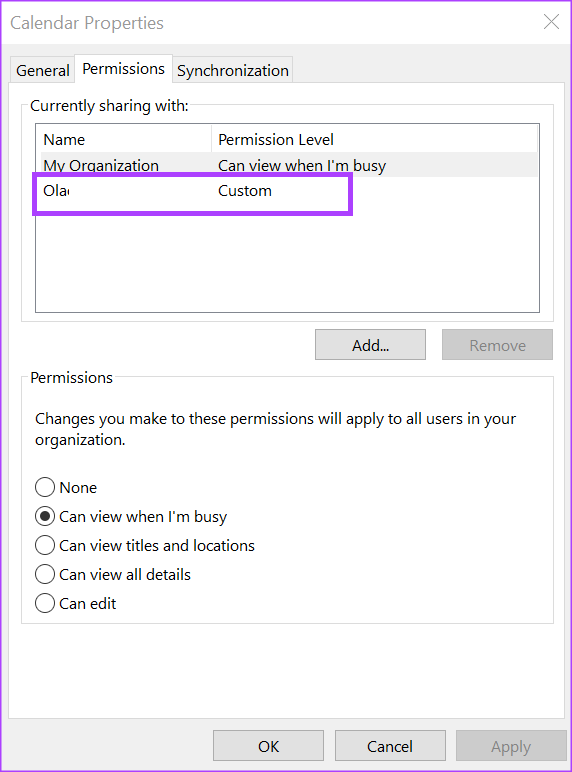
Step 7: From the address book, select or enter the email address of the user you would like to share your calendar with and click Ok. Step 8: In the Calendar Properties dialog box,, the name of the calendar recipient should show. Select the type of permissions you would like them to have with your calendar from the following:
Can view when I’m busy Can view titles and locations Can view all details Can edit Delegate
Step 9: Click OK to save your changes.
The person you share your calendar with will receive an email with the sharing invitation. All they need to do is click Accept to view your shared calendar in their calendar list.
How to Delegate Access to Your Microsoft Outlook Calendar
When you make someone a delegate on your Microsoft Outlook calendar, they can send calendar invites on your behalf. They can also read your meeting requests and respond. Here’s how to grant delegate access to your calendar. Step 1: Open Microsoft Outlook on your computer. On the Microsoft Outlook Ribbon, click the File tab.
Step 2: Click the Account Settings button located on the Account Information page.
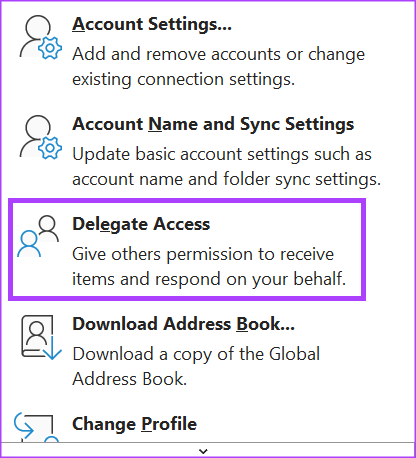
Step 3: From the drop-down options, select Delegate Access.
Step 4: Click the Add button on the Delegates dialog box to launch your Address Book.
Step 5: From the address book, select or enter the email address of the user you would like to share your calendar with and click Ok. Step 6: On the Delegate Permissions dialog box for the selected user, select the type of Calendar permissions you would like the delegate to have from the following options:
None Reviewer (can read items) Author (can read and create items) Editor (can read, create and modify items)
Step 7: To send a message to notify the delegate of the changed permissions, select the ‘Automatically send a message to delegate summarizing these permissions check box.’
Step 8: Click Ok to close the dialog box after selecting your permissions.
How to Stop Sharing Your Microsoft Outlook Calendar
If you no longer want to make your calendar accessible to others, you can stop sharing it. Here’s how to do so: Step 1: On the Outlook page, click on the Calendar icon to view your calendar settings.
Step 2: On the Ribbon, select the Share Calendar icon within the Manage Calendars group.
Step 3: Choose the calendar you want to stop sharing from the drop-down menu.
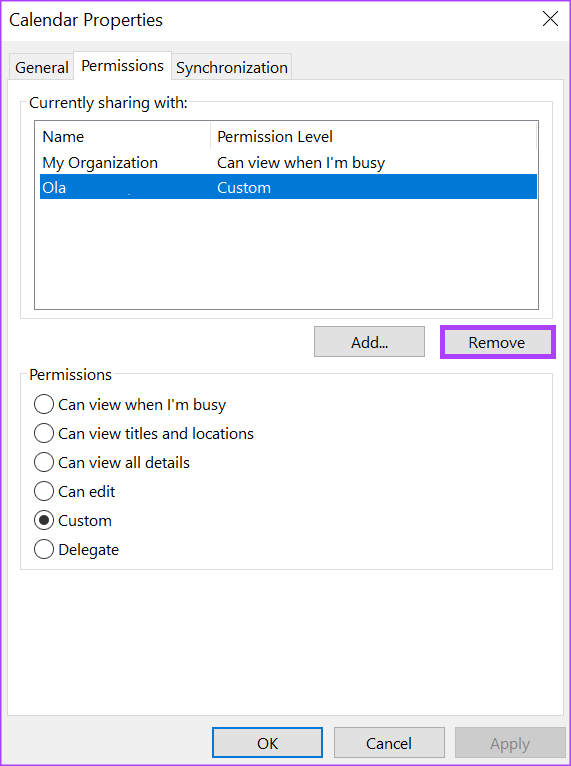
Step 4: From the Calendar Properties dialog box, click the name of the user you would like to stop sharing your calendar with.
Step 5: Click the Remove button.
Step 6: Click the Ok button to close the dialog box with your new changes.
Adding Your Outlook Calendar to Google Calendar
If you use Google Calendar, you can also sync it with your Outlook Calendar. This gives you a comprehensive view of all your upcoming events and appointments. The above article may contain affiliate links which help support Guiding Tech. However, it does not affect our editorial integrity. The content remains unbiased and authentic.