This feature reduces the background noise that often plagues voice memos, resulting in sub-par audio files. It just ruins the voice notes when you hear noise and everything you or anyone else said. Apple wants to change all of that with the wave of a wand, quite literally. Let’s take a look at how Voice Memos work and where can you find this new Enhanced Recording feature along with other notable changes.
1. Create Voice Memos
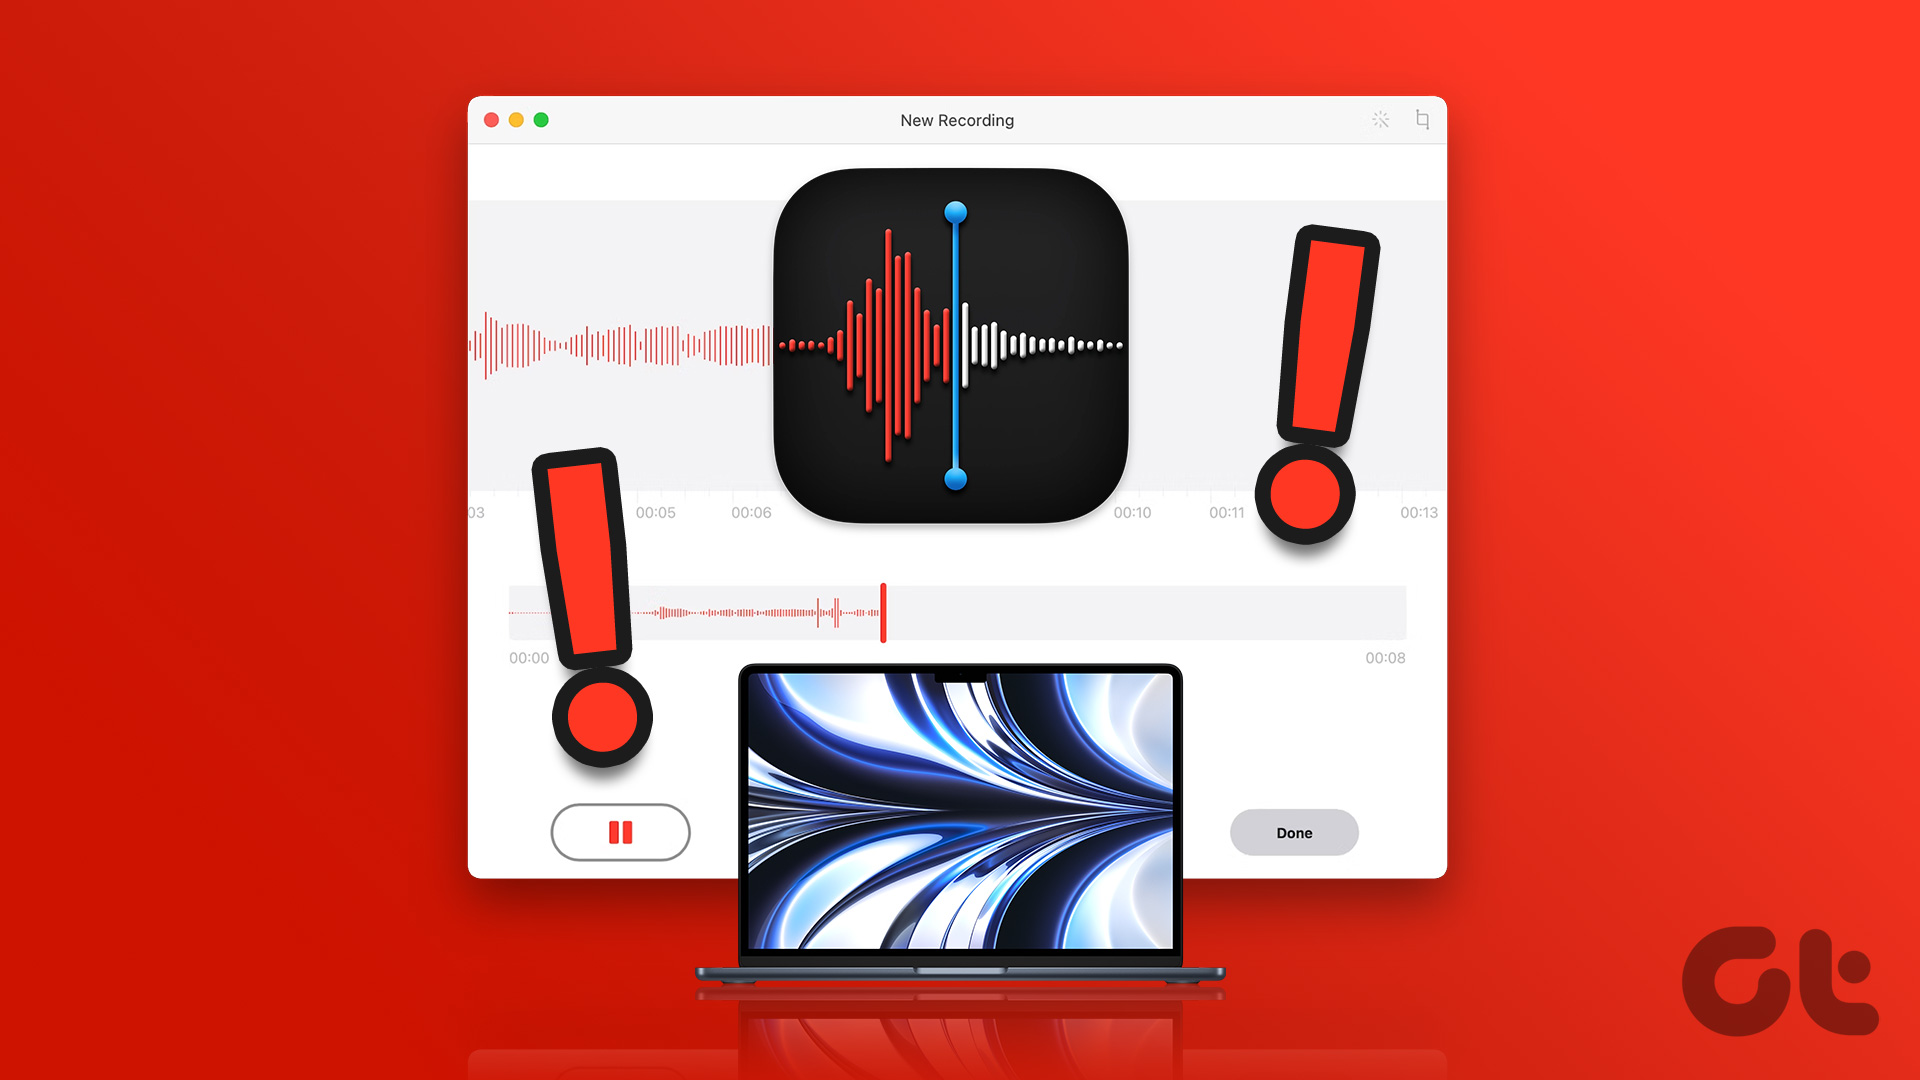
There are two ways to record a voice memo on your iPhone running iOS 14. One is to open the app and tap the big red recording button at the bottom of the screen to begin recording voice/sound immediately. The other way is to launch the Control Center and tap the Voice Memo icon to launch it. I wish tapping the icon in the Control Center would begin the recording immediately, but that’s just me. When you are done, tap the red button again to stop the recording. You should now view the recording named, by default, based on your location. You can play, edit, or delete the recording now. Tap the name of the recording to change it. Note: If you press and hold the Voice Memos icon in the Control Center, it will show you options to either start a new recording or access the last one.
2. Editing Voice Memos
Tap the three-dotted menu icon next to the memo you want to edit to select the Edit Recording button. You can move the waveform by dragging the blue handle from right to left until you reach the point that you want to edit. Tap the trim button as seen in the below screenshot to either trim or delete the selected part from the voice memo. There are two yellow hands at either end of the memo. Drag them from left to right or vice versa and tap on Trim to trim the voice memo. If you want to delete a part of the memo, say from the middle, drag, and position both the yellow handles to select the part you want to be deleted and tap on the Delete button. Don’t forget to Save the edited voice memo. The Replace option does exactly what it says. Move the blue handle to the part that you think needs to be replaced. Tap the Replace button and it will begin recording again but this time, it will overwrite the voice memo from that part onwards. Move the blue handle to the end and the Replace button is replaced by the Resume button. Tapping that will resume the recording from where it ended the last time.
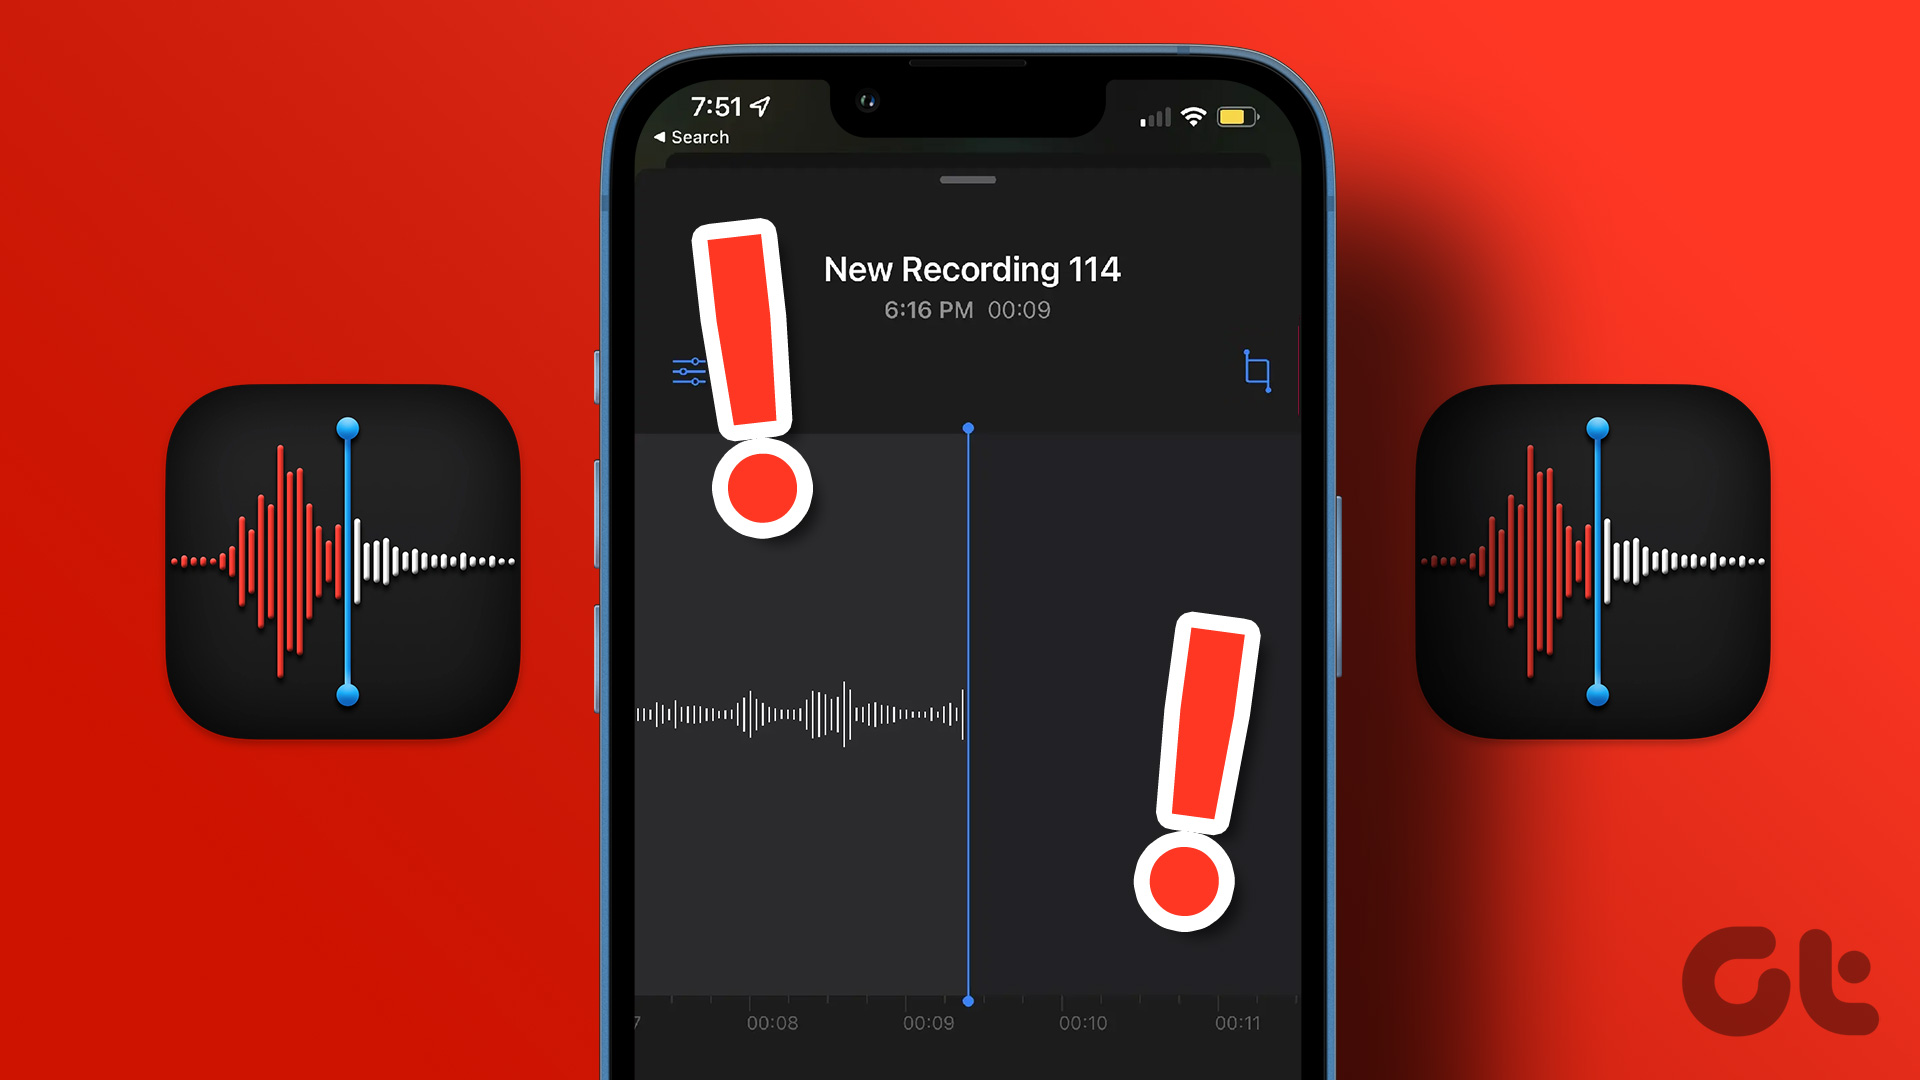
3. Reducing Background Noise From Voice Memos
Here comes the new feature. Noticed background noise like disturbances, fan noise, or ambient sounds? Go back to the edit mode and tap on the wand button on the left side. Play the voice memo again and you will notice reduced background noise and less disturbance. It is not hundred percent perfect but works pretty well and gets the job done. I think Apple will continue to work on it in the future making it better with each update.
4. Organize and Share Voice Memos
Go back to the home screen of the Voice Memos app and tap the three-dot menu icon again. You will find options to share that memo, duplicate it, and favorite it. The last one will move the memo under a smart folder. You can now create folders in the Voice Memos app. Just go back to the main screen and tap the folder with plus icon at the bottom-right corner of the screen to do so. Tap the Edit button and select a voice memo to move it to the newly created folder.
Raise Your Voice
The newly improved Voice Memos app is pleasantly nice, easy to use, and comes with some interesting new features that were missing earlier. I am glad that Apple started paying attention to this commonly used app. Now, I won’t have to depend on third-party apps to take voice notes anymore. It has enough features for me, and hopefully, you too. Still not happy? Using another app to record or take voice notes? Do share your favorite app with us in the comments below. Also, share why you use that app over Apple’s Voice Memos app. It may help some of our other readers. Next up: Want to record Macbook’s audio output? Click on the link below to learn how to do that using an audio hijack right now. The above article may contain affiliate links which help support Guiding Tech. However, it does not affect our editorial integrity. The content remains unbiased and authentic.