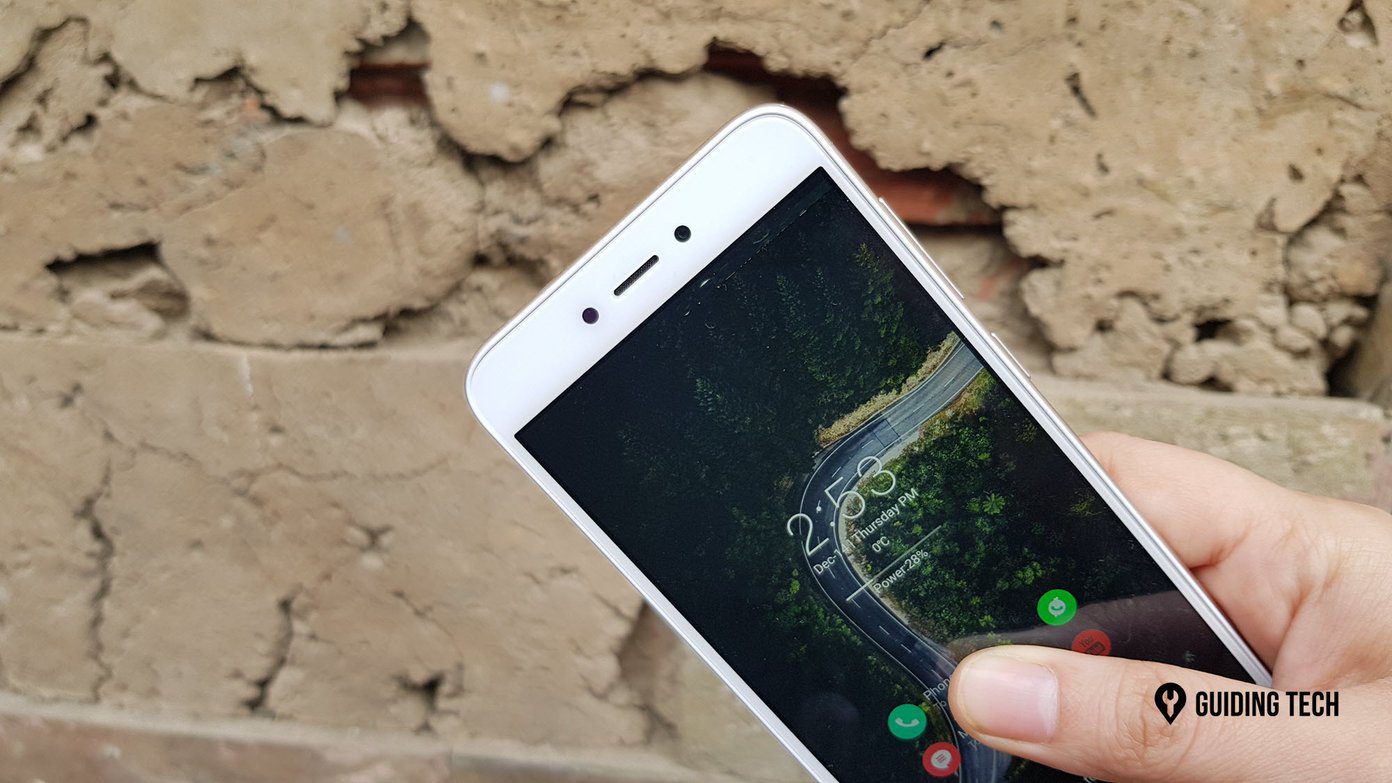
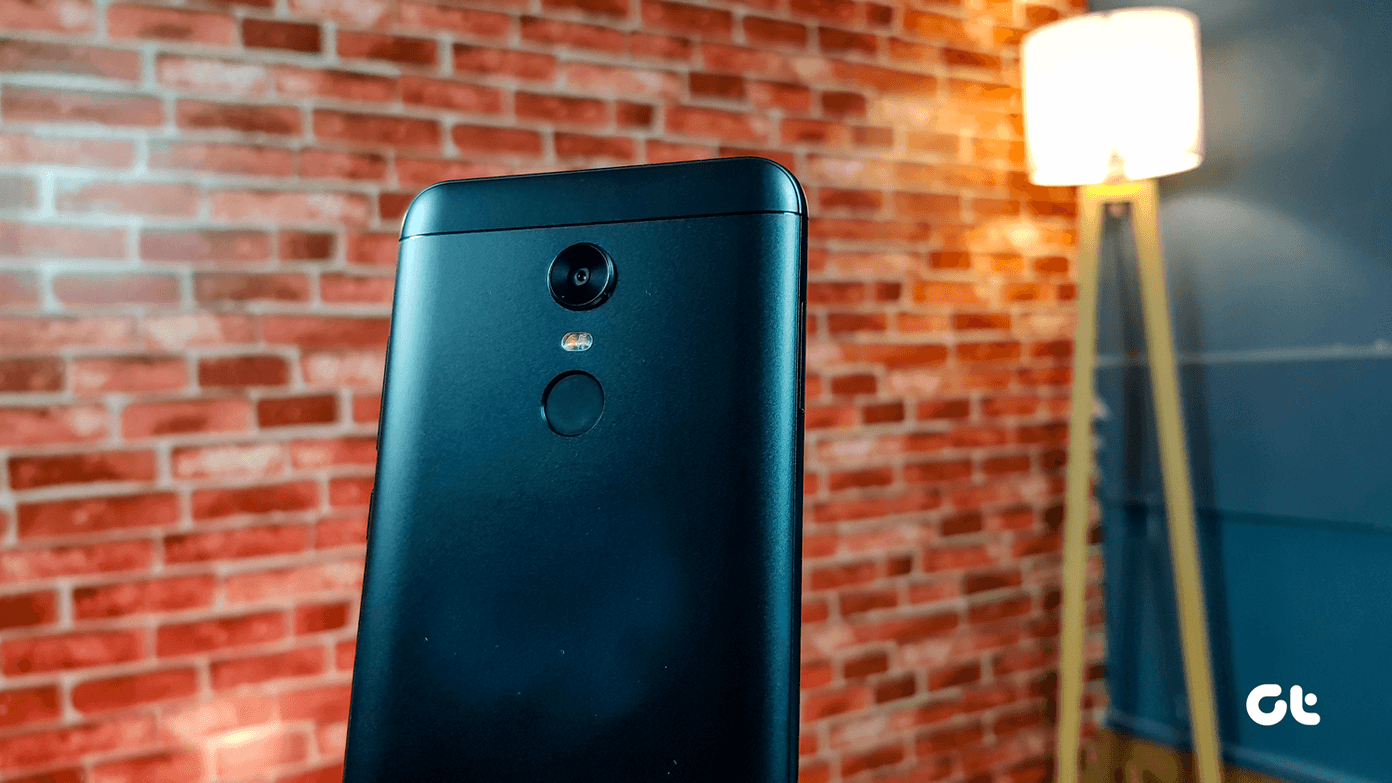
Now about the device, when you unbox it, it’s like Bruce Banner. It has immense power, but all that’s running on a limited mode. If you really want the Hulk in the device to come out, rooting is the way to go. With the device rooted and Xposed framework installed on it, you can do so much more.
So if you are in, let’s have a look at how we can root the device.
Statutory Warning
So before be begin, I just want you to know that even though we have taken utmost care to make the rooting process very easy for our readers, there’s always risk involved. So only those who are strong at heart and really want to unleash the full potential of their device should continue. If you end up bricking your device then don’t blame us.
Rooting the Redmi Note 4G
The very first thing you will have to do is back up your device. Even though the process is not supposed to wipe your phone or delete any files on your SD card, it’s good to do just in case. It’s always advisable to take backups before messing with system files. Also make sure your device is at least 60% charged. Now download and copy the Root Zip file (Rootonly_beta.zip) to the device’s internal memory. If you need to verify at all, the MD5 checksum of the file should be D7A2FDF64392F549491CC93467EC4E67. Now open the Updater app, usually found under the tools folder, and press the Menu button. Here, select the option Update Package, choose the Rootonly_beta.zip file that you downloaded on your SD card, and install the file. Your device will now reboot and once it reboots successfully, it will be rooted. However, you will have to enable the root permission from the Security settings to use it. To get that done, open up Security and navigate to the Permission settings. Here, turn on the option that says Root Permission and confirm any security popup message that you might get. Once everything is set, you can go ahead and install the Xposed Framework Module. If you have any doubts regarding it, refer to our guide on how to install it on rooted Android devices. Note: MIUI doesn’t work with the traditional SU apps and manages the root permissions for the app from the built-in settings. So that was how you can easily root your Redmi Note 4G LTE device. You can use a nifty app called the root checker to check if you have root access on your device. Keep in mind: Once your Redmi Note 4G is rooted, you will not be able to receive any official OTA updates. To receive them, you will have to first unroot your phone.
Unrooting the Device
To unroot the device, simply flash the unroot.zip file using the Updater app as done while rooting the device and reboot. That was about rooting (and unrooting) Redmi Note 4G. If you have any doubts regarding the procedure or the MIUI environment or any questions you would like to ask me about the device, mention them in the comments. The above article may contain affiliate links which help support Guiding Tech. However, it does not affect our editorial integrity. The content remains unbiased and authentic.


