To make up for it, Microsoft acquired Clipchamp, a web-based video editor, which is now the default video editing app in Windows 11. There are several features in Clipchamp that make it a great video editor, even for professional projects. Among the several features is the ability to rotate videos. If you’ve recorded a video in the wrong orientation, here’s how you can rotate it using the native features in Windows 11.
How to Rotate a Video Just to View It
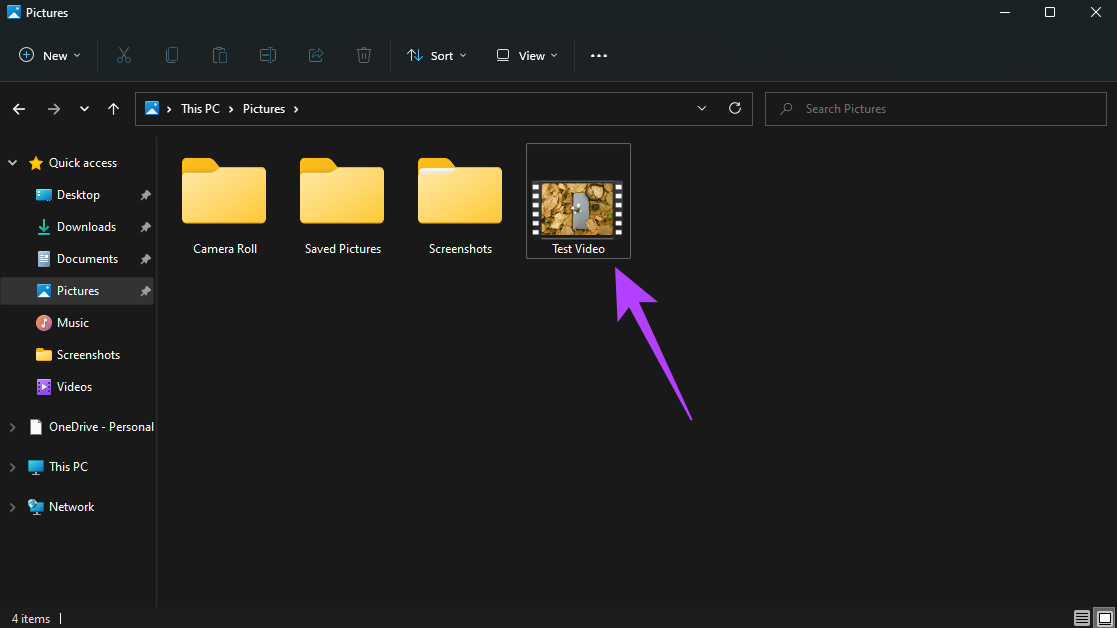
Suppose you’ve downloaded a video or movie in the wrong orientation and wish to rotate it just for viewing purposes. In that case, you can do so straight from the Media Player app without editing and rendering the video. This saves you time and the resources on your computer. Here’s how to rotate videos in the Media Player app on Windows 11. Step 1: Open Windows Explorer and navigate to the video file you wish to rotate.
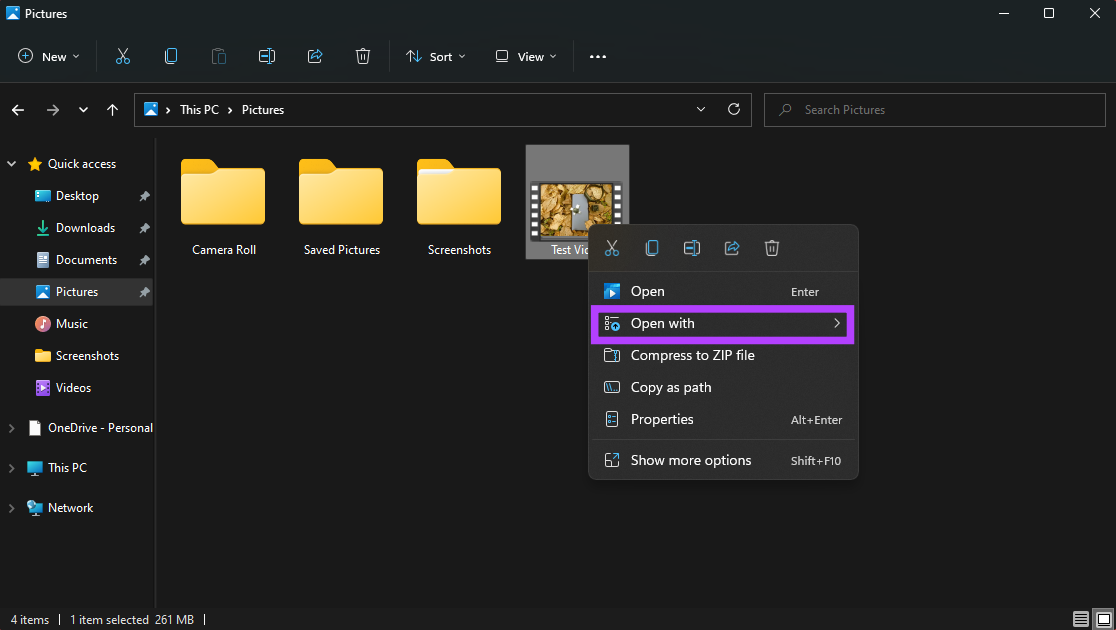
Step 2: Right-click on the video and hover your mouse over Open with.
Step 3: Select Media Player from the list of options.
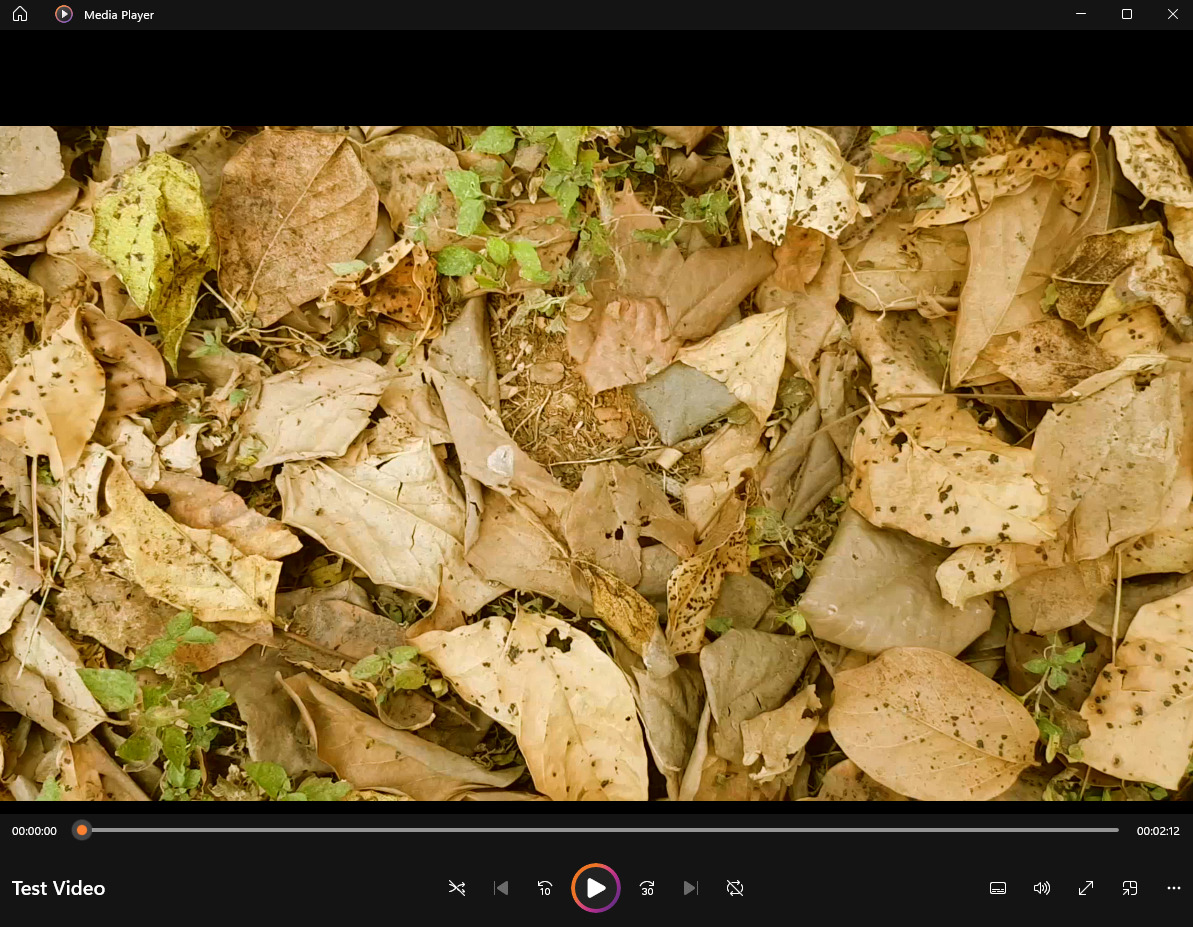
Your video will now open in the Media Player app.
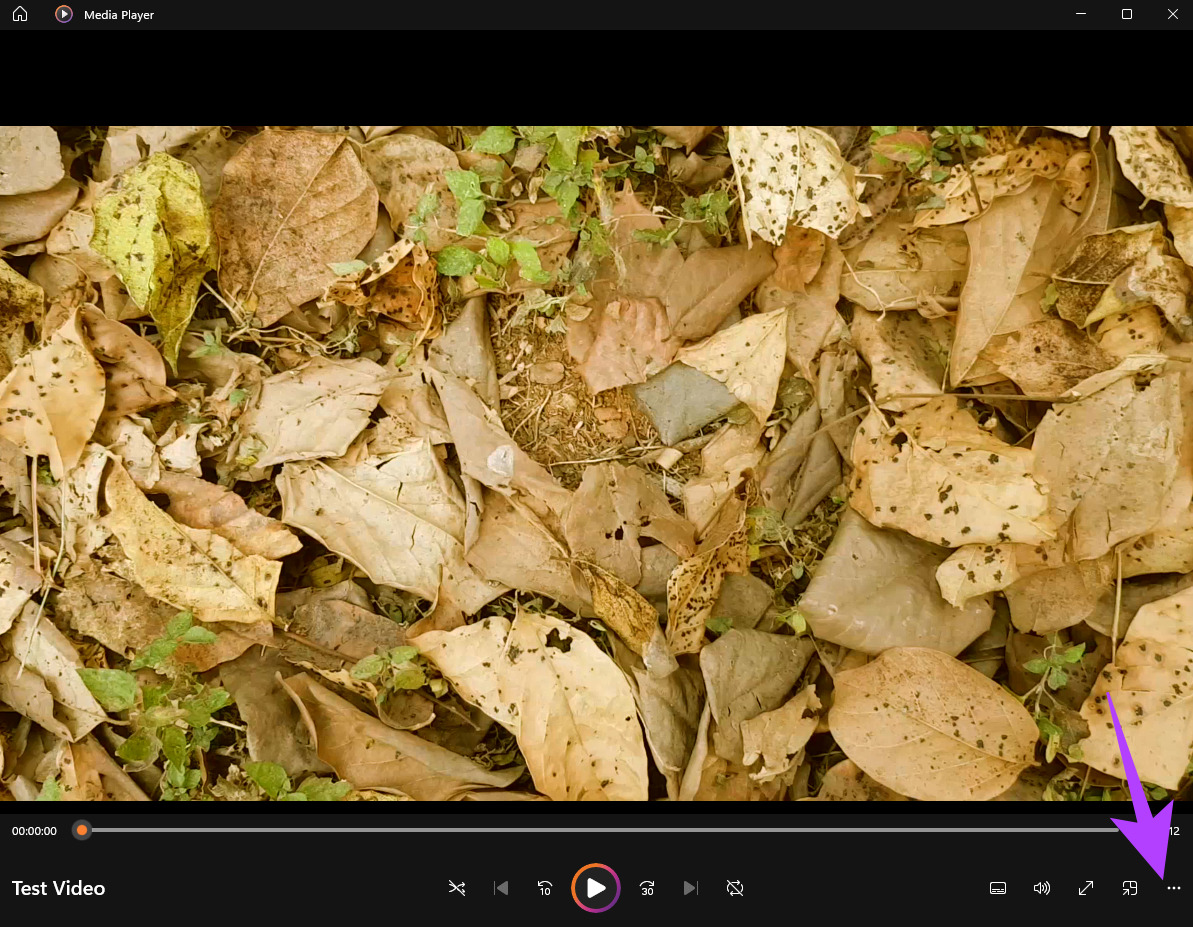
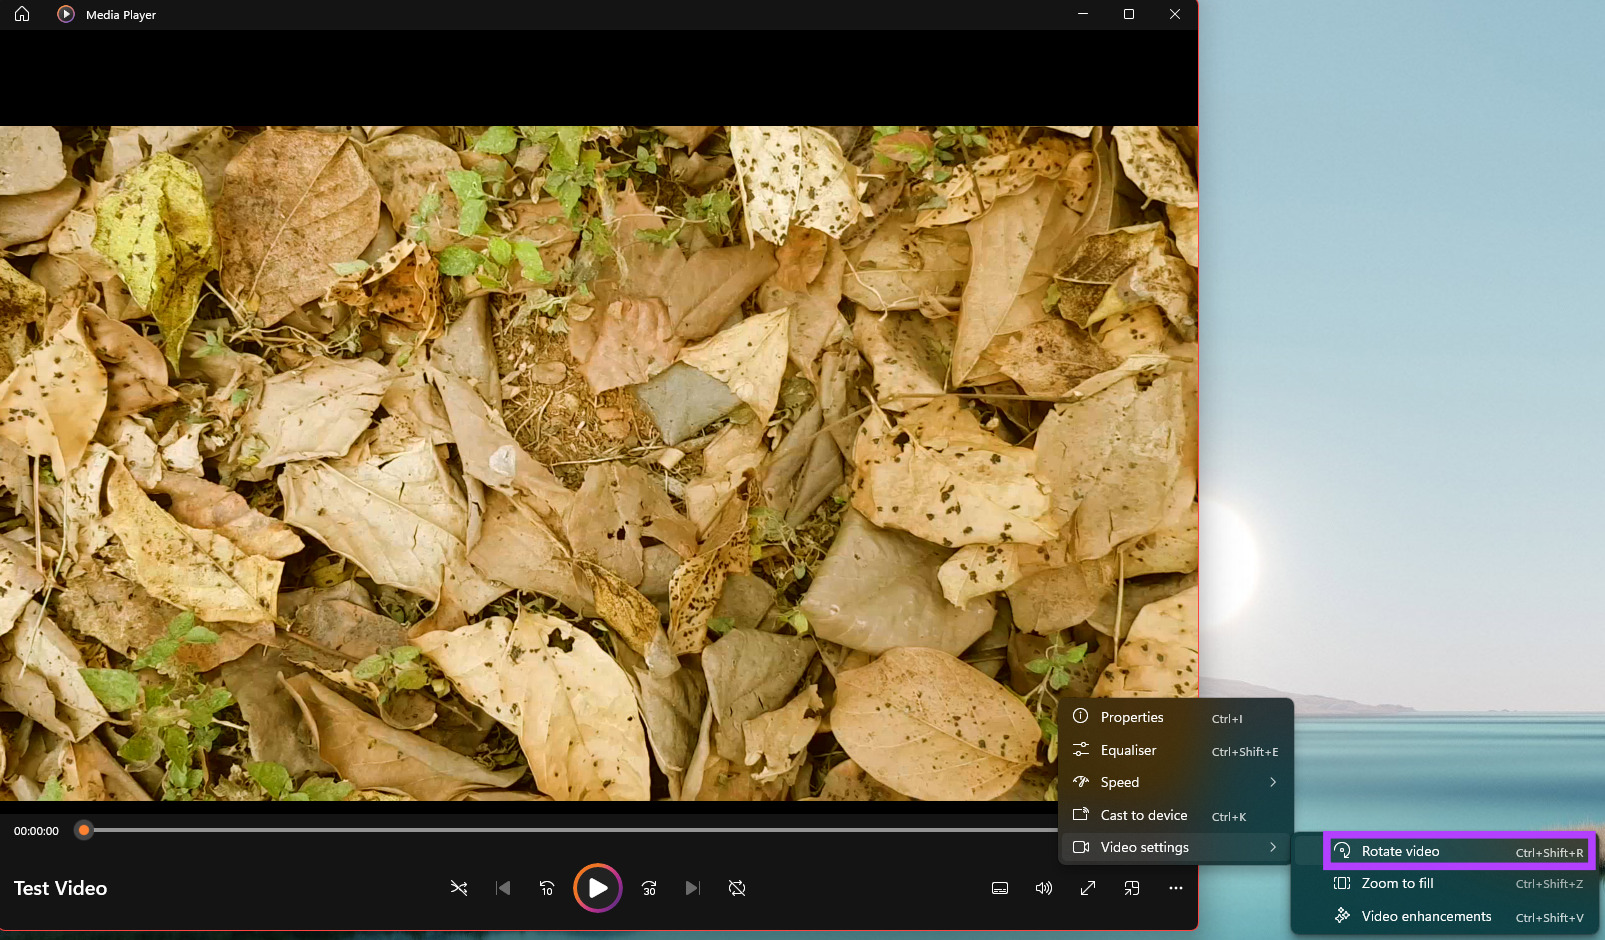
Step 4: Click on the three buttons in the bottom-right corner of the app to bring up additional settings.
Step 5: Hover your mouse over Video settings.
Step 6: Select Rotate video. The app will rotate your video by 90 degrees in the clockwise direction. You can click the Rotate video button until the desired rotation is obtained.
You can now playback the video in the Media Player app itself and it will appear in the rotated orientation. However, if you close the Media Player app and open the video again or open it in a different app, the video will default back to the original orientation. If you wish to rotate the video and save it in that particular orientation, you will have to edit the video, and render it after the rotation. Here’s how to do it.
How to Rotate a Video and Save It in That Orientation
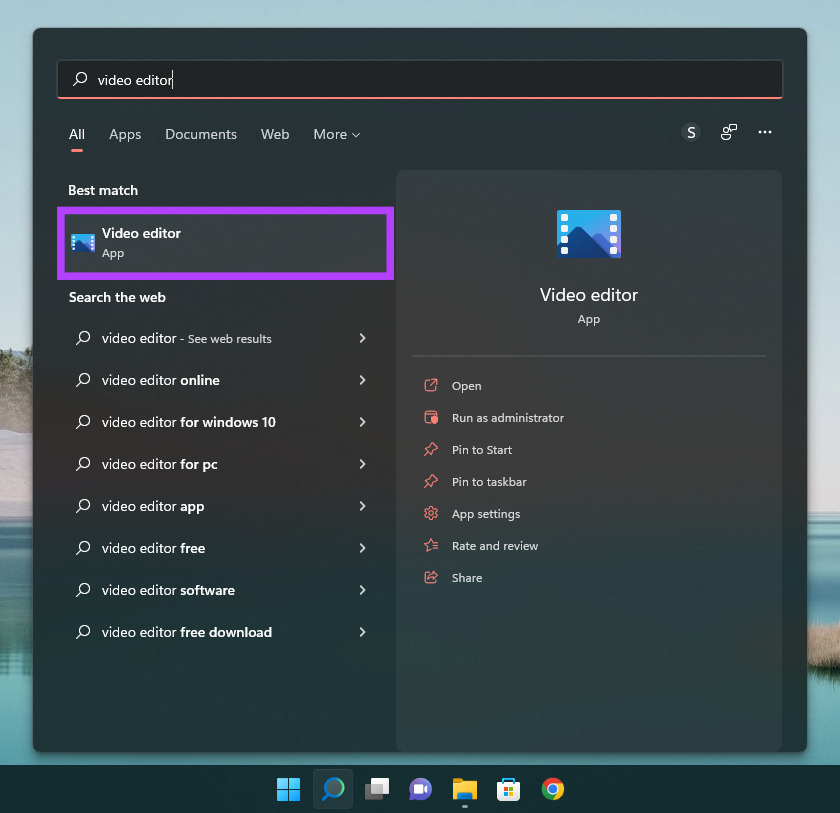
Rotating the video every time you want to watch it can get annoying. It’s also not ideal if you want to use the video for a presentation or edit it to merge it with other clips. The best way to address this is to edit the video and change the rotation so that you can save it in that manner. We’ll be using the default Video Editor in Windows 11 for this. Step 1: Click on the Search icon in the taskbar in Windows 11 to bring up the search bar.
Step 2: Type in Video Editor and click on the resulting program.
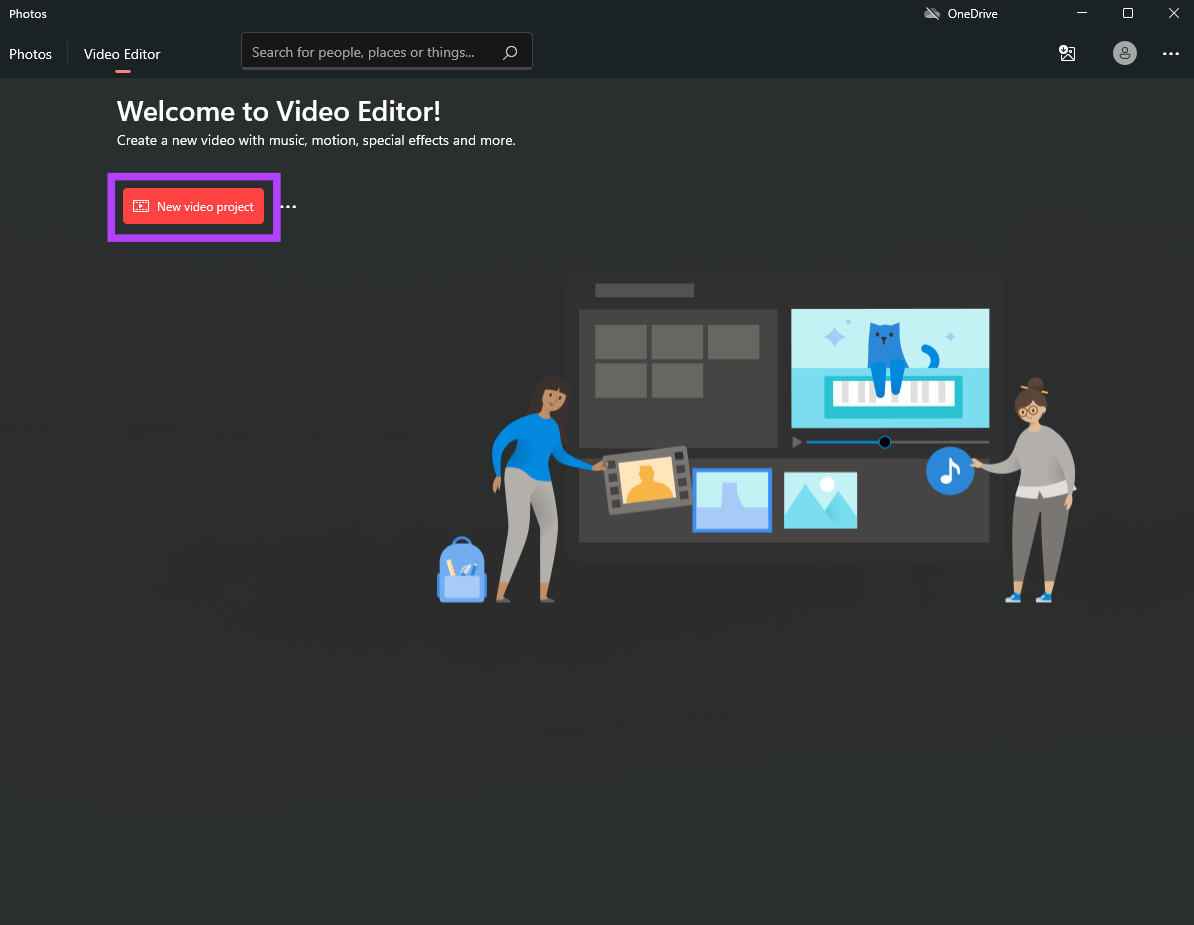
Step 3: The Video Editor app will now open on your PC. Select the ‘New video project’ button.
Step 4: You will be asked to name your project. Enter a suitable name and click on OK.
Step 5: The project timeline will be visible to you. Click on the red Add button to import the desired video clip.
Step 6: Select ‘From this PC’ or ‘From the web’ depending on where the video is saved.
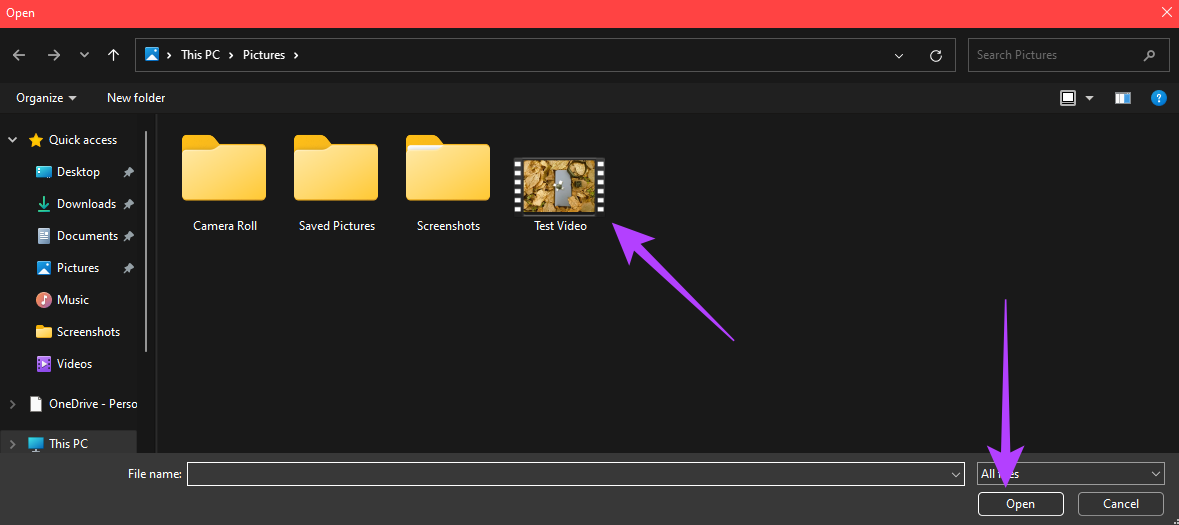
Step 7: Browse through your files and navigate to the location where the video to be rotated is saved. Step 8: Select the video and click on Open.
Step 9: The selected video will be added to the project as you can see by the thumbnail in the left column.
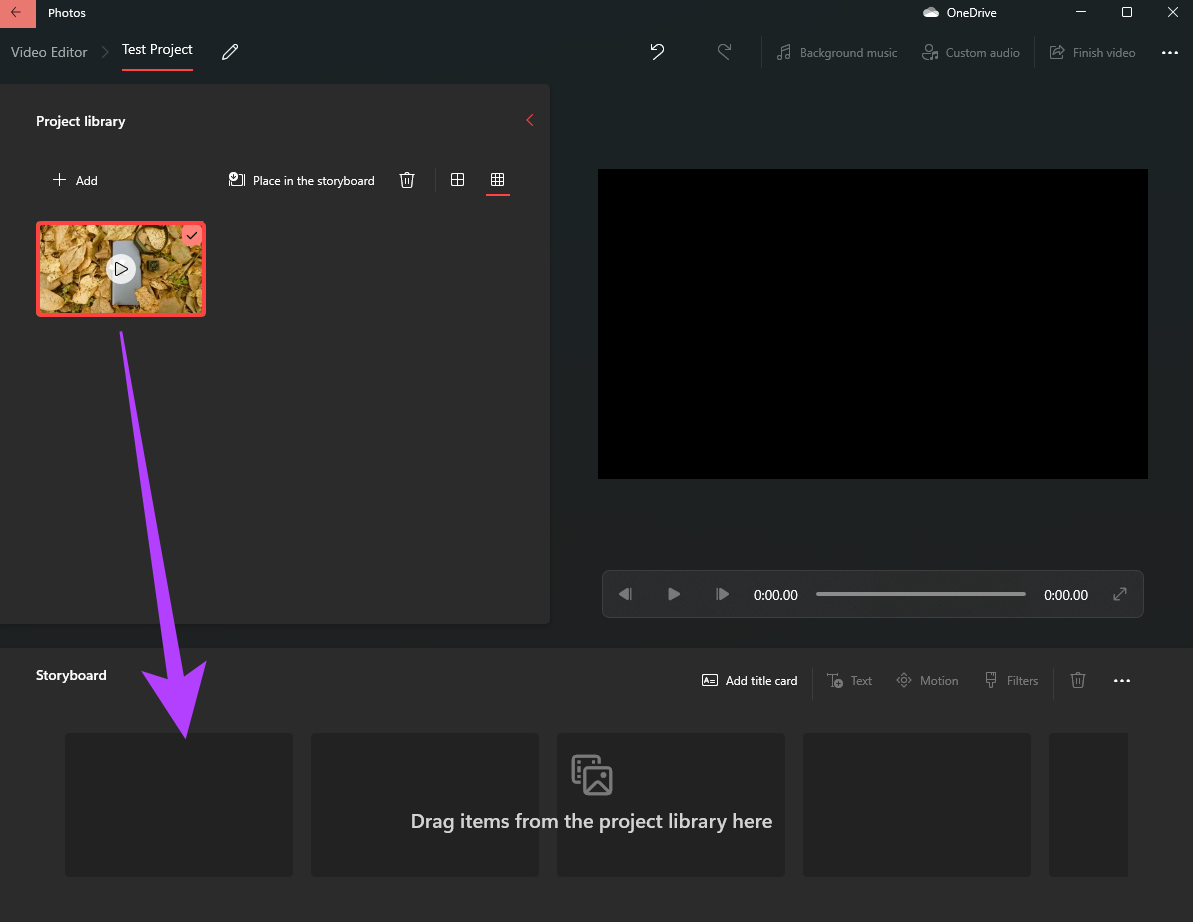
Step 10: Drag the video from the Project library on the left down to the timeline at the bottom of the editor.
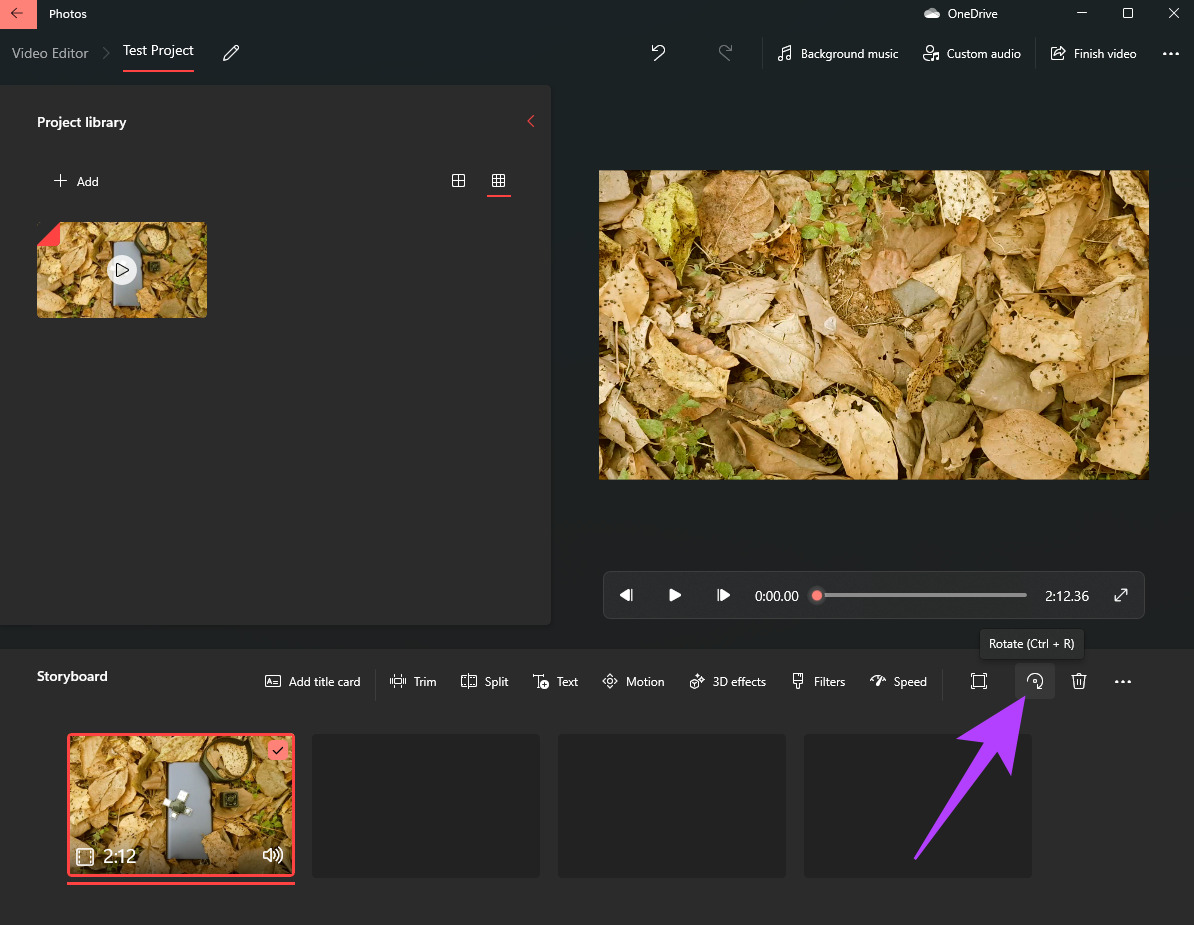
Step 11: Now, click on the video at the bottom and then select the Rotate button in the toolbar above.
The app will rotate your video by 90 degrees in the clockwise direction. Click on the rotate button again if you wish to rotate the video further. Step 12: Once you’re satisfied with the rotation, click on the Finish video button in the top-right corner.
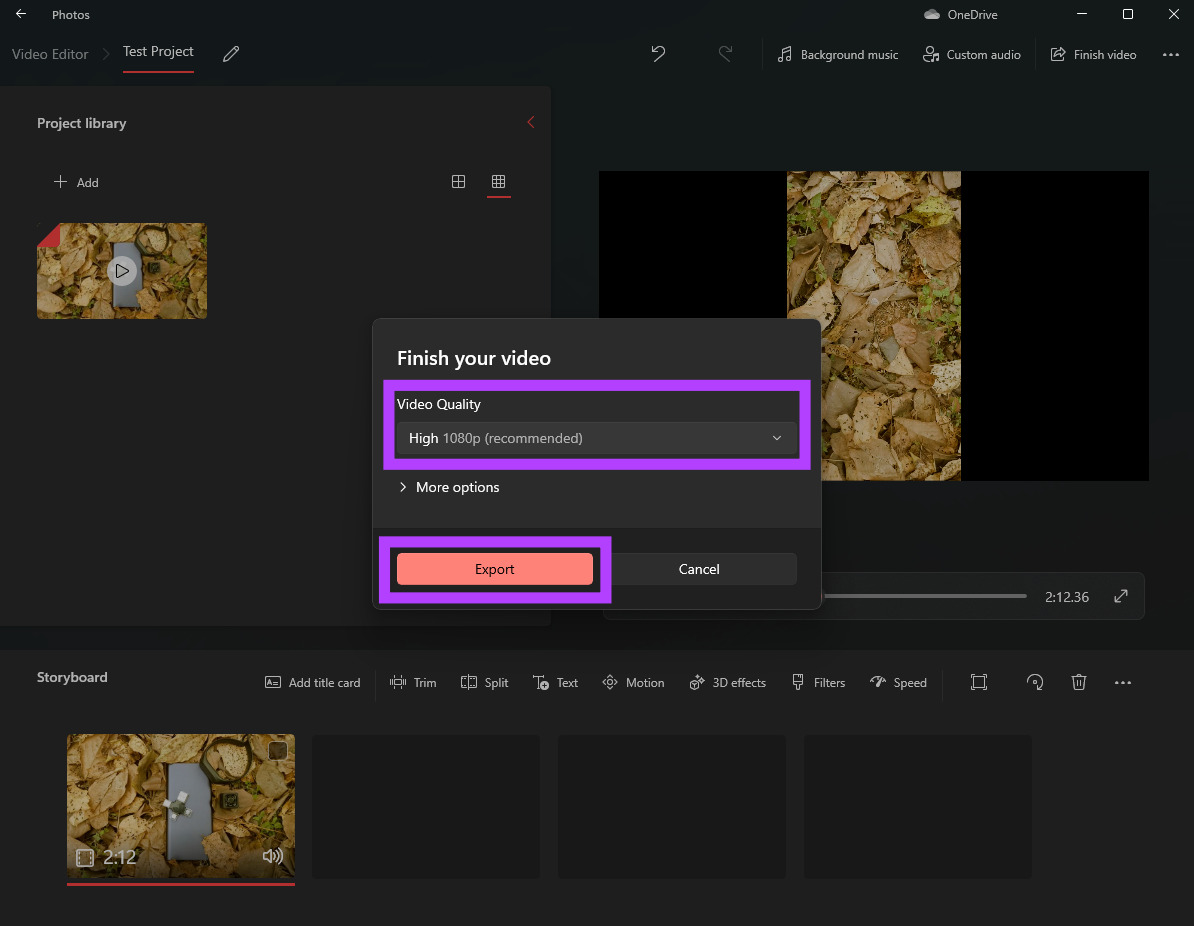
Step 13: Select the Video quality as High and click on Export.
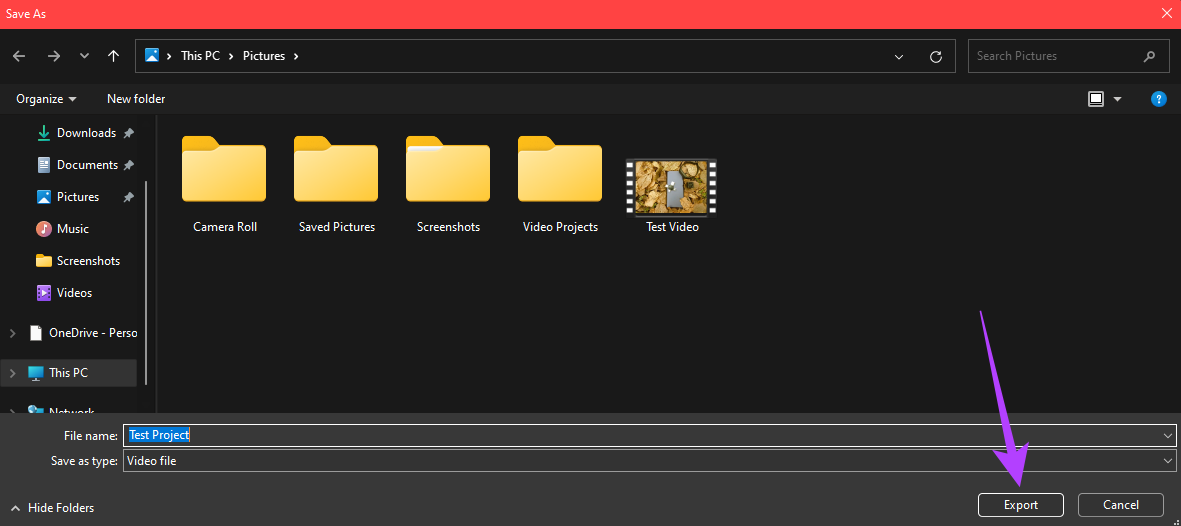
Step 14: Choose the destination where you wish to save the video and select Export.
Wait for the export process to complete. The time taken to export the video will depend on the duration of the video as well as the processing power in your computer.
After the video is exported, you can play it via any media player of your choice and it will play in the saved orientation.
Rotate Videos With a Few Clicks
With Windows 11, Microsoft has thankfully provided a video editor that’s powerful and easy to use at the same time. You can use it to make several edits to your videos without breaking your head about confusing options and a multitude of complex tools. The above article may contain affiliate links which help support Guiding Tech. However, it does not affect our editorial integrity. The content remains unbiased and authentic.