When you ask someone to come on FaceTime, this can be an issue, but that person is occupied with something else. This post will show you the steps to schedule a FaceTime call on your iPhone, iPad, and Mac to avoid such scenarios.
How to Schedule FaceTime Calls on iPhone and iPad
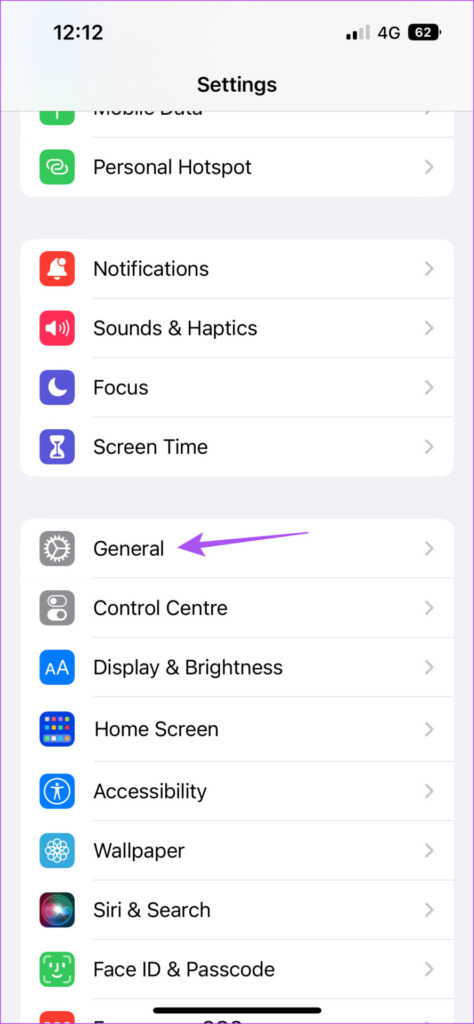
First, let’s show you how to schedule a FaceTime call with your friends and family on your iPhone and iPad. You’ll need to use the Calendar app to create an event that includes the FaceTime call. The steps remain the same for both iPhone and iPad users. Before that, we suggest installing the latest software version on your iPhone or iPad. Step 1: Open the Settings app on your iPhone or iPad.
Step 2: Tap on General.
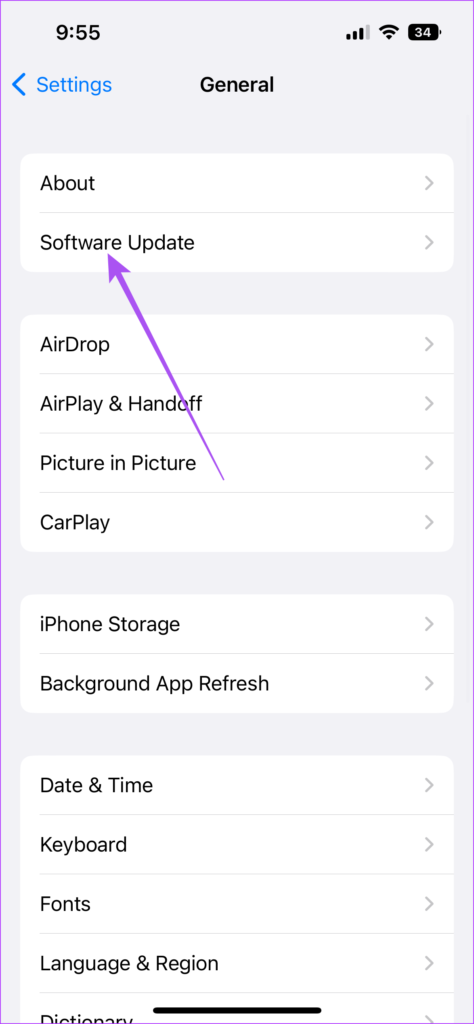
Step 3: Tap on Software Update.
Step 4: If an update is available, download and install it. After that, here’s how to schedule your FaceTime calls. Step 1: Open the Calendar app on your iPhone or iPad.
Step 2: Tap the Plus icon at the top-right corner to create a new event.
Step 3: Give a title to your new event. Step 4: Tap on Location or Video Call.
Step 5: Select FaceTime.
Step 6: Select the Date and Time for scheduling the FaceTime call.
If you use multiple email accounts, tap on Calendar and select your email calendar to schedule the call.
After you select the calendar, you can send invites to your contacts.
Step 7: After selecting all the details, tap on Add at the top-right corner to schedule your FaceTime call.
Your FaceTime call will be visible in the Calendar app on your selected date. Just tap on it and select Join.
Edit or Delete Scheduled FaceTime Calls on iPhone or iPad
Here’s how to edit or delete a scheduled FaceTime call on your iPhone or iPad. The steps remain the same for both platforms. Step 1: Open the Calendar app on your iPhone or iPad.
Step 2: Tap on your scheduled FaceTime call banner. Step 3: To change the date, time, or any other particulars, tap on Edit.
To delete the scheduled FaceTime call, tap on Delete at the bottom. Then tap on Delete again to confirm.
How to Schedule FaceTime Calls on Mac
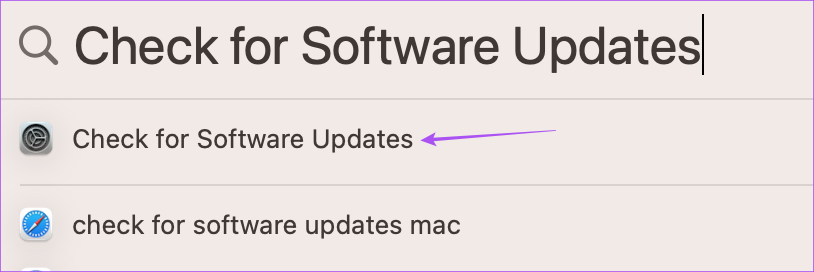
If you rely mostly on your MacBook or iMac to attend FaceTime calls, here’s how to schedule one using the Calendar app. Once again, we suggest installing the latest version of macOS. Step 1: Press Command + Spacebar shortcut to open Spotlight Search, type Check For Software Updates, and press Return.
Step 2: If an update is available, download and install it. After that, here’s how to schedule a FaceTime call on your Mac. Step 1: Press Command + Spacebar shortcut to open Spotlight Search, type Calendar, and press Return.
Step 2: Click the Plus icon at the top-left corner.
Step 3: Add the name of your scheduled event.
Step 4: Click the event banner that appears at the top-left corner.
Step 5: Click on Add Location or Video.
Step 6: Select FaceTime as the video call app.
Step 7: Add other details like Date, Time, and Invites. Your FaceTime call has been scheduled. Just double-click on the banner and hit Join to start the FaceTime call.
Edit or Delete Scheduled FaceTime Calls on Mac
Here’s how to edit or delete a scheduled FaceTime call on your Mac. Step 1: Press Command + Spacebar shortcut to open Spotlight Search, type Calendar, and press Return.
Step 2: Right-click on the banner of your scheduled FaceTime call. Step 3: Click on Delete.
To edit your FaceTime call details, double-click on the banner and click on Edit.
Be On Time
Scheduling a FaceTime call in advance will make your contact remember to join the call and connect with you. And it is not necessary that your contact needs an Apple device to use FaceTime. Android or Windows users can also use FaceTime to connect with friends. All the features of FaceTime will work the same way on Android and Windows as well. The above article may contain affiliate links which help support Guiding Tech. However, it does not affect our editorial integrity. The content remains unbiased and authentic.


