In Word, Tab stops are often used to create evenly-spaced text. That’s neater opposed to hitting the space bar multiple times to separate text to create the space between words or figures. So instead of hitting the spacebar several times, the tab stops can do the same. Here’s how to set a tab stop in your Microsoft Word document.
How to Create a Tab Stop Using the Microsoft Word Ruler
The Microsoft Word ruler has several uses, including helping in the creation of a tab stop. Here’s how it works: Step 1: Click the Start button and type word to search for the app.
Step 2: From the results, click on the Microsoft Word app or document to open it.
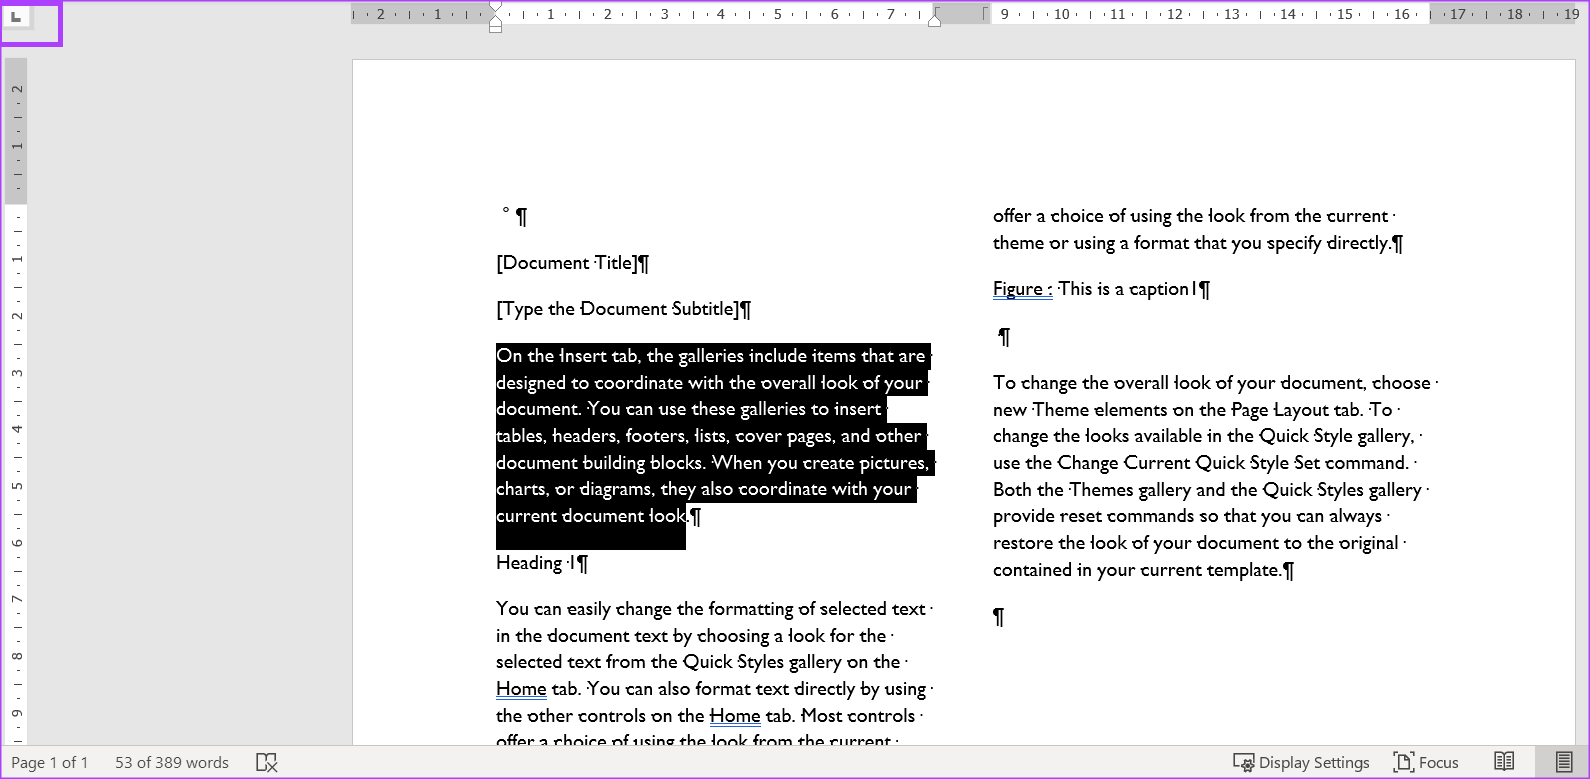
Step 3: On the Home tab, click on the Show/Hide ¶ button. Clicking on the ¶ button ensures you can view the paragraph marks and hidden formats in your Word document.
When you see a dot (·), it represents a space, while a pilcrow (¶) represents a paragraph, and every arrow (→) is a tab. Step 4: On the Microsoft Ribbon, click the View tab.
Step 5: Within the Show group, tick the box beside Ruler to launch the Microsoft Word ruler.
Step 6: On the Word document, select the text you want to align.
Step 7: At the left of the Microsoft Word document, click the icon (which looks like a block L) at the start of the ruler to select the type of tab stop you want. The different tab stop options include:
– Aligns text to the left side of the tab stop – Aligns text such that it is centered under the tab stop – Aligns text to the right side of the tab stop – Aligns text with decimal points such that text before the decimal point extends to the left while text after the decimal point extends to the right – A vertical line is shown on the tab – Indents the first line of a paragraph – Indents all lines of the paragraph except the first.
Step 8: After selecting your preferred tab stop, click on the ruler at the top of your Word canvas and place the tab stop.
How to Create a Tab Stop Using the Paragraph Dialog Box Launcher
You can also use the Paragraph dialog box launcher to create a tab stop. This lets you create multiple tab stops. Here’s how it works. Step 1: In an open Word document, click the Home tab on the Microsoft Ribbon at the top of the screen.
Step 2: On the Home tab, click the dialog box launcher at the bottom-right corner of the Paragraph group.
Step 3: At the bottom-left corner of the Paragraph dialog box, click the Tabs button.
Step 4: In the text box beneath Default tab stops, you will see the current default position for your tab stops. In the text box under Tab stop position, type an updated tab stop position.
Step 5: Under the Alignment section, select the type of tab stop position you want.
Step 6: Under the Leader section, you can choose to have a series of lines, dots, or dashes accompany every tab stop. This is similar to what you see in a table of contents.
Step 7: Click the Set button to add your new tab stop. You can repeat the steps to add more tab stops.
Step 8: Click the OK button to close the dialog box after creating your tab stops.
How to Remove a Tab Stop Using the Paragraph Dialog Box Launcher
You can remove the tab stops on your Word document using the Paragraph dialog box launcher. Here’s how to do so: Step 1: Open a Word document, and click the Home tab on the Microsoft Ribbon at the top.
Step 2: On the Home tab, click the dialog box launcher at the bottom-right corner of the Paragraph group.
Step 3: At the bottom of the Paragraph dialog box, click the Tabs button.
Step 4: In the text box under the Tab stop position, you will see all your tab stops. If you would like to delete just one tab stop, click the tab stop position.
Step 5: At the bottom of the dialog box, click the Clear button if you are deleting just one tab stop. If you would like to delete all tab stops, click the Clear All button.
Step 6: Click the OK button to close the dialog box after removing your tab stops.
Tracking Changes in Microsoft Word
As you make edits to your Word document, keep track of them. That’ll make things easy if you want to undo a change or identify when a change was made. The track changes feature on Microsoft Word should help with that. The above article may contain affiliate links which help support Guiding Tech. However, it does not affect our editorial integrity. The content remains unbiased and authentic.