Errors in your drive, pending system updates, issues with system files, or simply an issue with a OneDrive setting can be tentatively considered as the reason why OneDrive keeps deleting files from your Desktop. And so, in this article, we will first have a look at how you can recover the deleted OneDrive folders and files followed by how to stop OneDrive from deleting files automatically on Windows 11. Let’s get started.
Recover Deleted Photos or Any Other Files on OneDrive
Before getting to fix automatically deleting photos on OneDrive, we will have a quick look at how we can restore the deleted items OneDrive items on Windows 11 first.
1. Restore From Recycle Bin
If OneDrive has been moving files to recycle bin by itself, you can use that folder to recover items on Windows. Here’s how. On Windows Desktop: Step 1: Go to Search and type Recycle Bin. Then, open the app from the search results. Step 2: Here, to restore specific files or photos, go to the target file and right-click on it. Step 3: Click on Restore. Step 4: Additionally, to restore all bin files at once, click on the three-dot icon. Step 5: Here, click on ‘Restore all items’. This will instantly restore the files to their previous folders. On Web Browser: Step 1: Open OneDrive on any web browser. Open OneDrive Step 2: Here, go to the menu options and click on Recycle bin. Step 3: Then, if you want to restore specific files or photos, select them from the options and click on Restore. Step 4: If you wish to restore all the files currently present in the Recycle bin, click on ‘Restore all items’. All the deleted files will now be restored to OneDrive. Then, you can unlink and relink your OneDrive account to ensure all the recently restored files are available on your desktop as well. Here’s how.
Re-Link OneDrive
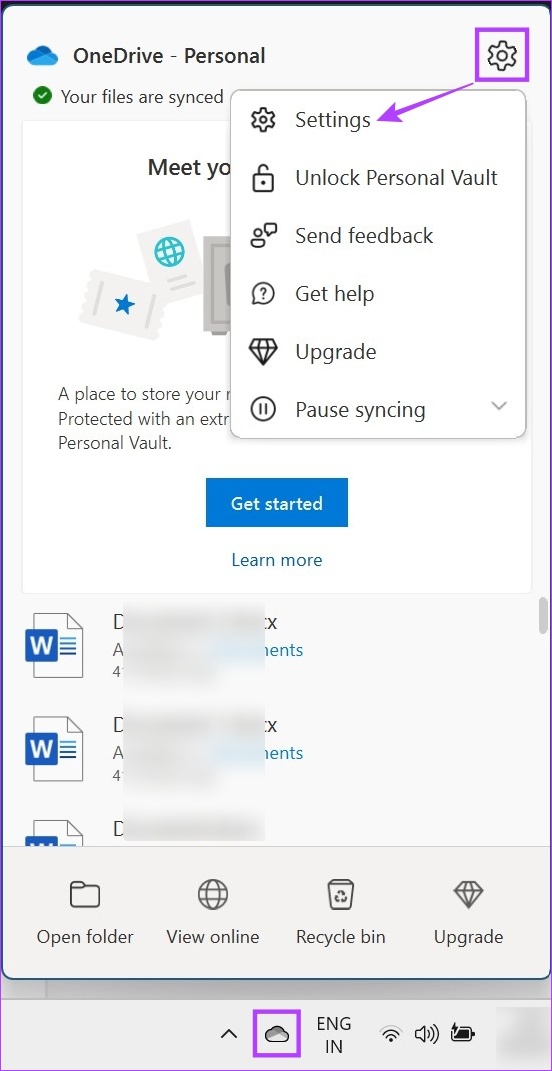
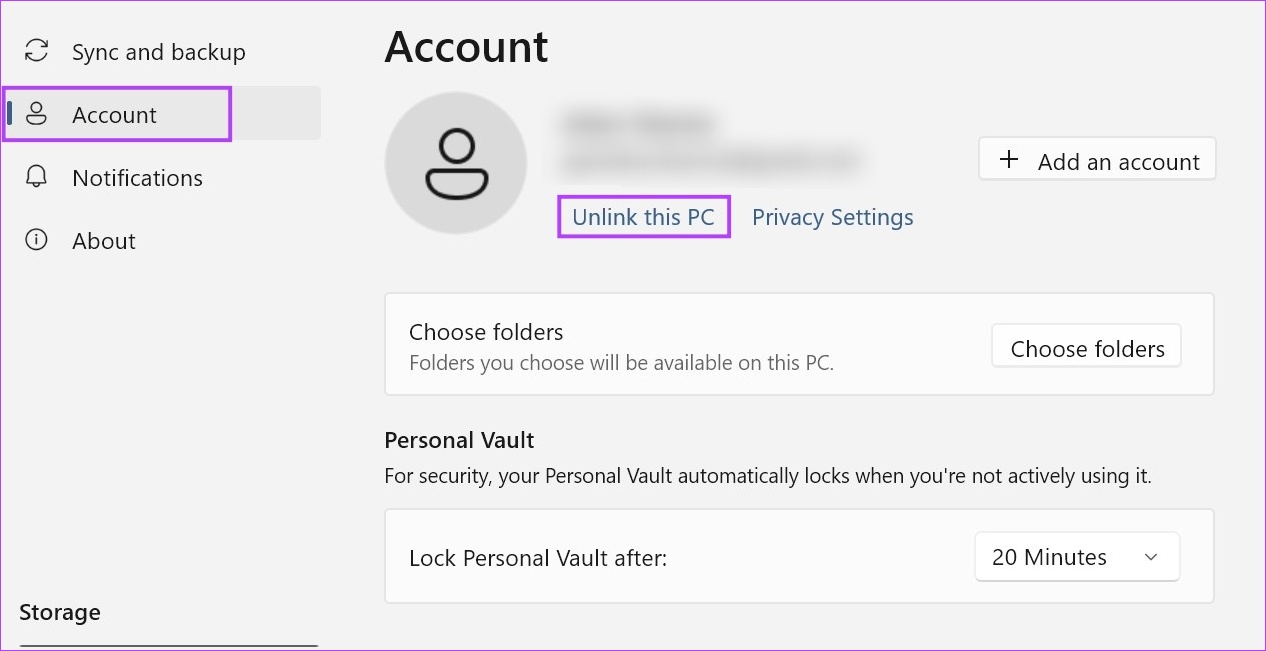
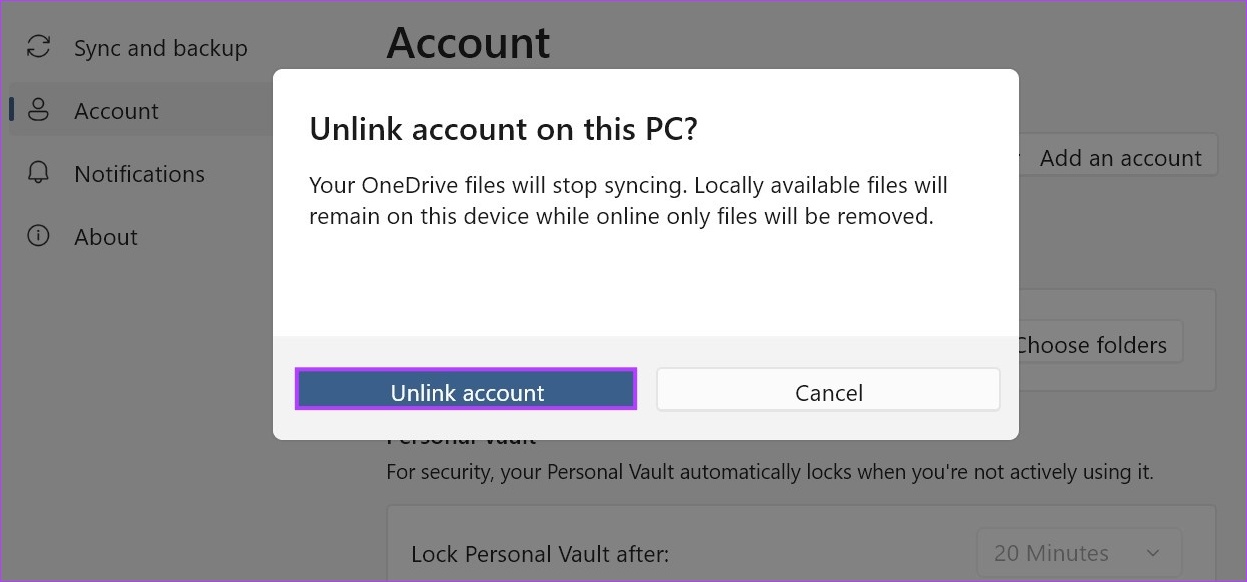
Step 1: Go to the Windows Taskbar. Step 2: Here, click on the OneDrive icon. Step 3: Click on the cogwheel icon. Step 4: Then, select Settings. Step 5: From the menu options, click on Account. Then, click on ‘Unlink this PC’. Step 6: Here, click on Unlink account. Step 7: Restart OneDrive and enter your registered email ID. Step 8: Click on Sign in. Step 9: Here, enter the Microsoft account password and click on Sign in. Once you finish signing in, check OneDrive to see if any files are missing. You can proceed to restore OneDrive to a previous date if certain files are still not available.
2. Restore OneDrive to a Previous Date
OneDrive allows its users to restore the drive to a previous date going back 30 days. Once you make the selection, you will be able to restore deleted photos or any other files on OneDrive during that time. Use this option if you’re looking to restore items in bulk on OneDrive. Here’s how to do it. Note: This feature is only available for users with a valid Microsoft 365 subscription. Step 1: Open OneDrive on any web browser. Step 2: Then, click on the cogwheel icon. Step 3: Here, click on Options. Step 4: From the menu options, click on ‘Restore your OneDrive’. Then, select the date you want to restore OneDrive to and click on Restore. Once this is done, check if the deleted files have been recovered to OneDrive.
Stop OneDrive From Moving Files to Recycle Bin By Itself
Now that you have recovered your deleted files from OneDrive, it is time to have a look at all the ways you can use to stop OneDrive from deleting files automatically. Here’s how.
1. Turning off Storage Sense on Windows
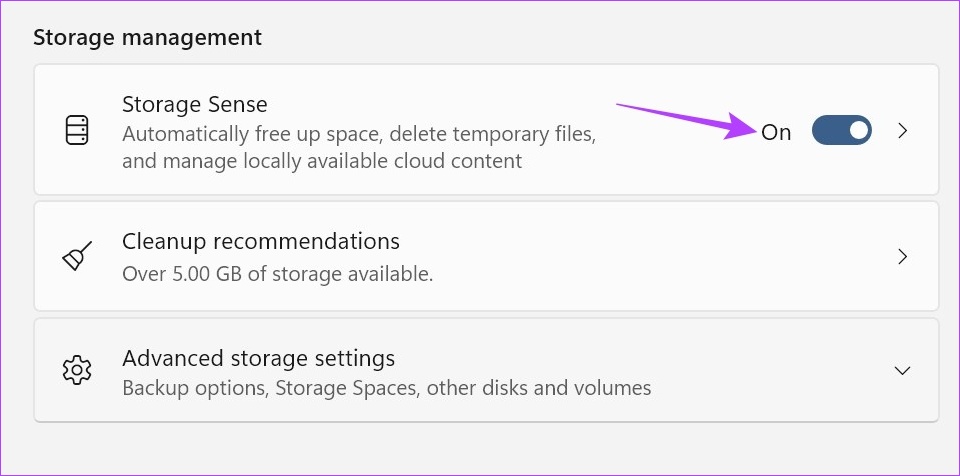
Just like its name suggests, the Windows Storage Sense keeps track of the storage space available on your device at all times. And once this space runs low, it might start deleting temporary files and other cloud storage content automatically. This can also be one of the reasons why OneDrive keeps deleting files from your desktop. To stop this from happening, you can turn off Storage Sense on Windows. Here’s how. Step 1: Use the Windows + I key to open Settings. Step 2: Here, from the menu options, click on System. Step 3: Then, scroll down and click on Storage. Step 4: Turn off the toggle for Storage Sense. This will stop files and photos from being randomly deleted on your Windows 11 device to conserve space.
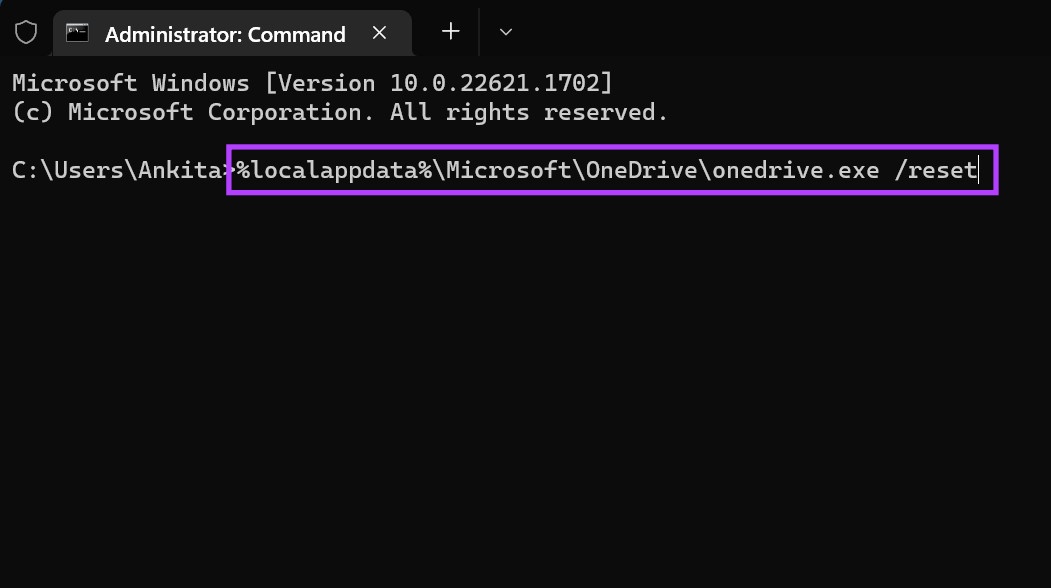
2. Use Command Prompt to Reset OneDrive
If OneDrive is automatically deleting files due to a setting or error, resetting the OneDrive app might help fix it. It can also help fix other issues occurring due to a corrupted cache or bad update. Follow the below steps to reset OneDrive using Command Prompt. Step 1: Right-click on Start and click on Terminal (Admin). Step 2: If permission is asked, click on Yes. Step 3: Here, click on the arrow icon and select Command Prompt. Step 4: Then, enter the following command and press enter. Wait for OneDrive to reset. Then, open OneDrive and observe if any more files are missing.
3. Re-Install OneDrive
If OneDrive still keeps deleting files from your desktop, try uninstalling and reinstalling the OneDrive app. This will help you get rid of any unwanted settings or features that might be causing issues and install a fresh copy of the app. Follow the below steps to do it. Note: Before re-installing OneDrive, ensure to restore your deleted files (check the steps for the same in the later section of this article). Step 1: Click on Search and type Add or remove programs. Open the app from the search results. Step 2: From this list, locate Microsoft OneDrive and click on the three-dot icon. Step 3: Click on Uninstall. Step 4: Here, click on Uninstall again to confirm. This will uninstall the OneDrive app from your device. Once this is done, open any web browser and follow the below steps to reinstall the app. Step 5: Open OneDrive in Microsoft Store. Get OneDrive Step 6: Then, click on ‘Get in Store app’. Step 7: Here, click on Get. This will reinstall the OneDrive app on your Windows 11 device. Then, keep checking to see if OneDrive moving files to recycle bin by itself. If the issue is still not resolved, move on to the next fix.
4. Check for Windows Update
Windows usually keep your system updated automatically. But on the off chance the Windows updates are turned off, or an error occurred during Windows update, your device might be out of date. This might also lead to issues like OneDrive moving files to recycle bin by itself. To fix this, you can check for updates manually. Here’s how. Step 1: Go to Search and type Windows Update. Click on the app to open. Step 2: Click on ‘Check for updates’. Once the update finishes downloading, restart Windows to install the update. However, if an update is not available, you can also check for additional updates to see if any other system apps or features have pending updates. Here’s how. Step 3: On the updates page, click on Advanced options. Step 4: Scroll down and click on Optional updates. Follow the on-screen instructions to install any updates available. This should help fix the issue of OneDrive deleting files automatically from your PC.
Recover Deleted OneDrive Files
Disappearing files on OneDrive is always a source of concern. So, we hope that this article helped you to stop OneDrive from deleting files automatically on Windows 11. You can also check our guide if you’ve been seeing OneDrive error 0x80070194 and can’t access your documents on Windows 11. The above article may contain affiliate links which help support Guiding Tech. However, it does not affect our editorial integrity. The content remains unbiased and authentic.