Fortunately, like most network issues, you can quickly troubleshoot this error. Here’s are some effective fixes to troubleshoot the ‘default gateway is not available’ error in Windows 11.
1. Disable and Enable the Network Adapter
If your system cannot connect to the default gateway, your can disable network adapter and then re-enable it. Doing this will eliminate any temporary bug or glitch in the network adapter that might be causing the error. You can disable and enable the network adapter by following the below instructions: Step 1: Press the Windows key to open the Start Menu. Step 2: Type Control Panel in the search bar and press Enter. Step 3: Click the ‘Network and Internet’ option. Step 4: Click on ‘Network and Sharing Center.’ Step 5: Choose the ‘Change adapter settings’ option from the left sidebar. Step 6: Right-click on Wi-Fi if you’re using Wi-Fi or Ethernet if connected via an Ethernet, and choose Disable. Step 7: Wait for a few seconds, then right-click on your network adapter again and choose Enable. After that, check if the problem continues. If yes, try the next solution.
2. Reset TCP/IP
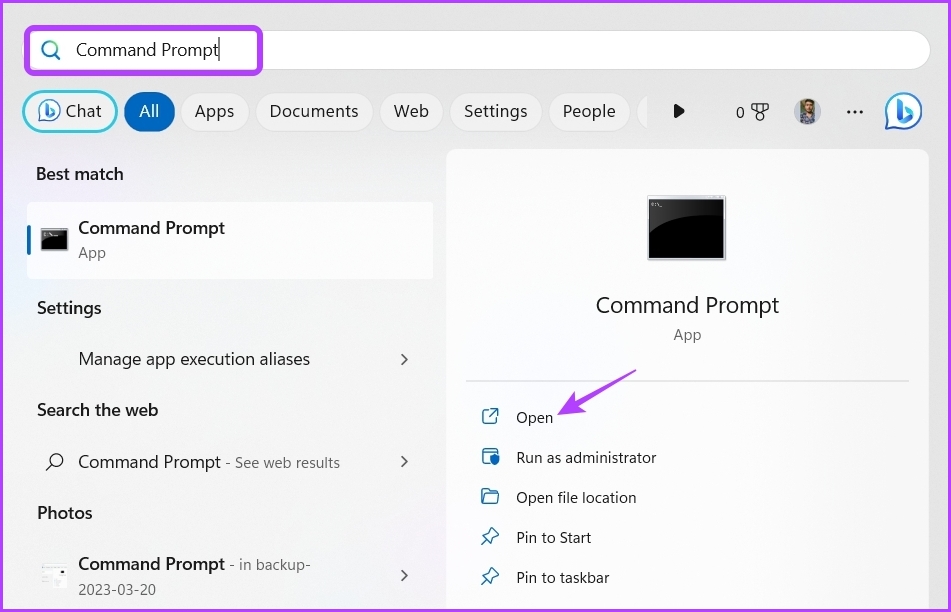
The TCP/IP stack is a collection of communication protocols that allows data transmission and network connectivity over the internet. However, the stack can get corrupt due to custom configurations or temporary settings, or even a third-party software that messes with those settings. You can reset the TCP/IP stack that means your computer will get a new IP address and DNS settings. To do that, follow these steps: Step 1: Open the Start Menu, type Command Prompt in the search bar, and choose Run as administrator from the right pane. Step 2: In the elevated Command Prompt window, type the following command and press Enter. After that, you’ll see the ‘Restart the computer to complete this action’ message. So restart your computer to apply the changes and let it get a fresh IP address and other network details.
3. Configure Power Saving Mode
Another reason you see the ‘default is not available’ error is when your laptop’s power saving mode kicks in. If you’re using a power-saving plan, Windows will automatically put the wireless network adapter to sleep if not in use for a long time. Windows does that to save on power. To stop that from happening, you’ll have to switch to the maximum performance mode. Here’s how to do that: Step 1: Open the Start Menu, type Edit power plan in the search bar, and choose Open from the right pane. Step 2: Click the ‘Change advanced power settings’ option. Step 3: Double-click on the ‘Wireless Adapter Settings.’ Step 4: Double-click on the ‘Power Saving Mode.’ Step 5: Select On battery, click the drop-down icon next to it, and choose Maximum Performance. Step 6: Select Plugged in, click the drop-down icon next to it, and choose Maximum Performance. Step 7: Click Apply and OK buttons to save the changes. Next, restart your computer and check for the issue.
4. Disable the Third-Party Security Program
The web safety feature of your third-party antivirus program can interfere with your network and cause the error at hand. This is especially the case with the McAfee antivirus program. To confirm that, disable the third-party antivirus and check if you still face the error. You can disable a third-party security program by right-clicking on its icon in the system tray area and choosing Disable from the context menu. Alternatively, you can check the security program user manual to learn more about the disabling process. If disabling the security program worked, you’ll need to tweak its web safety settings to ensure the error doesn’t occur again. The steps may vary depending on the program, so refer to the user manual for precise instructions. However, we recommend uninstalling that security program and relying on the Windows Security app instead. It is enough to tackle offline and online threats and rarely causes network-related issues.
5. Update Network Driver
If you still cannot connect to the default gateway, there’s probably corruption in the network driver that’s causing the issue. You’ll have to download the latest network driver update to fix that. Here’s how to do that: Step 1: Press the Windows + X keyboard shortcut to open the Power User menu. Step 2: Choose Device Manager from the list. Step 3: Double-click on the Network adapters node. Step 4: Right-click on your network adapter and choose Update driver. Step 5: Choose ‘Search automatically for drivers.’ Windows will look for network driver updates and downloads that. After that, restart your computer.
Enjoy Seamless Connectivity
Windows’s ‘default gateway is not available’ error is very frustrating and can cut you from the internet. Fortunately, it’s a cakewalk to troubleshoot this issue. Simply apply the above fixes to eliminate the error. The above article may contain affiliate links which help support Guiding Tech. However, it does not affect our editorial integrity. The content remains unbiased and authentic.