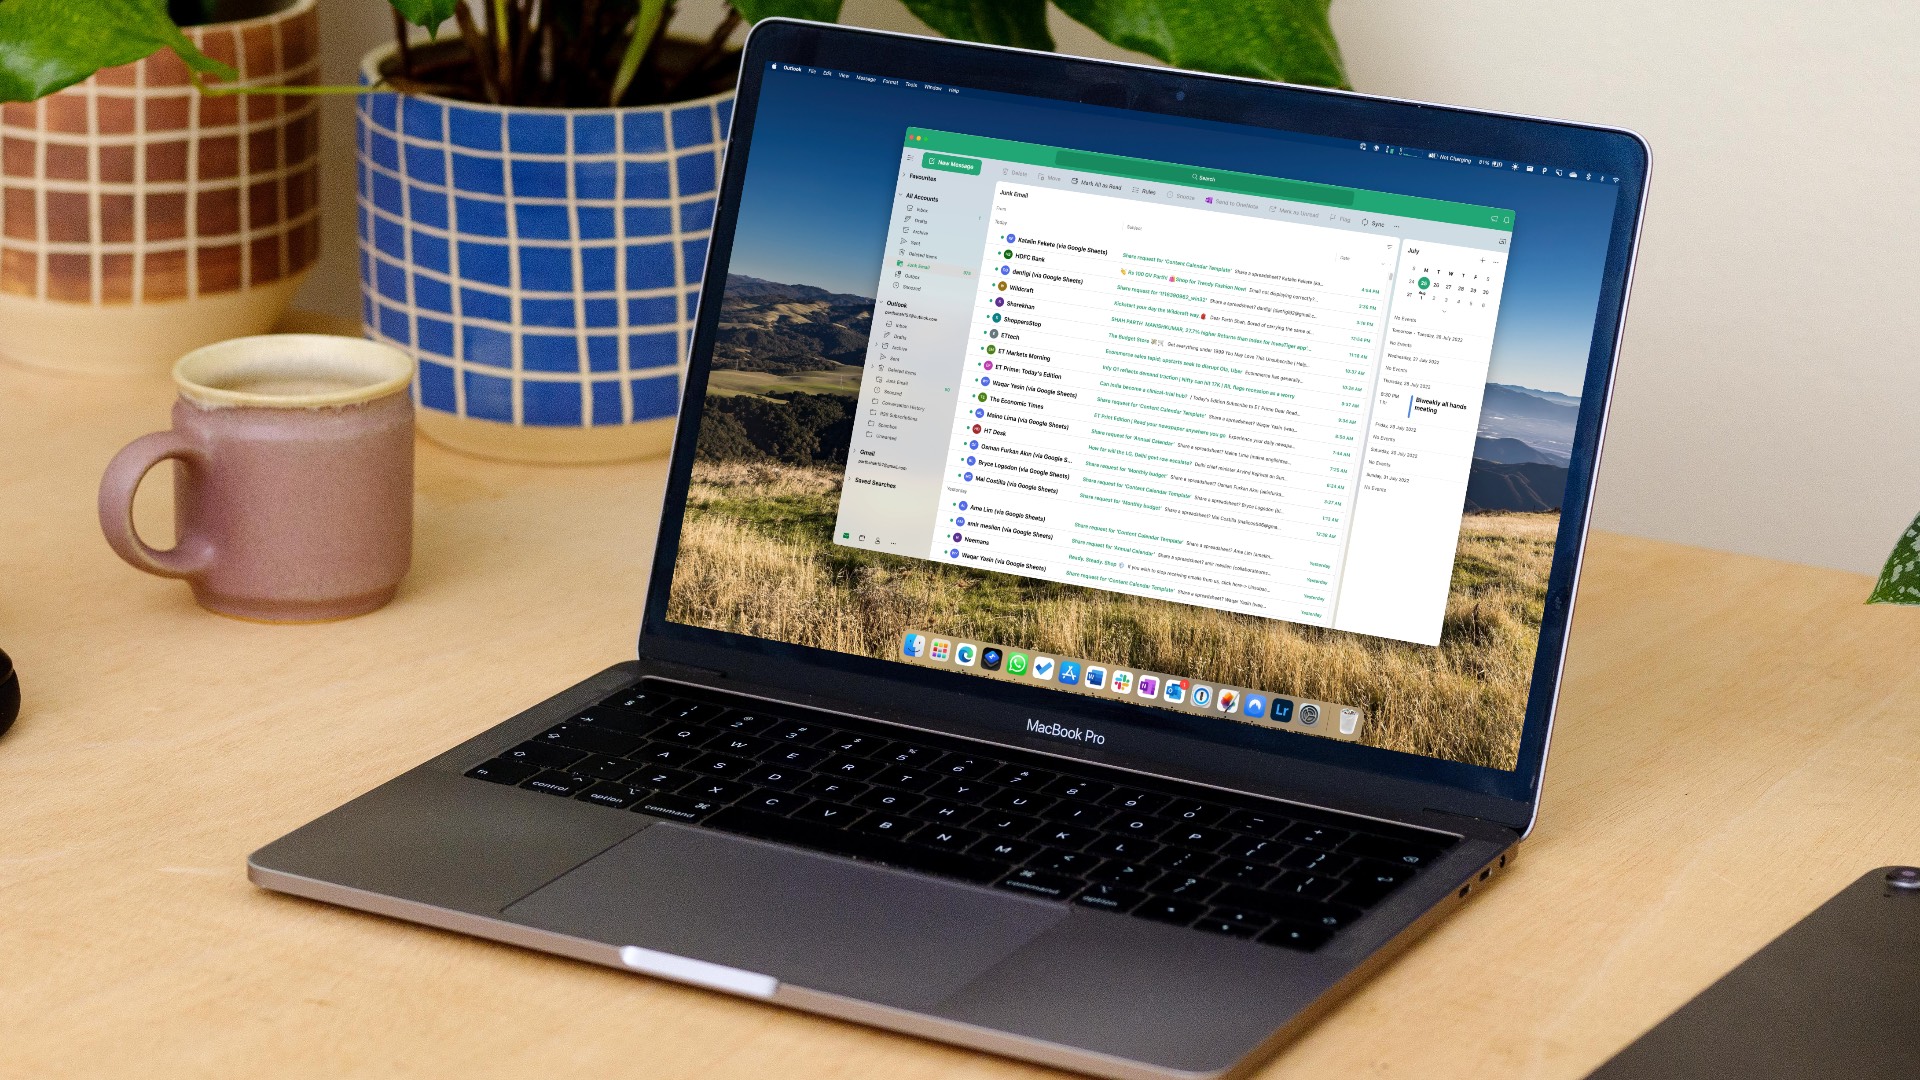
Microsoft is readying a new Outlook experience on Windows and Mac. It’s still developing and might take a while to land on your Mac. You can go through the tips below and get real-time Outlook alerts.
1. Check Outlook Notifications
When you first open the Outlook app on Mac, it will ask you to give notification permission. If you deny it, Outlook can’t send alerts on the Mac. Follow the steps below to enable notifications for Outlook on Mac. Step 1: Click the Apple icon in the top-left corner on the menu bar and open System Preferences.
Step 2: Select ‘Notifications & Focus.’
Step 3: Scroll to Microsoft Outlook and enable Allow Notifications toggle.
You should also select banners alerts style from the same menu. Now, let’s use the Outlook app to enable notification. Step 1: Open Outlook on Mac. Step 2: Select Outlook in the top left corner and open Preferences.
Step 3: Select ‘Notifications & Sounds.’
Step 4: Enable ‘Display an alert on my desktop.’
You can also customize the sounds badge count in the same menu.
2. Keep Outlook Open in the Background
Unlike Outlook mobile apps, the Mac app doesn’t work in the background to send notifications. You must keep the app open in the background or launch it at system startup. Step 1: Open the Mac System Preferences menu (refer to the steps above). Step 2: Select Users & Groups.
Step 3: Slide to Login Items. Step 4: Click + icon to open Finder.
Step 5: Select Applications from the sidebar and find Outlook. Step 6: Hit the Add button.
macOS will automatically launch Outlook during system startup to receive notifications.
3. Disable Focus
Apple has replaced Do Not Disturb on Mac with Focus. When you enable Focus on Mac, the system will pause all notifications and calls to deliver a distract-free working environment. You can either disable Focus or add Outlook as an exception in Focus. Here’s how. Step 1: Open the Notifications & Sound menu in Mac System Preferences (refer to the steps above). Step 2: Select Focus and open a Focus mode that you frequently use. Step 3: Select Apps and hit the + icon.
Step 4: Search for Outlook and add it as an exception.
Now, Outlook will continue to send notifications even when Focus is on.
4. Add an Email Account Again
Due to an account authentication error, you might stop getting notifications in Outlook. You must remove the account and add it again. Step 1: Open Outlook Preferences (check the steps above). Step 2: Select Accounts.
Step 3: Select an email account that’s troubling you. Step 4: Hit the ‘–‘ icon and select ‘Sign Out.’
Step 5: Click + icon to add a new account.
Sign in with the same account credentials and sync your email inbox.
5. Check Spambox
Outlook spam filters can be aggressive at times. You should regularly check Outlook’s Junk Email folder to avoid missing important emails. Step 1: Launch Outlook and select the Junk Email folder from the sidebar.
Step 2: If you find an important email from the list, right-click on it. Step 3: Expand Report Junk and select Not Junk.
6. Check Outlook Rules
You might have created Outlook rules to auto-delete specific emails. You should recheck Outlook rules and make the required changes. Step 1: Open Outlook on Mac. Step 2: Select Message in the menu bar.
Step 3: Scroll to ‘Rules’ and open ‘Edit Rules.’ Step 4: Check all the Outlook rules and select the delete icon to remove it.
7. Update Outlook
An outdated Outlook build might leave you with notification issues on Mac. You must install the latest Outlook update from the Mac App Store. Launch the App Store and select ‘Updates’ from the side menu to find and install pending app updates.
Get Important Emails on Time
If none of the tricks are working for you, switch to Outlook web for the time being. You can also consider the default Mail app, which is expected receive new additions like unsend email, schedule email, and a better search function with the macOS Ventura update. The above article may contain affiliate links which help support Guiding Tech. However, it does not affect our editorial integrity. The content remains unbiased and authentic.


