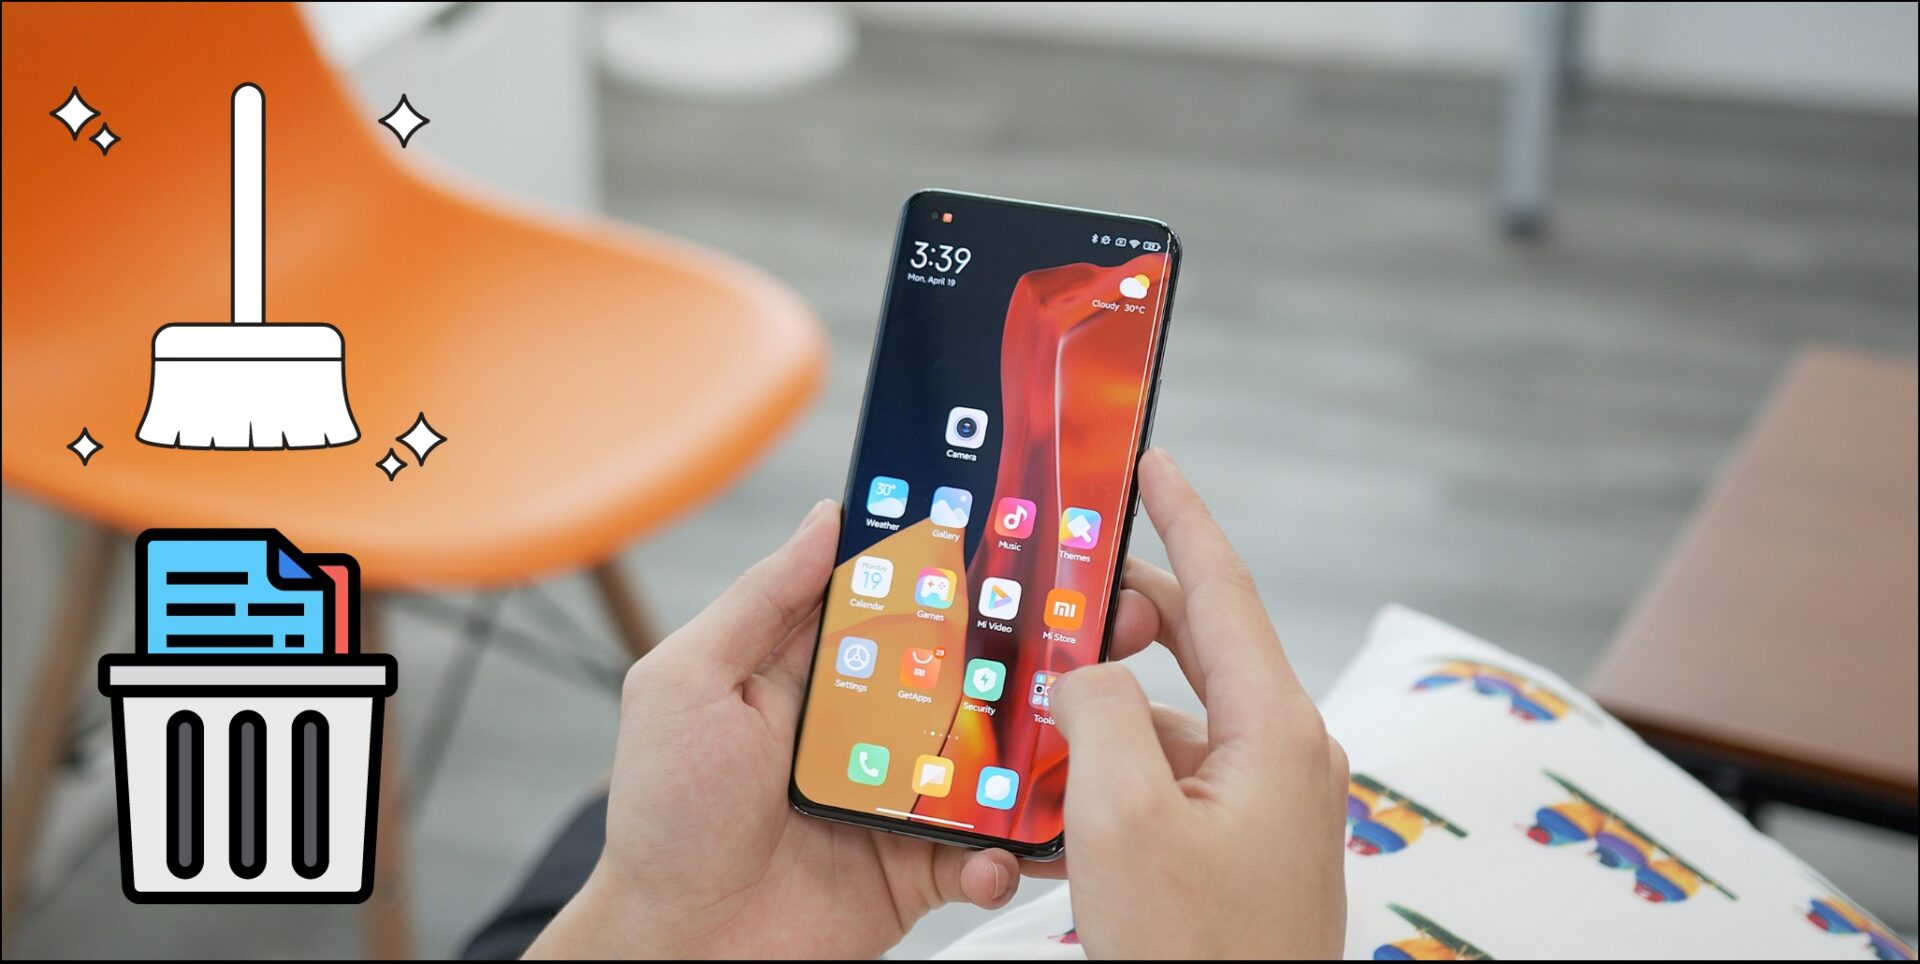
If you are crunched for storage space or just want to clean things up a little, then there are a host of ways to accomplish that. Let’s start off with major iOS 12 storage management implementations such as app offloading, and then continue to nifty tips and tricks that can help you squeeze out that last megabyte of storage, should the need be.
1. Manually Offload Apps
App offloading was first implemented in iOS 11 and later made its way to iOS 12. It’s a feature that’s very useful when it comes to managing storage space. Rather than deleting an app outright, you can ‘offload’ an app instead. Doing that keeps any related documents and data intact. This provides the added convenience of downloading the app anytime in the future as if nothing happened. By default, iOS 12 takes it upon itself to automatically offload apps that lay unused for a while — say, 30 days, though it could be quicker if you are pretty close to running out of storage. But rather than waiting for the operating system to do the job, you can choose to do it yourself. Step 1: Open the Settings app. Next, tap General, and then tap the option labeled iPhone/iPad Storage. Step 2: Wait for a brief moment while all installed apps are detected and shown on the screen. Tap on an app that you want to offload. Step 3: Tap Offload App on the following screen, and then tap Offload App again when prompted for confirmation. Step 4: The app icon should still be present on the Home screen. Whenever you need to re-download it, just tap the icon and the download should start automatically. Pretty cool, right?
2. High Efficiency Photos and Videos
iPhone 7 and up, as well as 6th generation iPads and newer models, use the HEIF (.HEIC) format to capture images. Unlike the traditional JPEG format, HEIF only requires around half the usual file size, yet what’s astounding is the negligible loss of image quality. Same goes for videos, where supported iPhones and iPads can shoot them in the HEVC format, thus using significantly lesser storage space. Both formats are the standard default on iOS 12, but it’s always better to check if that’s the case. For example, you may have configured the Camera app to take photos and videos using the older JPEG/H.264 format due to compatibility issues with other devices. Start off by tapping Camera within the Settings app. Next, tap the option labeled Formats. If the option is set to Most Compatible, tap High Efficiency instead. That’s it. This isn’t technically ‘freeing up’ space, but should help you out in the longer term due to photos and videos utilizing less space on your device.
3. Optimize iPhone/iPad Storage
Shooting a ton of photos and videos regularly? Even with the high efficiency media formats mentioned earlier, crazy high resolutions can eat up storage pretty quickly. If you have iCloud Photos turned on to back up your media library to iCloud, you can then configure your iPhone or iPad to only keep lower-resolution copies of images and videos locally — you can download the originals directly from iCloud later on if needed. On the Settings app, tap Photos. Make sure that iCloud Photos is turned on. Underneath, tap the option labeled Optimize iPhone/iPad Storage. iOS should now automatically replace high-definition copies with lower-resolution images and videos as needed when storage space on your device starts to run low.
4. Half App to Reduce Image Size
Do you have a device that doesn’t support high efficiency image encoding? Or do you have a lot of images shot in the older JPEG or PNG formats? If you don’t like optimizing your device’s storage with lower-resolution copies but really want to free up some storage, then use the Half – Cut Media Storage in ½ app to scrounge up some megabytes instead. Download Half – Cut Media Storage in ½ After installing the Half app via the App Store, provide the permissions required to access your photos when requested — the app should then feature your entire photo library akin to the native Photos app. Select an image, and then tap Half It, which should prompt the app to analyze the photo for potential space savings. That done, simply tap the option to replace the original with a smaller-sized version, and the app should do that immediately. You’d be pretty amazed at how much space you can potentially save for certain images — as high as 90% in some cases. And since it uses the HEIF format to re-encode your images, there should be a minimal loss in quality. However, the app only lets you reduce image size on an individual basis, which can be annoying. While you can pay ($2.99) to unlock the ability to convert in batches, a couple of minutes with the app should still net you a sizable amount of free space if you need some in a hurry.
5. Use Google Photos
Google Photos is a phenomenal offering from Google that lets you back up an unlimited amount of photos to the cloud. While there are certain restrictions on the quality of your images and videos (16MP and 1080p max respectively), it offers a nifty alternative to iCloud’s paid cloud storage plans. And to top things up, it’s available on pretty much all platforms, which is just icing on the cake! Download Google Photos What’s best about Google Photos is that you can immediately remove backed up images from your iOS device, which translates into photos and videos being a non-factor in terms of storage in the future. After downloading and installing Google Photos from the App Store, open it, and then sign in with a Google Account. Your Photos should start to back up automatically. During the backup procedure, simply tap the Free Up Space option displayed to the top of the screen periodically. That should prompt the app to find and delete locally stored photos that are already backed up. You can always access backed up photos via Google Photos at any time, provided that you are connected online.
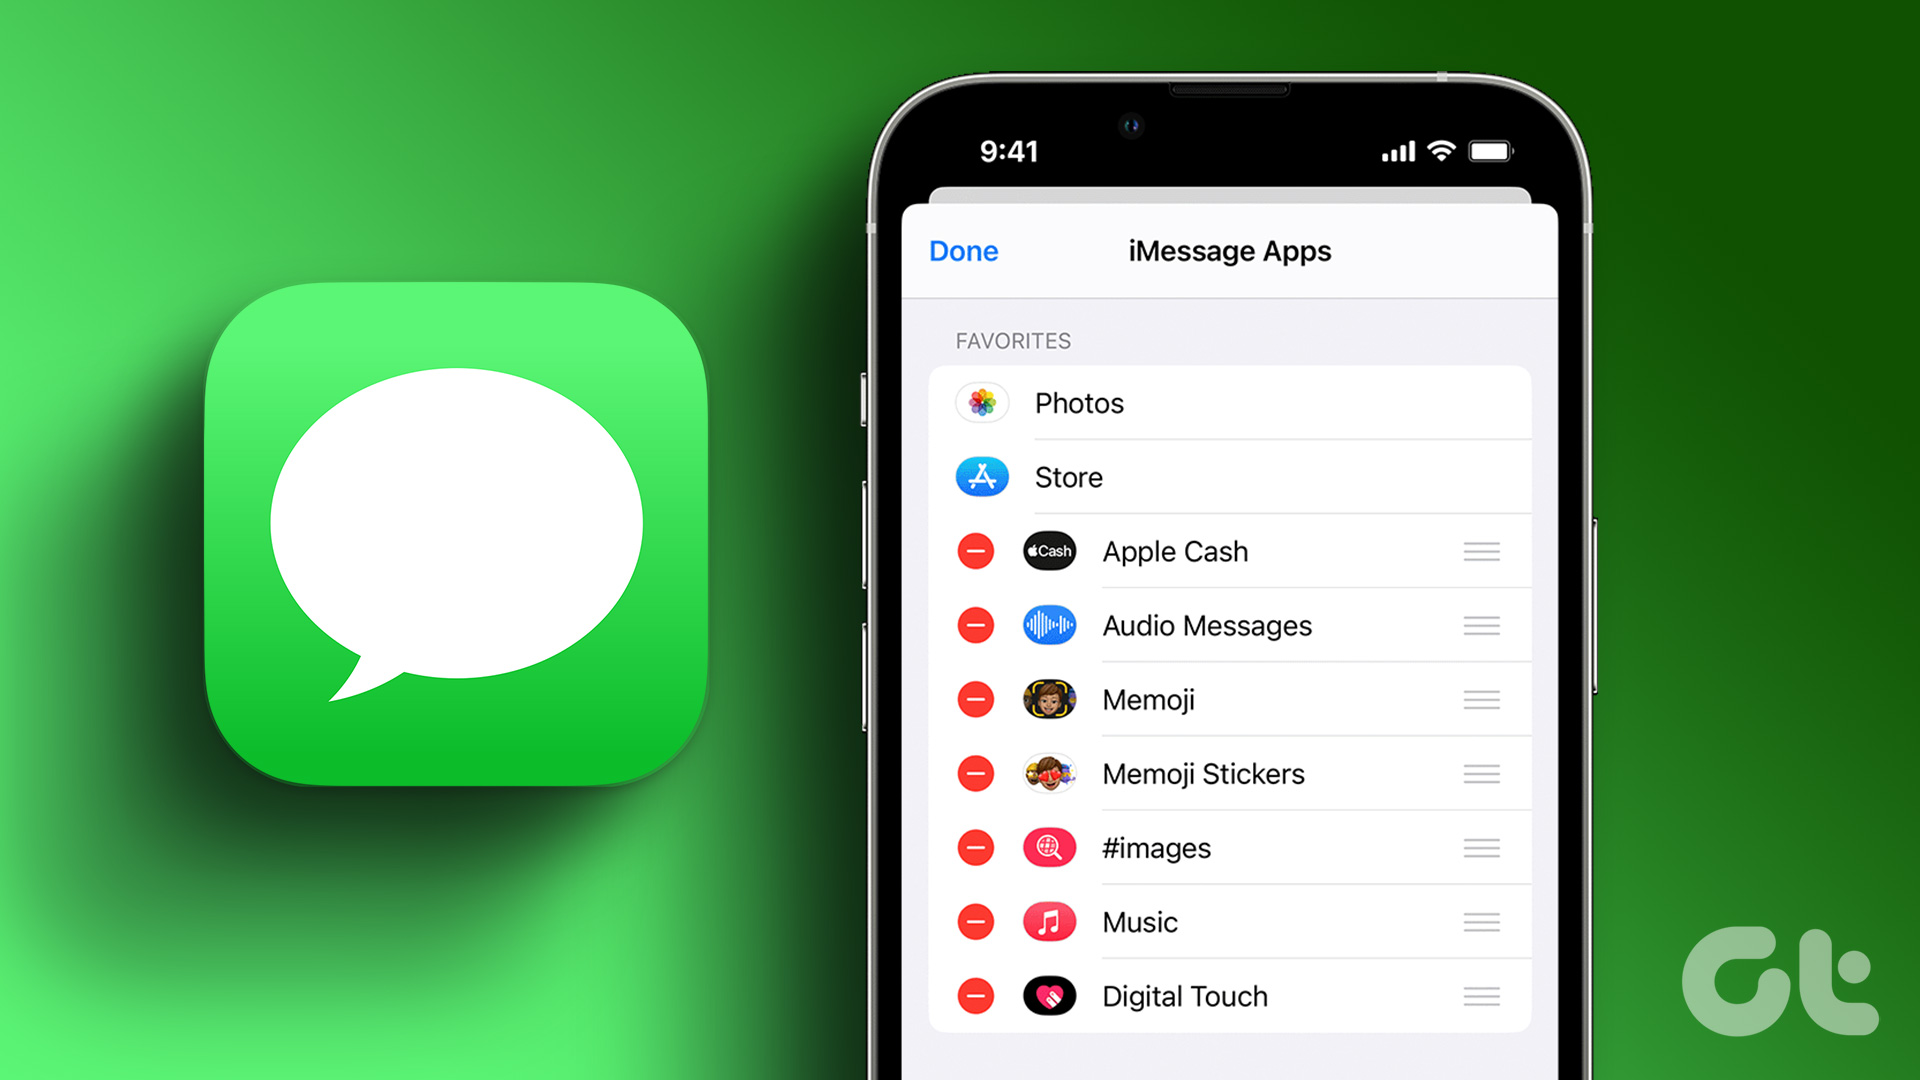
6. Set iMessage Expiration Time
Using the Messages app a lot? If yes, then photos, videos, GIFs, and stickers on your iMessages end up taking up a ton of storage — well into multiple gigabytes. And to make things even worse, iOS tends to keep all of your conversations around forever. If you don’t care much about your old messages and associated media, you can specify how long your iOS device should keep them stored before initiating an automatic purge. Step 1: In the Settings app, tap Messages. On the subsequent screen, tap Keep Messages under Message History. Step 2: The default setting should be set to Forever. Tap either 30 Days or 1 Year as desired. Step 3: Tap Delete on the confirmation pop-up box. All messages and attachments older than the specified date will be deleted immediately.
7. Manage Locally Stored Files
Another feature that was introduced in iOS 11, and subsequently brought forward alongside iOS 12 is the Files app, a one-stop spot for managing all installed cloud storages on your device. In addition, it also lets you handle certain apps that prefer to save copies of documents locally — Microsoft Word, Adobe Acrobat, VLC Player, etc. Open the Files app, tap the On My iPad/iPhone folder, and then tap on the folder of an app to see if you have any unwanted files that you might want to get rid of. Deleting such files has a direct impact on storage space, so make sure to go on a cleaning spree once in a while. You’d be surprised to find the amount of junk that accumulates within these folders over time. Before deleting the files, you can always choose to make copies to any cloud storage location listed within the Files app — after selecting the files, use the Move option to do that.
8. Lite Apps/Progressive Web Apps
Lite versions of popular apps are a rage on Android, but they haven’t fully shifted over to iOS. You may want to keep an eye out. For example, Facebook launched Facebook Lite on the App Store in Turkey. So it’s just a matter of time before a similar version comes to your region. Meanwhile, you can consider using progressive web apps (PWAs), which are simply sites that run on Safari, but give the impression that you are using an app. Provided that your favorite app has a related progressive web app, all you have to do is to create a shortcut to your Home screen via Safari. Online directories such as Appscope, PWA Directory, and Progressive Web Apps keep an updated list of sites that support PWAs. Step 1: Open Safari, load up your favorite web app (Instagram, Twitter, etc.), and then sign in to it. Next, open the Share sheet, and then tap Add to Home Screen. Step 2: Tap Add to create the shortcut. You can choose to modify the shortcut name before doing that if you want to — the default name should be good enough in most cases. Step 3: Your progressive web app should be ready for you on the Home screen. Notice any differences in appearance? Be mindful that PWAs won’t include certain features or carry the convenience of a dedicated app, but they are an ideal replacement for instances where storage space is really tight.
9. Remove Unwanted Stock Apps
Yes, you read that right. iOS 12 allows you to remove the majority of stock apps that come pre-installed with it. Simply perform a long-press on an app icon within the Home screen to start jiggling all apps icons. If you see an ‘x’-shaped symbol on an icon, you can delete the relevant app and gain some much-needed space. But for reasons mentioned earlier, always consider offloading an app before deleting one outright. Just so that you are aware, there’s an issue with iOS 12 where deleting certain stock apps (FaceTime, Voice Memos, and a few others) can cause freezes and crashes within the Settings app. If that happens, you may end up having to reinstall them.
Space Management
The above pointers aren’t an exhaustive list by any means. Always look at your favorite app with a critical eye. Does it store a lot of media or files offline? Can you back up unwanted files and deleted locally stored documents without any issue? Can you stream music or videos without downloading them locally? Also, consider diving into the Settings panel of an app, and then check if there are options that can potentially free up storage space. For example, apps such as Tumblr and OneDrive offer the option to clear bloated file caches. Tiny actions such as this can go a long way to help you always have sufficient storage on your iPhone or iPad. The above article may contain affiliate links which help support Guiding Tech. However, it does not affect our editorial integrity. The content remains unbiased and authentic.